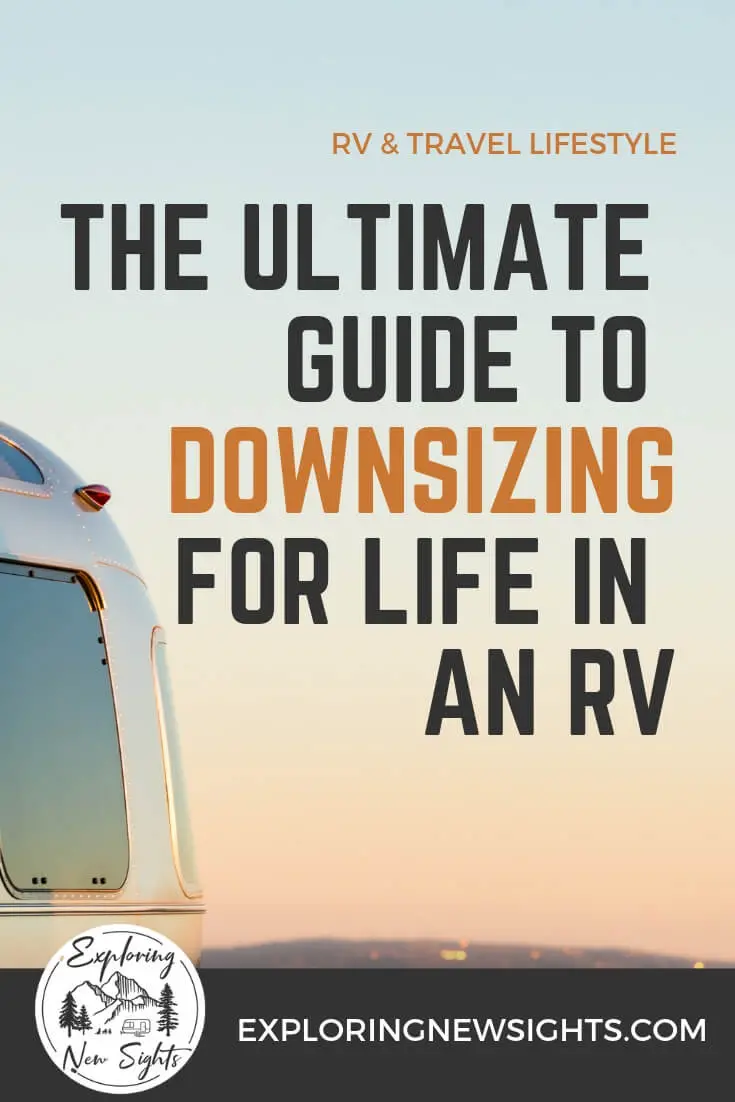
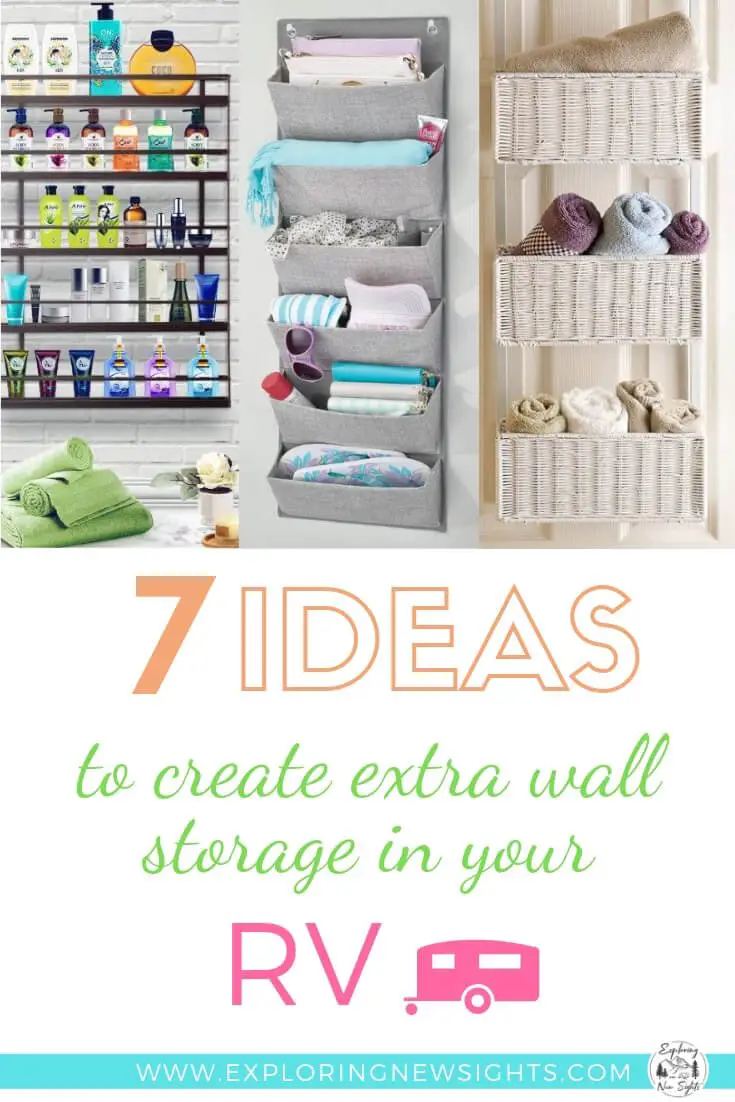
7 Ideas To Create Extra Wall Storage In Your RV
Wall Storage Ideas | Living and traveling in an RV can be chaotic at times.
Stuff can accumulate and with the little storage space available it can become cluttered quickly.
The small space almost always requires better organization.
Living full-time in our Travel Trailer, we have re-organized our space so many times.
Now, that we are expecting our first child, I really want to find some creative ways to use our vertical wall space for extra storage.
We all have bags, keys, hats, and other items that could potentially be hung and stored in a creative way right on the wall.
Therefore, I’ve put together a list of great items that would work amazing for extra storage right on your walls.
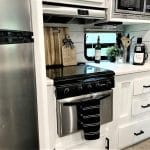
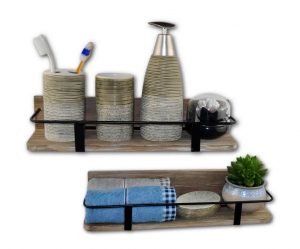
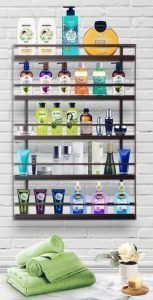
1. Floating Shelves
I love the look and functionality of floating shelves. They work great in the bathroom or bedroom to add some extra shelf storage for miscellaneous items.
For RV’s I do recommend getting shelves that have a barrier to hold things in place when traveling.
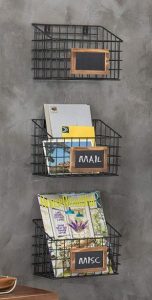
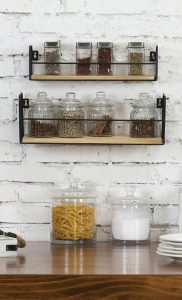
2. Wired Baskets
Wired Baskets are fantastic because it allows a more secure fit for extra items.
You can put books, mail, fruit, veggies, and much more in the wire baskets.
These baskets are the best for fruits and veggies because it allows space for the fruit and veggies to breath and prevents them from rotting too soon.
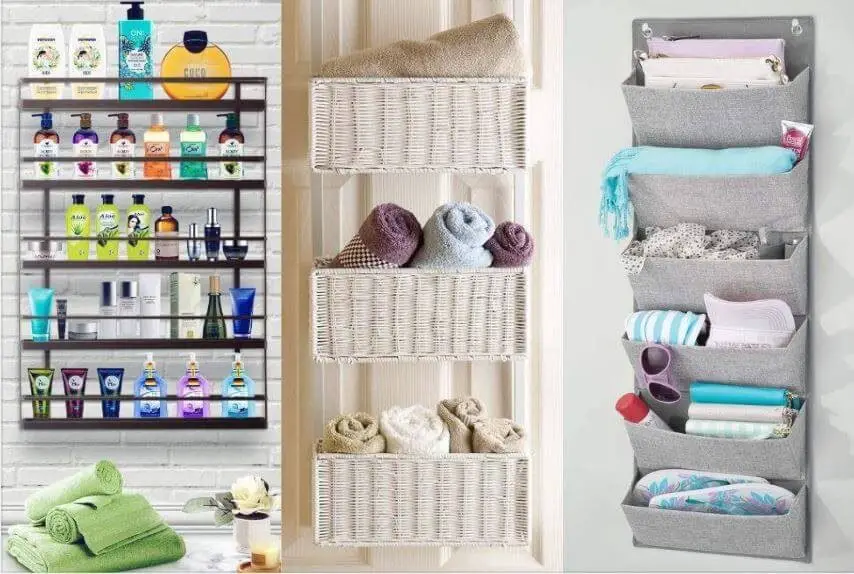
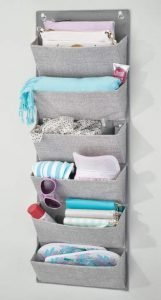
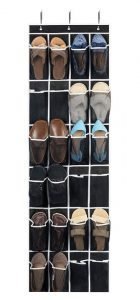
3. Over the Door Organizers
Over the door, organizers are fantastic to add more storage in your pantry, bathroom or closets.
Since we are expecting a new baby, they are even great to store all the baby items like diapers, clothes, and much more.
The potential for the over the door organizers is limitless.
You can use them for extra shoe storage, hat storage, coats, bath products, and so much more. They are definitely worth every penny!
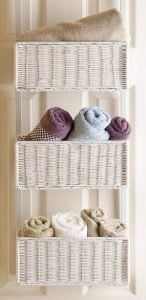
4. Hanging Woven Baskets
I love the look of the hanging woven baskets. They add great style while also creating functionality.
When living or traveling in a small space, functionality is key to successful trips.
The hanging woven baskets can be used to store a multitude of items including the ones that are less pleasant to look at.
We all have a miscellaneous drawer that has everything from birthday candles to pens to tape. The hanging woven baskets are great to items like those.


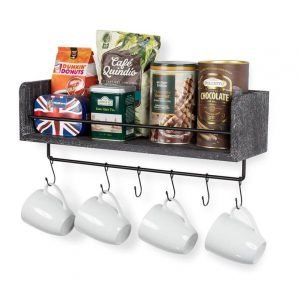
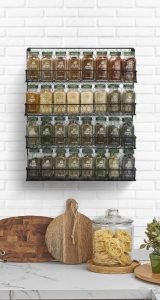
5. Hanging Spice Racks
These are phenomenal to add in the kitchen, pantry, or bathroom area.
Our RV actually has a built-in spice rack, however, it doesn’t fit all the spices we enjoy using to cook and bake.
The hanging wooden spice racks are great by saving space in your pantry for other food items.
Spice Racks can also be used for Bathroom items to add extra storage and organization for all the face and makeup products.
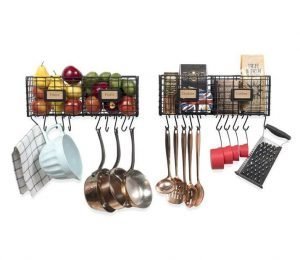
6. Expandable Peg Rack for Coats/Hats
These always remind me of the ’30s and ’40’s era when men wore fedora hats every day.
They are making a comeback and a lightweight option to hang hats and coats on the wall.
If you and your significant other enjoy wearing hats and struggles to find a storage option, this is a great idea.

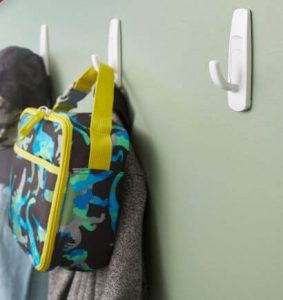
7. Command Strip hooks
When living in an RV, hanging anything on the walls can be a challenge.
One of the best items are the command hooks. They are great for hanging hats, coats, keys, and even pictures.
Final Thoughts
I hope you now feel inspired to add some extra storage space in your RV or tiny home by utilizing your walls. They have helped us in so many ways and I know that once we are ready to have our new baby in October, we will utilize more wall storage space for the baby.
If you would like to know where to purchase these items, all images are clickable and directed to Amazon.
If this helped you in any way, please share on Pinterest and other Social Media platforms so others can feel inspired as well! Thanks for stopping by!
Pin To Save For Later