12 DIY Ways You Can Update Your RV Camper
Update your RV and turn it from drab to fab so you can fall in love with camping again.
For years, RV manufacturers were stuck with colors and fabrics that weren’t pleasing to the modern RVer.
Therefore, it has become popular to take an older RV and renovate it to today’s standards of style and detail.
From personal experience, renovating an RV can be time-consuming, nerve-wracking, and can even feel impossible to accomplish.
However, from our own renovations that we have made in our RV, I know that the changes are worth it! I love that our RV is our own style because it feels like home!

So, here are 12 ways that you can update your RV for either resale purposes or making it your home on wheels.
Related Posts:
1. Change the Flooring
Changing out the outdated carpet that can get worn and dirty is the best way to start renovating your RV.
Starting from the bottom in your design and working your way up will make an incredible difference.
Many people are choosing vinyl floors for their increased durability and lightweight for traveling.
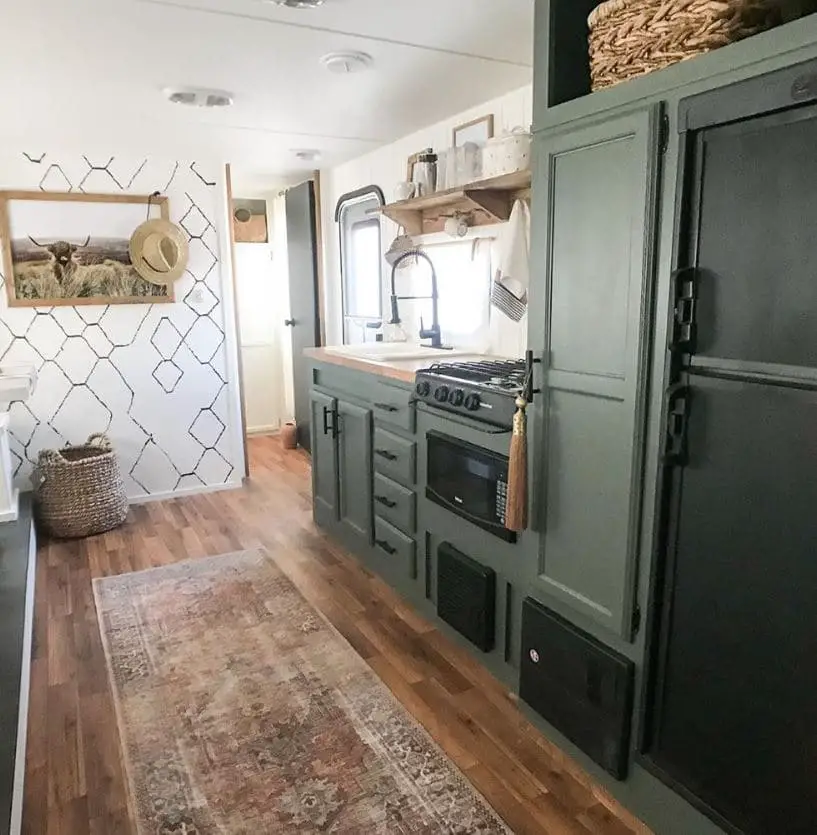
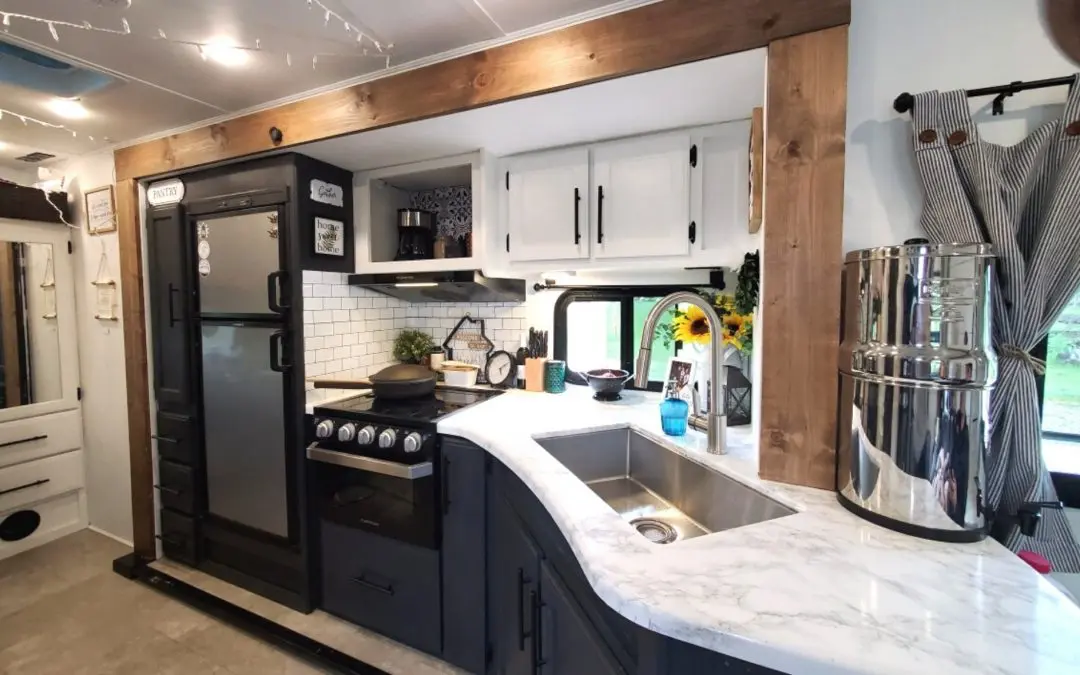
2. Paint the Walls and Cabinets
Updating your RV with paint is a huge transformation and the first thing we did when we purchased our RV.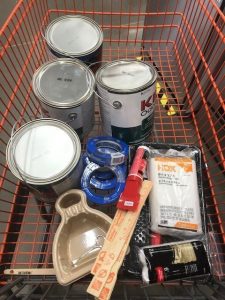
The beige walls were not my personal style and I opted for white to brighten up the RV. White also makes a small space feel larger.
It is an interior design trick of the trade. The lighter the colors, the larger the living space will feel.
For more tips on painting your RV’s Interior check out our post “How to easily paint your RV Interior walls”.
3. Replace or Paint your Slide Trim
 If you have an older model RV, replacing the trim and getting rid of the carved faux wood will make a huge difference.
Many people are opting to replace the trim with natural wood panels, usually pine or walnut panels. They add a simple and modern rustic character to the space.
Some also choose to paint if the details aren’t too outdated.
We painted ours white, but one day will love to replace them with a gorgeous, stained wood panel like my sister did with her RV.
4. Wallpaper!!
Wallpaper, wallpaper, wallpaper!!
So many people are opting to use wallpaper because not only is it lightweight, the patterns and technology are better than ever before.
The simple peel and stick wallpaper options are great for RV’s because they can easily be removed for a quick change in style.
Now, there are some temperature issues that you will have to be wary of to ensure your wallpaper stays. For example, too much moisture or heat can cause the wallpaper to peel off.
For more tips and some wallpaper inspiration, check out our post, “How to use peel & stick wallpaper to transform your camper”.
SHOP OUR AMAZON PICKS


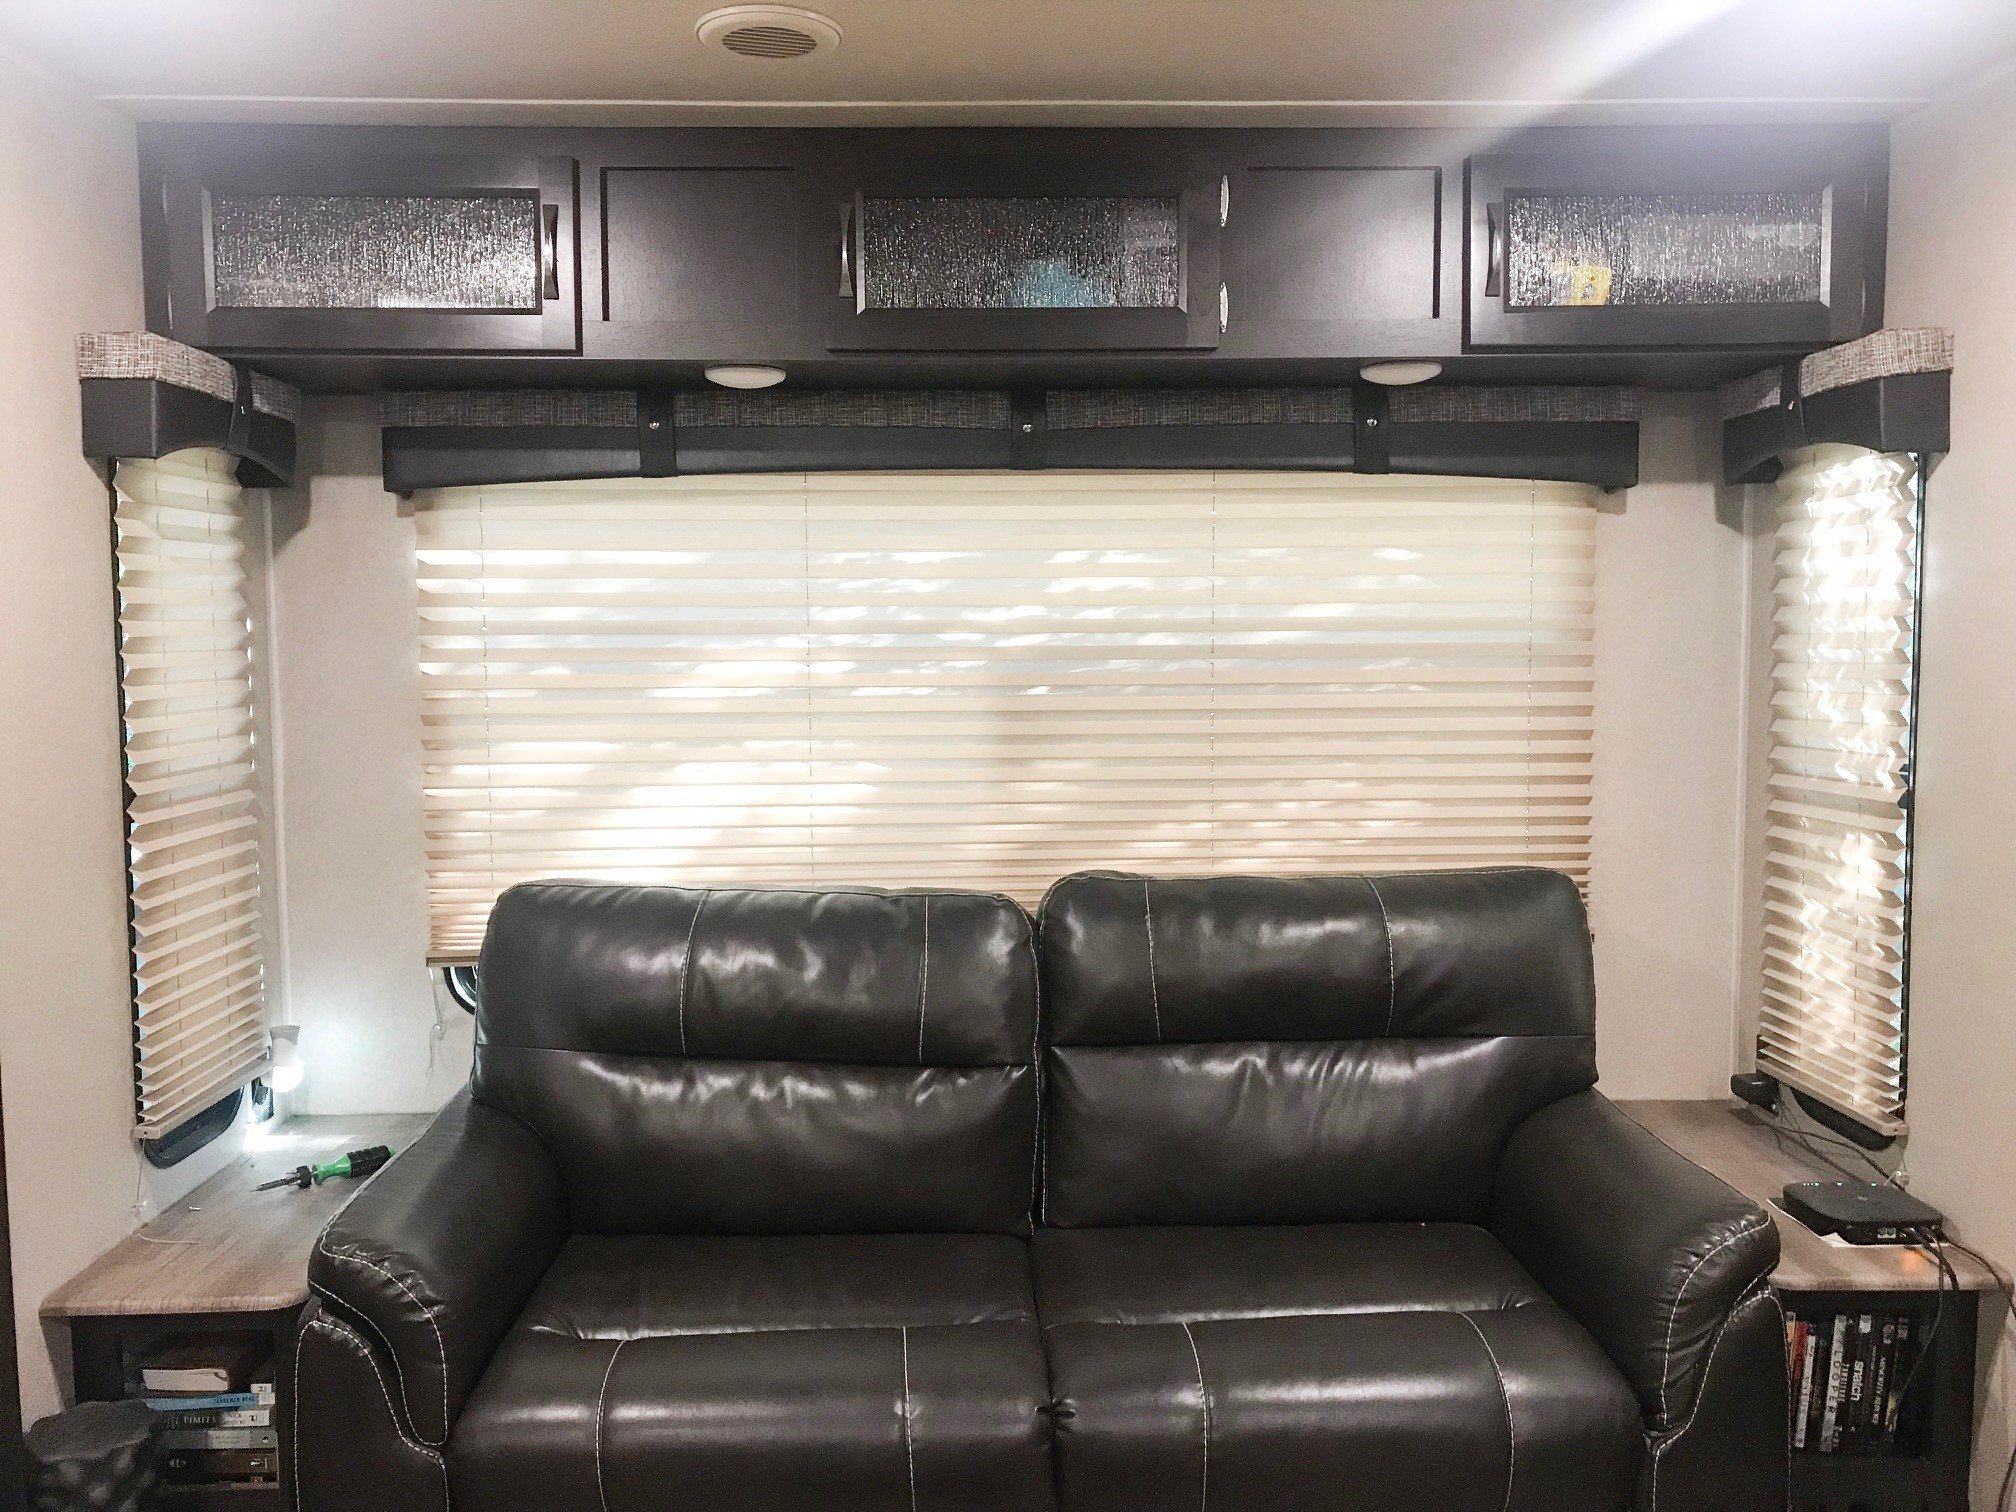
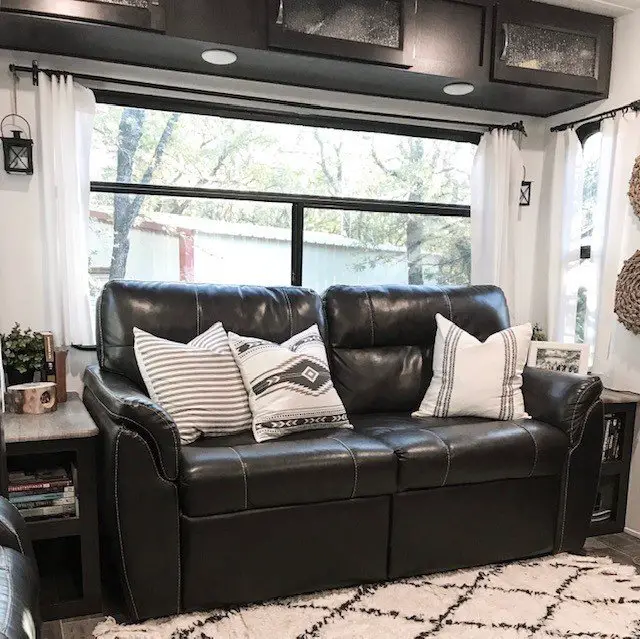
5. Replace the Valances/Blinds
Removing our Valances and blinds was the very first update we did in our RV. I wanted to make our space feel more like a home by using curtains instead.
I chose to make my own curtains, but you can find some of the various sizes on Amazon or other stores.
Changing the valances made a great difference in removing the outdated typical RV feel and more of the cozy home on wheels vibe.
Another popular way to update your window treatments in the RV is to use new blinds like roller blinds or roman shades. Whichever you choose, I know it will look amazing!
6. Update your Seating

Image Credit: Christy Schmidt
We all know the couches and chairs that come in RV’s do not last, especially if you live full-time. Many of the pleather couches tend to wear out quickly.
For us, our recliners broke within the first year, one recliner also began to sag which made it uncomfortable to sit.
The couch we have pulls out into a bed, but that did not last very long. The bars poke out and it is so uncomfortable to sleep on!
Therefore, updating your couches and chairs is common and you could purchase something with more durability.
For our cushion covers on the bench seat, I opted to purchase a durable fabric from ELuxury (find on Amazon) and sewed new cushion covers. This can always be an option to update your bench or chair seating as well.
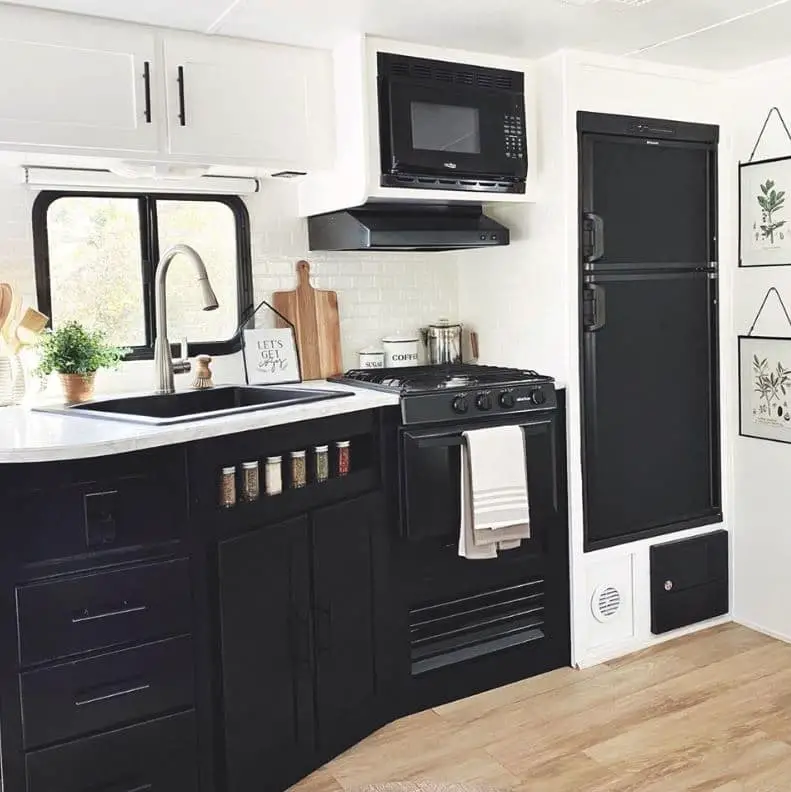
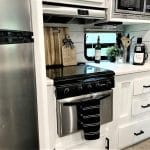
7. Update your Cabinet and Door Hardware
This is by far the easiest update you can do in your RV. It’s a simple switch that can make a huge impact.
After we painted our cabinets white from a dark espresso brown, I updated the handles from silver to modern farmhouse style black.
There are so many options you can choose from to update your cabinets and door hardware.
Tip – Measure not once but twice! Make sure the cabinet’s hardware will fit the pre-existing screw holes (how far apart of the holes). I ordered so quickly that I ended up messing up the sizes twice. Instead of ordering 3 inches, I ended up ordering 5 inches the first time and 4 inches the second time. Learn from my mistake! 😊
Shop Our Amazon Picks


8. Change your Table
Changing your table out can be super easy! There are so many renovation ideas where people replaced their table for one from Amazon or Ikea.
Others have created their own with extra storage, while some have also utilized the space for a home office instead of a dining table.
Whatever works for your space, go for it! Just be sure you can secure it if you plan on traveling!
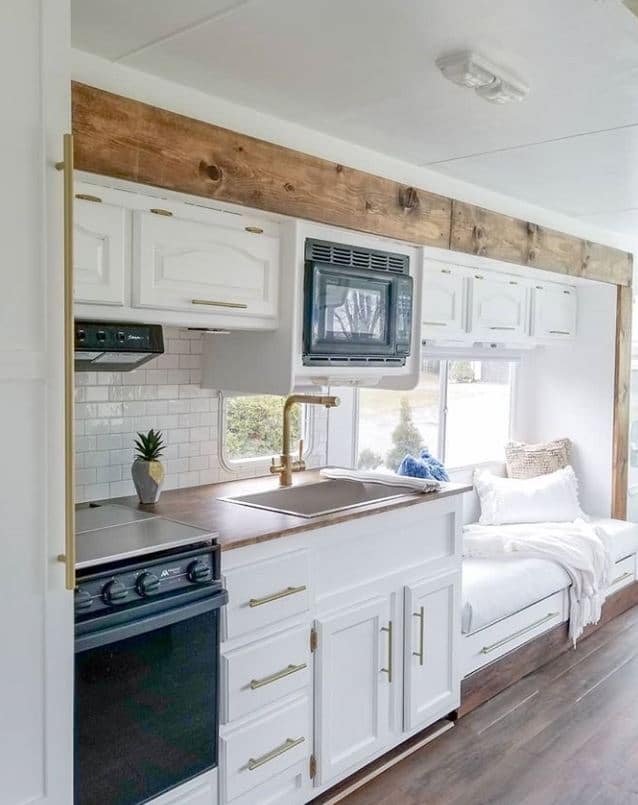
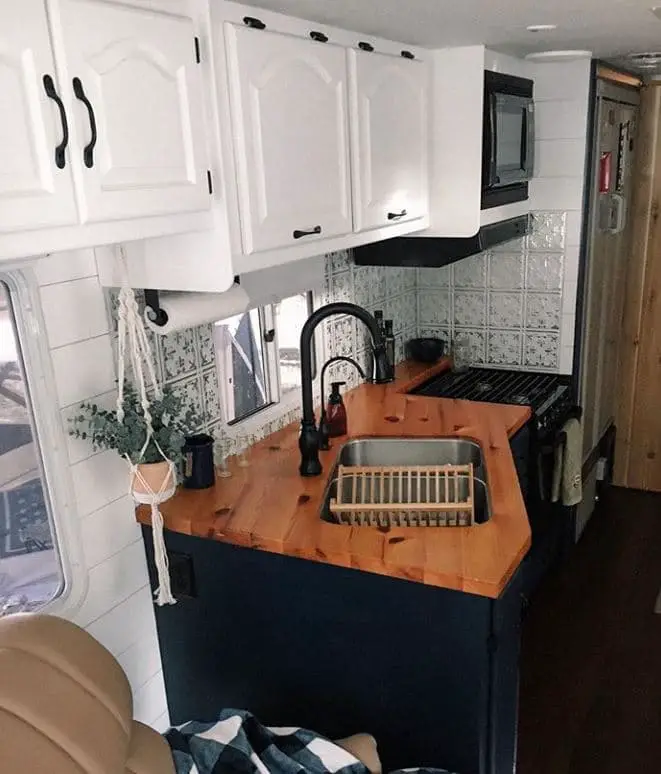
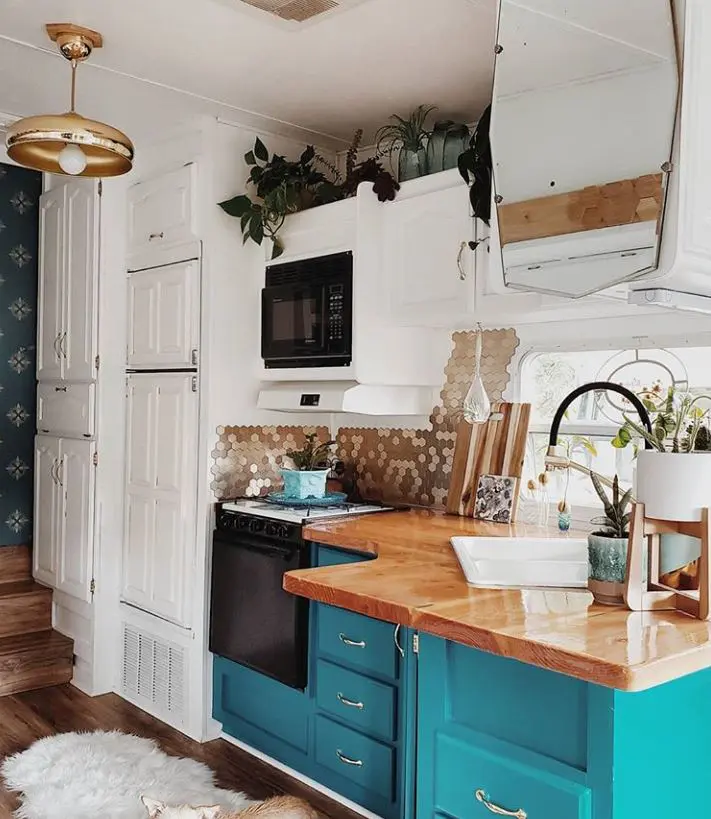
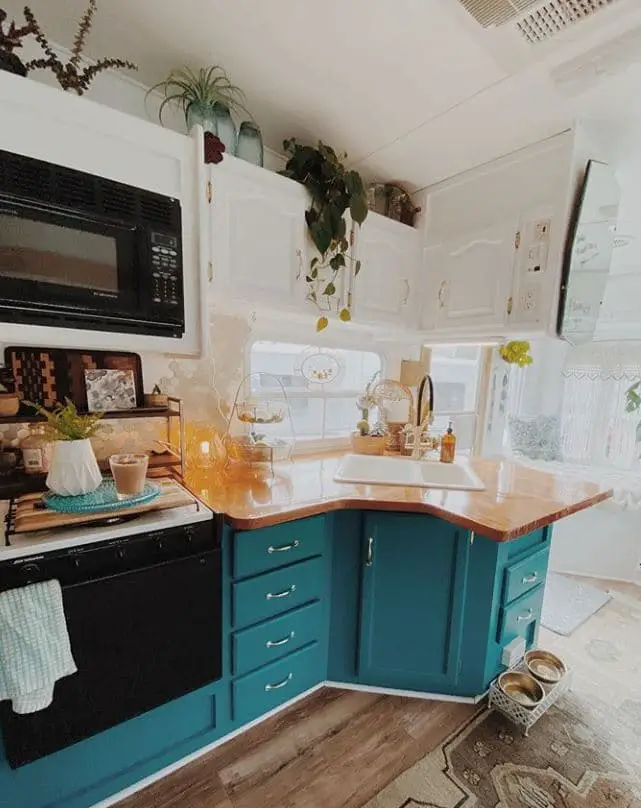
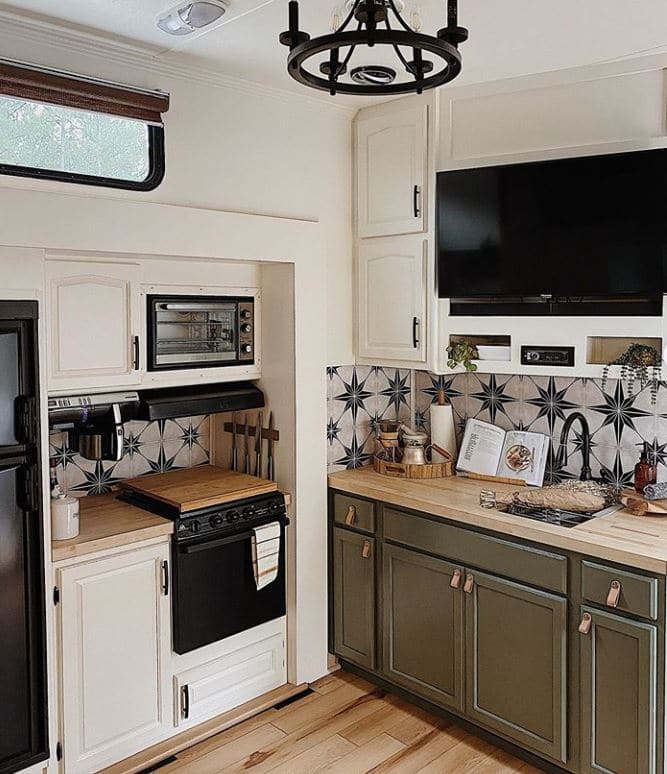
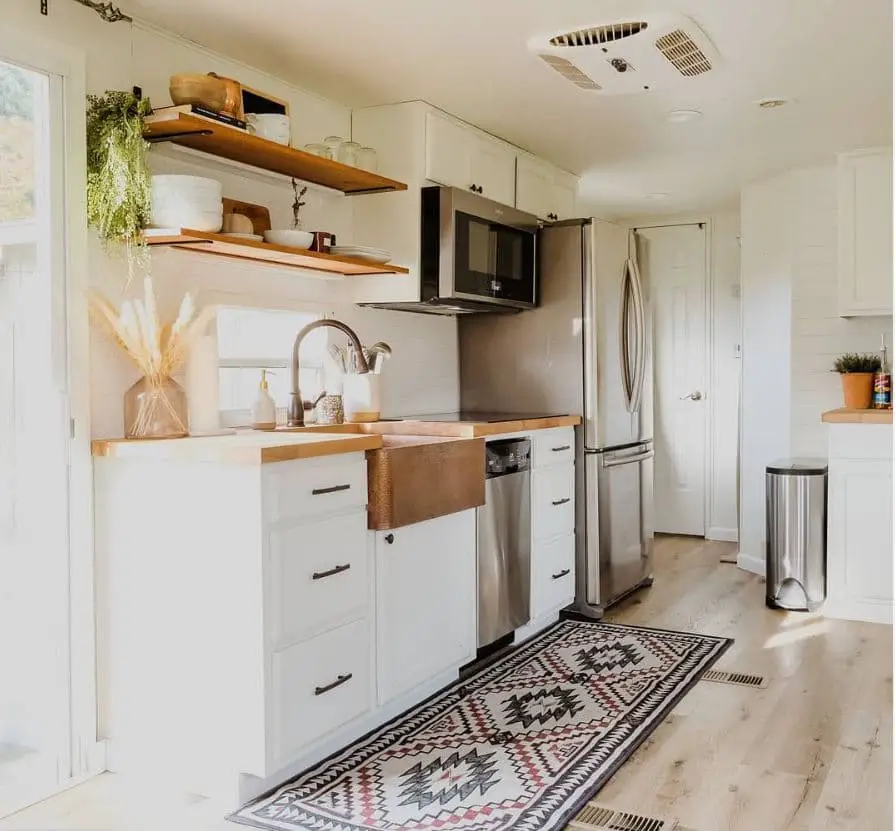
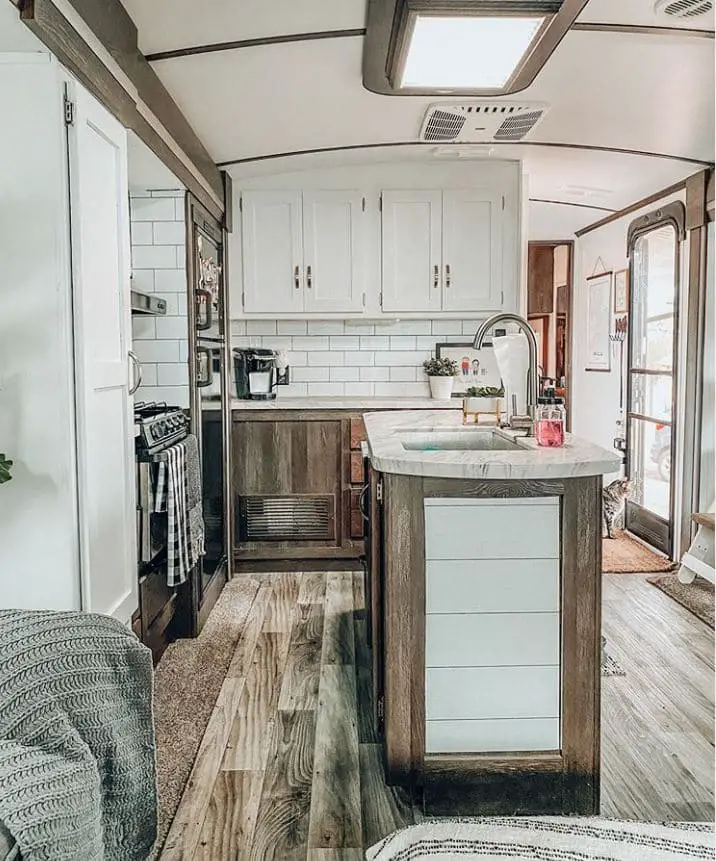
9. Change your Countertops
My sister-in-law updated her RV’s countertops with marble-style contact paper. It turned out so beautiful!
A super popular remodel for RV countertops are butcher block tops. They add in the natural wood tones and are super durable as well. I love the look of the butcher block countertops.
You can even get a countertop paint kit from a local hardware store or amazon. However you choose to update your countertops, I am sure it will turn out amazing!


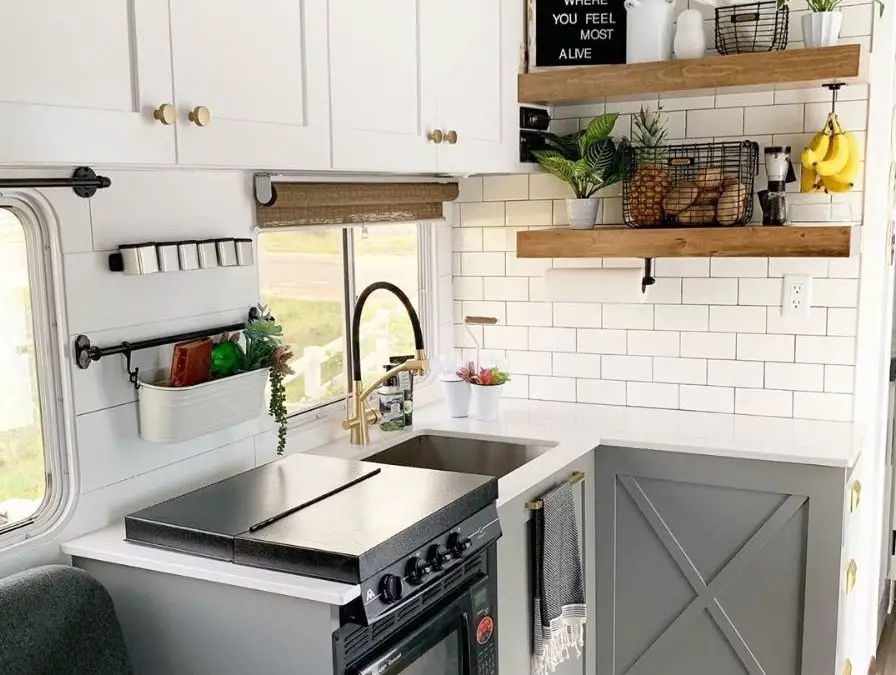
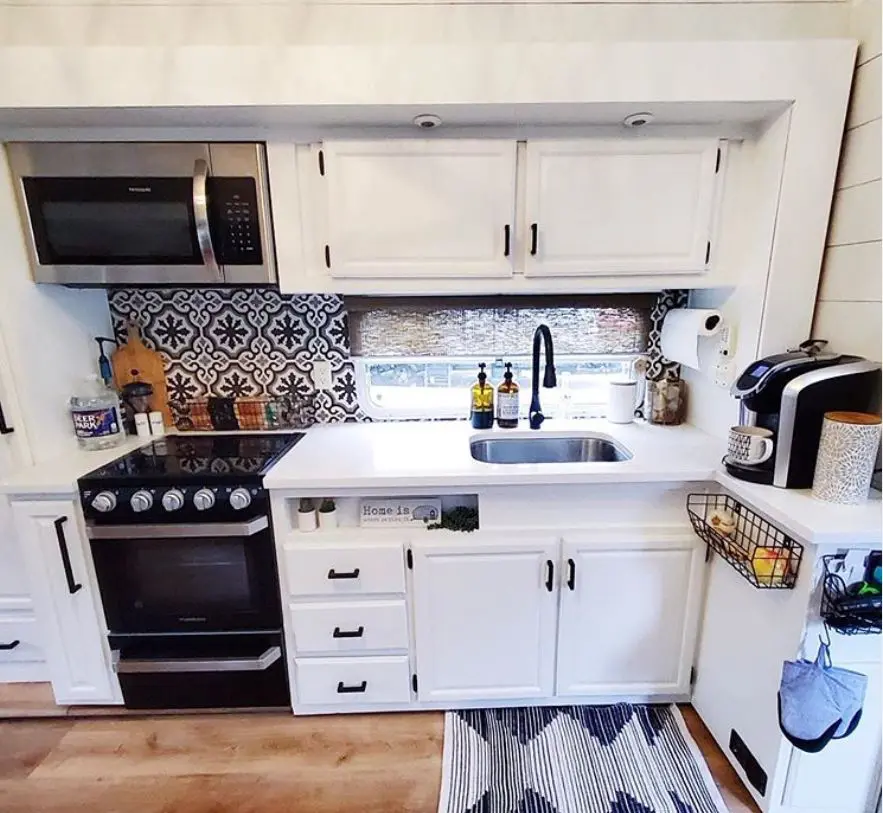
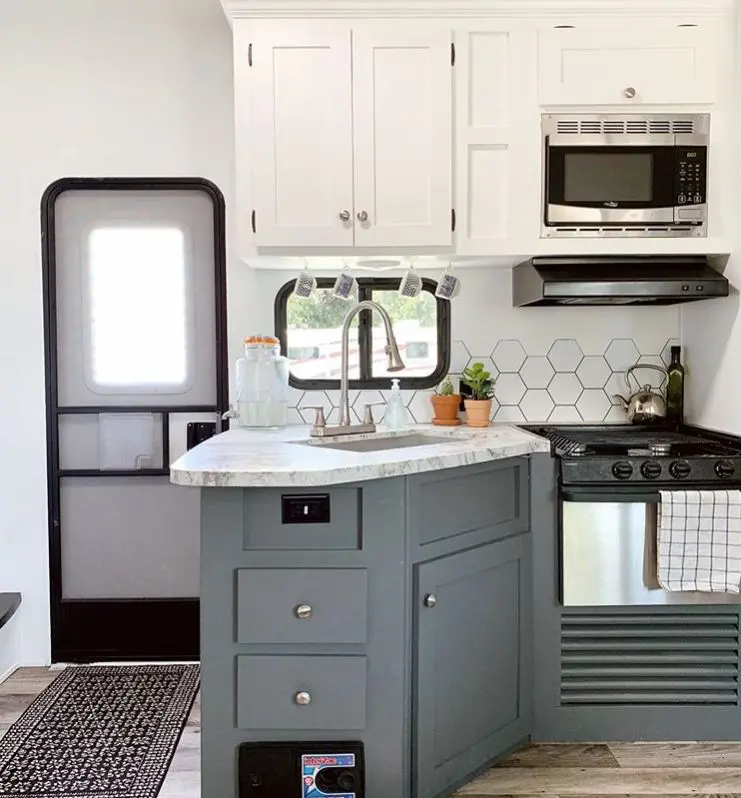
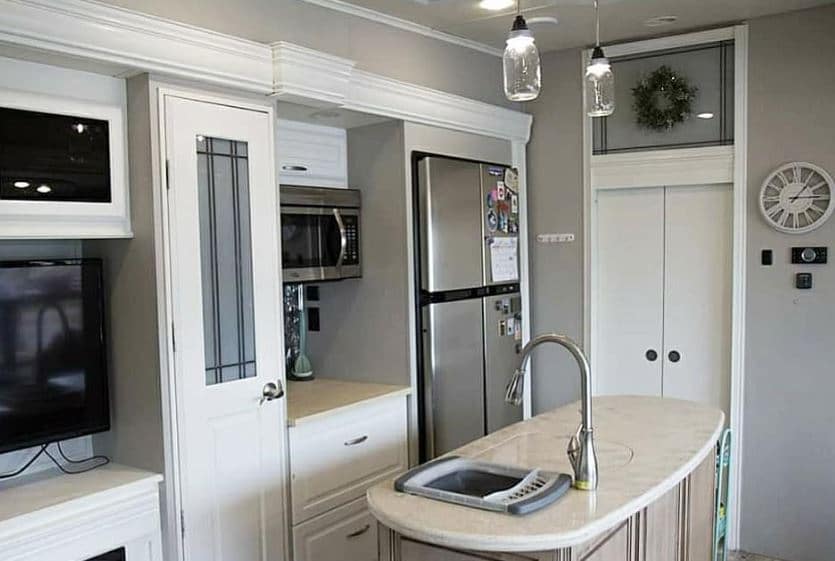
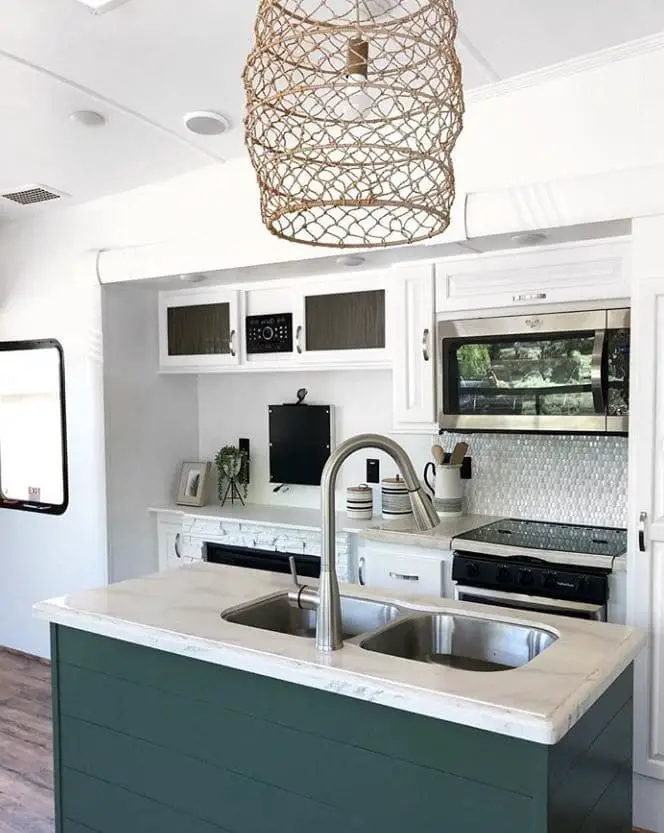
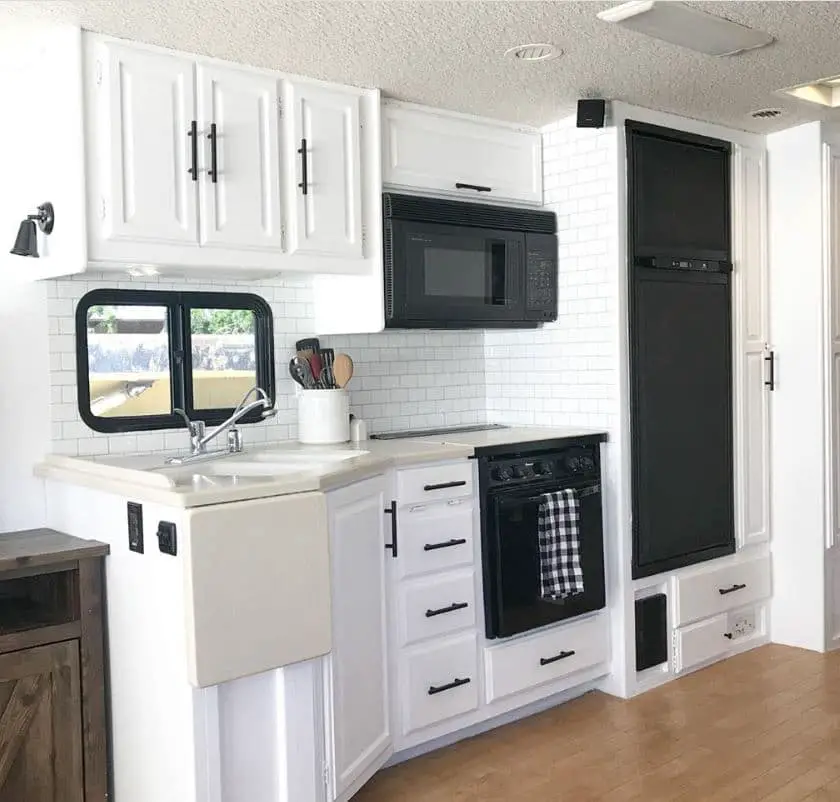
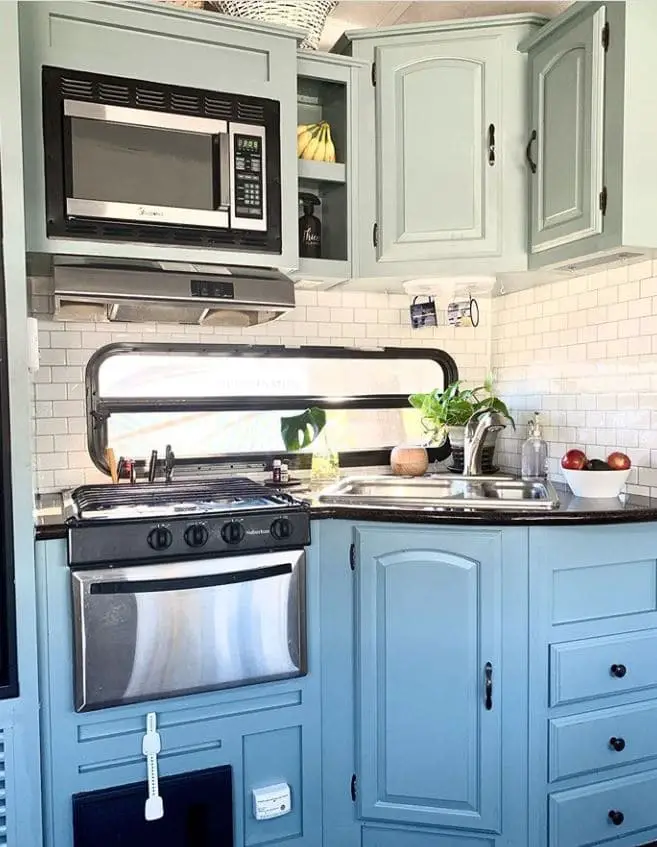
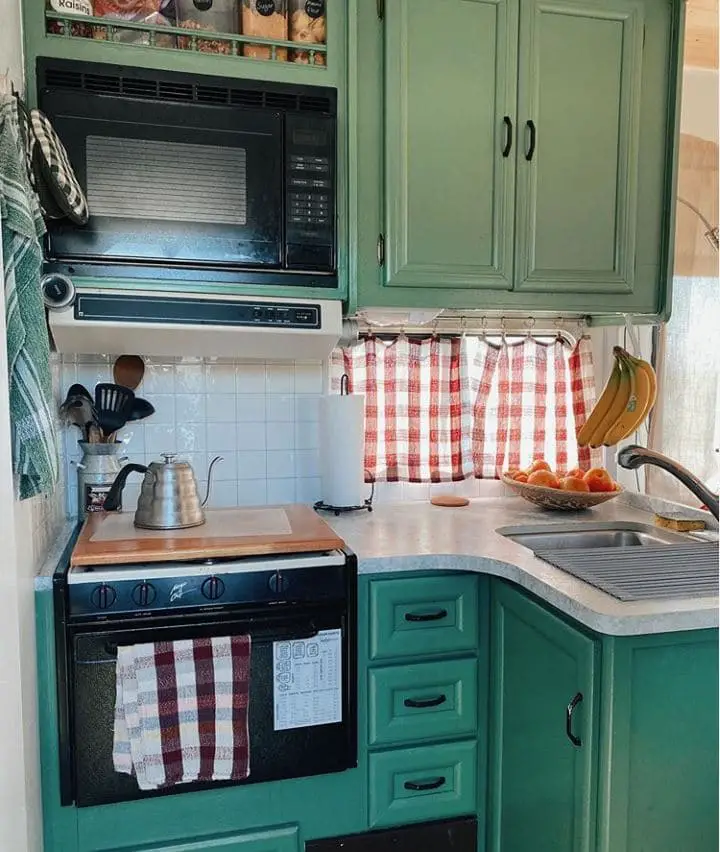
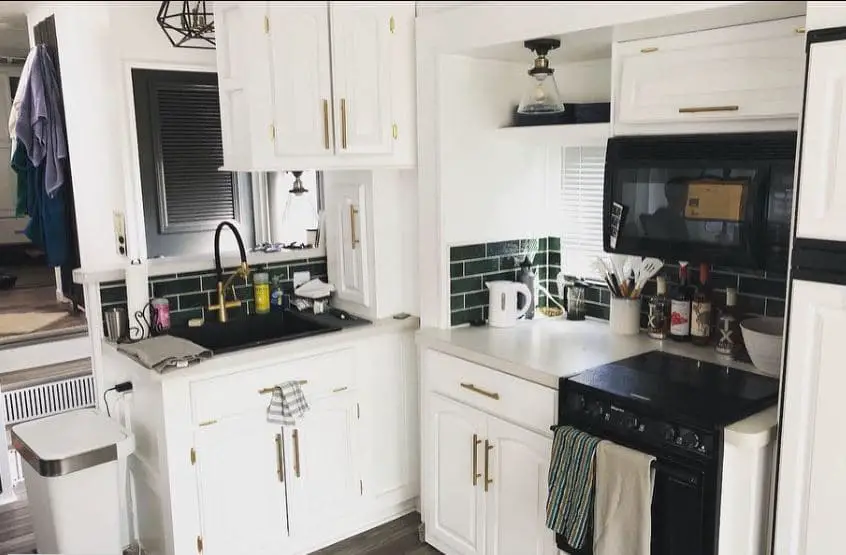
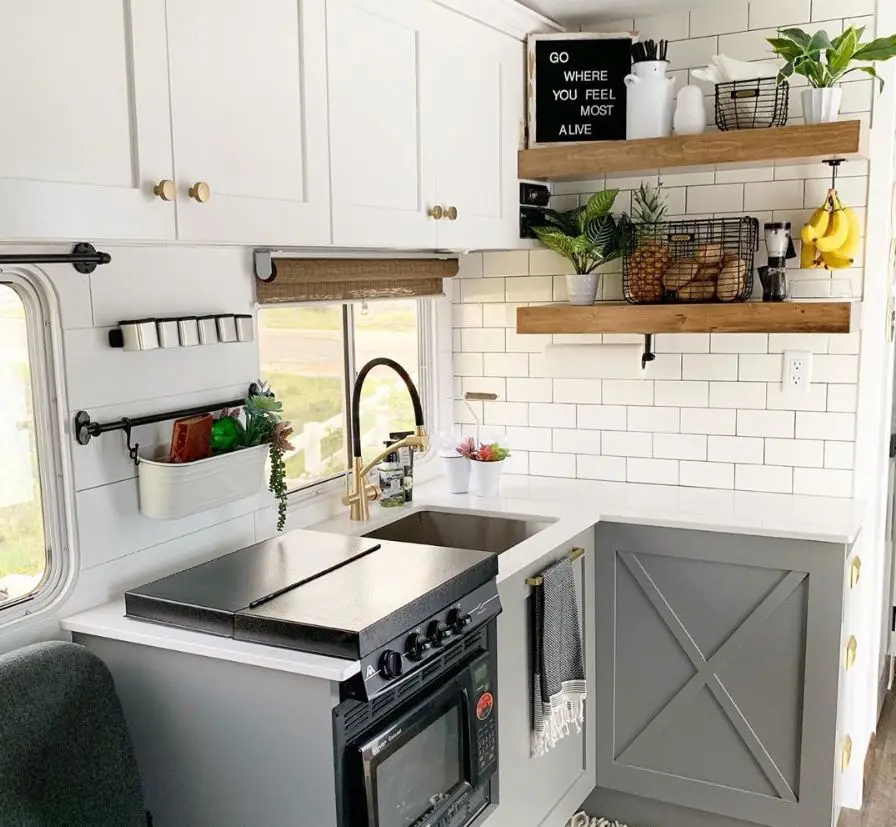
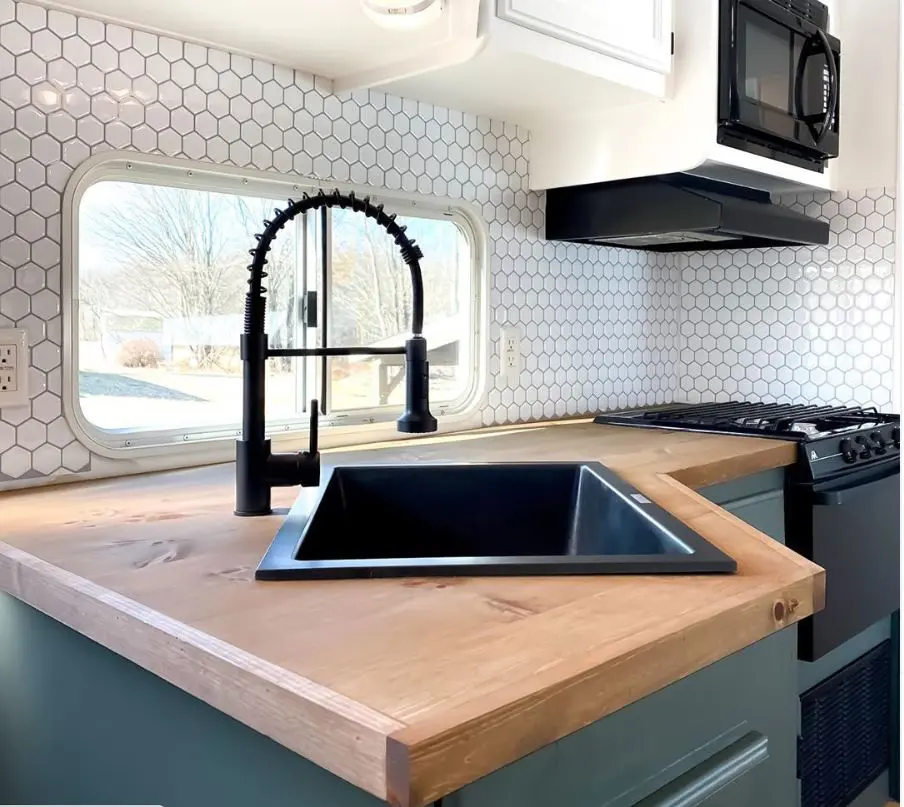
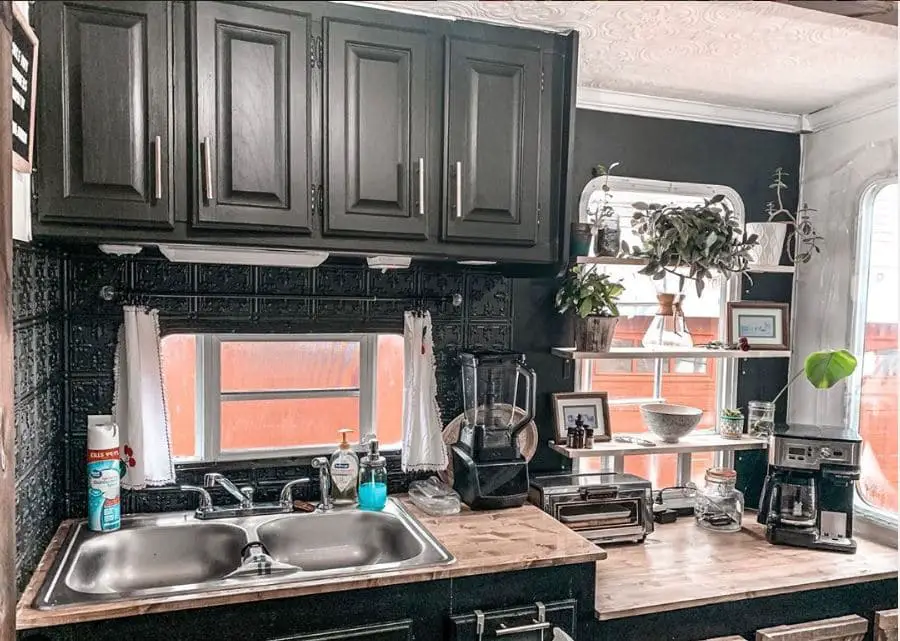
10. Replace the Sinks in the bathroom and Kitchen
Let’s face it, the sinks that come in RV’s are usually plastic and they tend to discolor over the years.
Replacing your sink is a huge transformation and will add value to your RV if you ever decide to resale.
Here are a few examples of sinks that have been changed out in RV’s.

Image Credit: IG – @the_simple_bits_of_life

Image Credit: IG – @ashley.joyfullygrowing
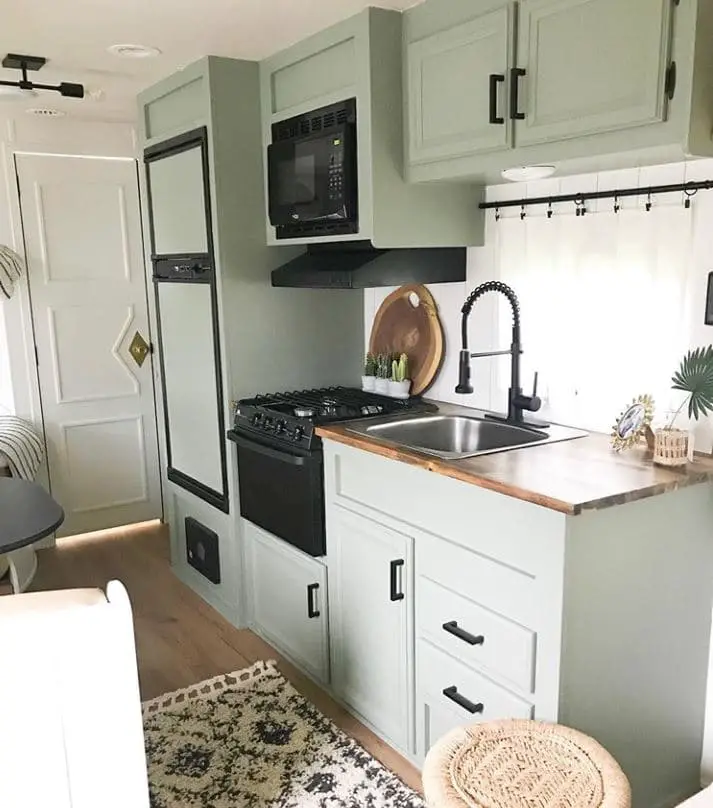
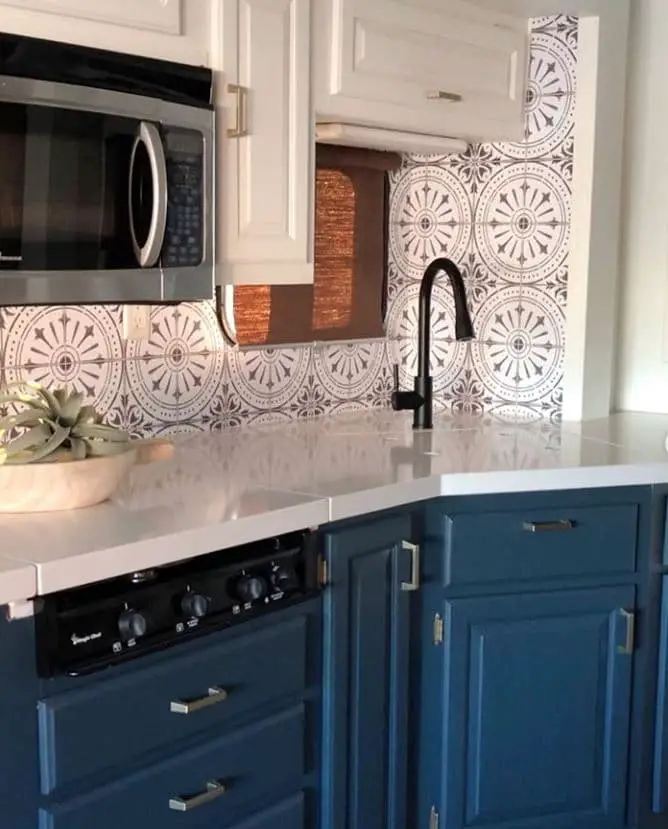
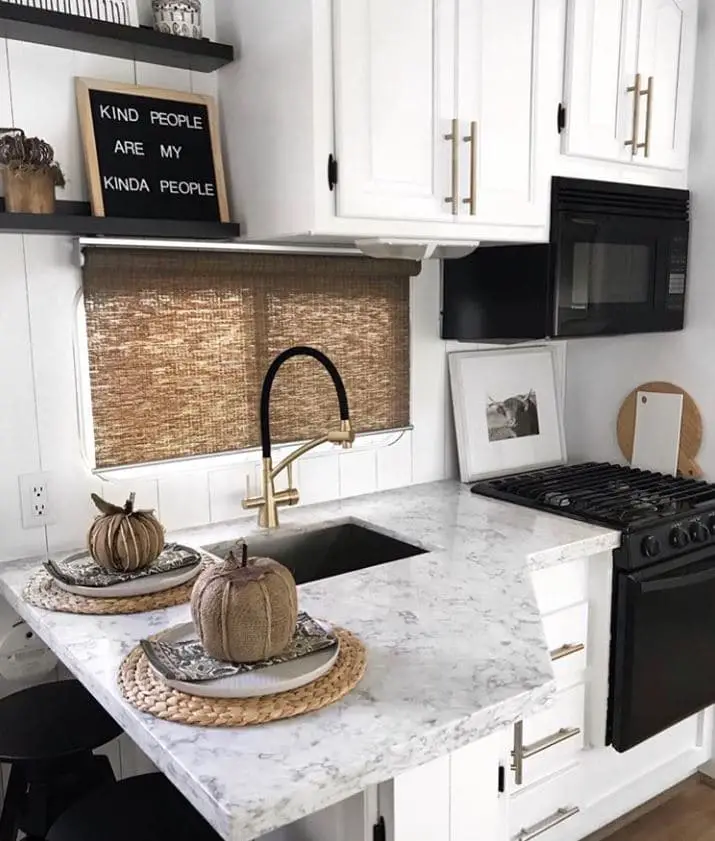
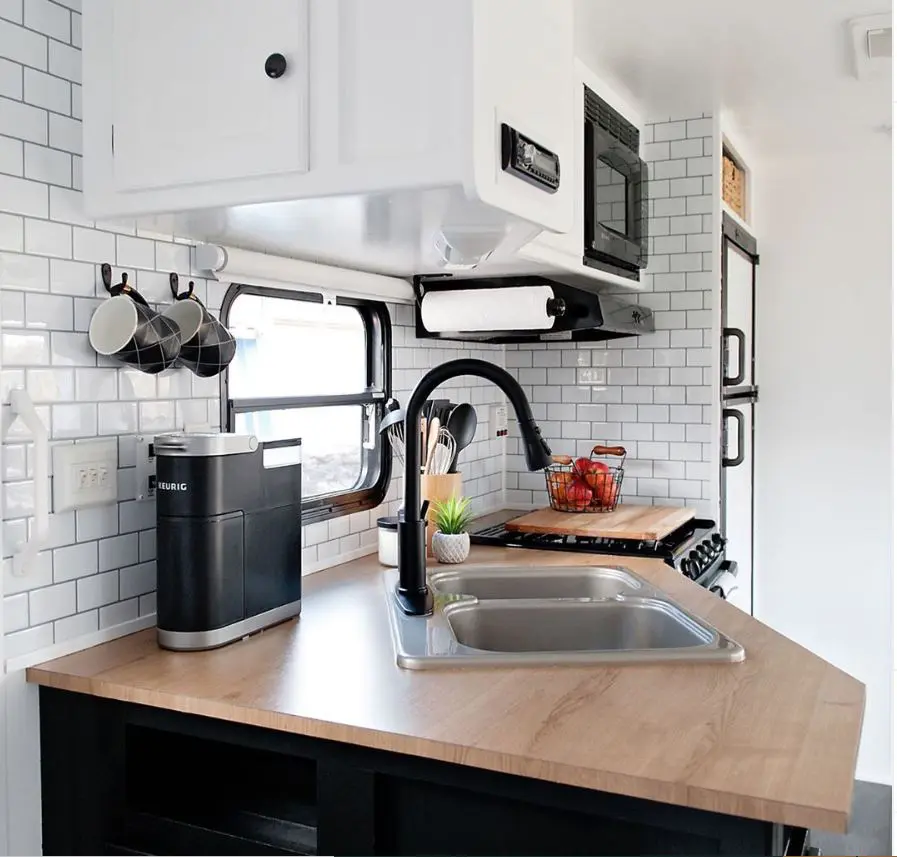
11. Update your Faucets/Shower Head
If you plan on updating your sink, you may want to consider updating the faucet hardware as well.
We updated our kitchen faucet from a stainless-steel standard faucet to a gorgeous matte black one. It was one of the best decisions in our RV renovation.
Shop Our Amazon Picks


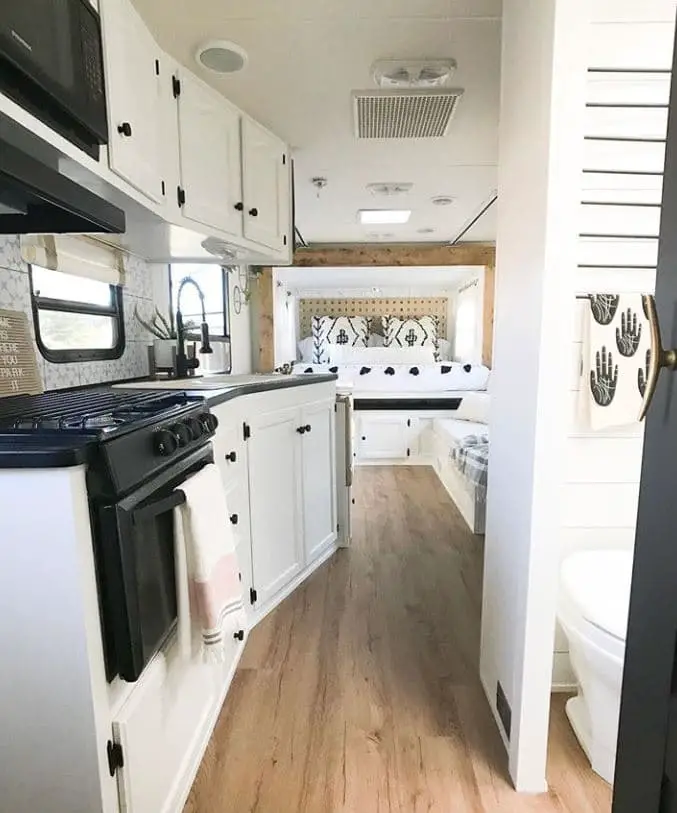
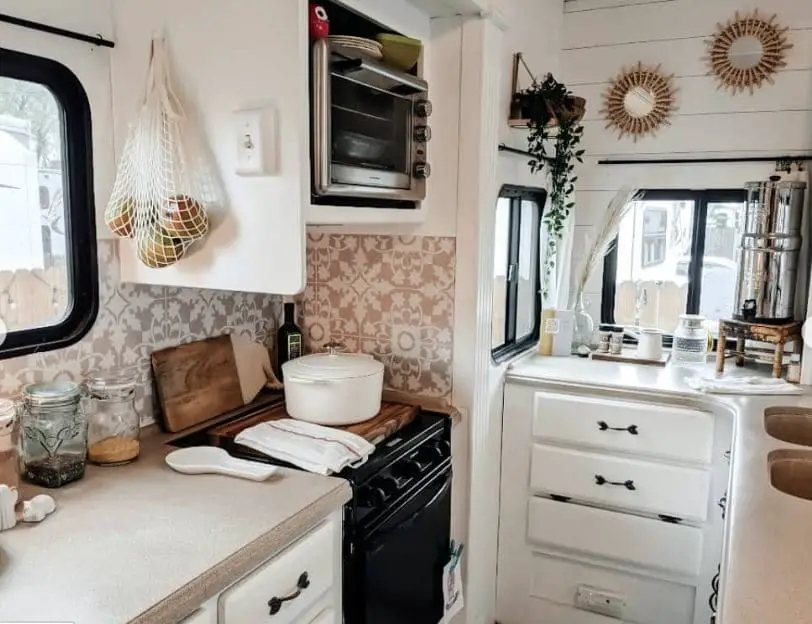
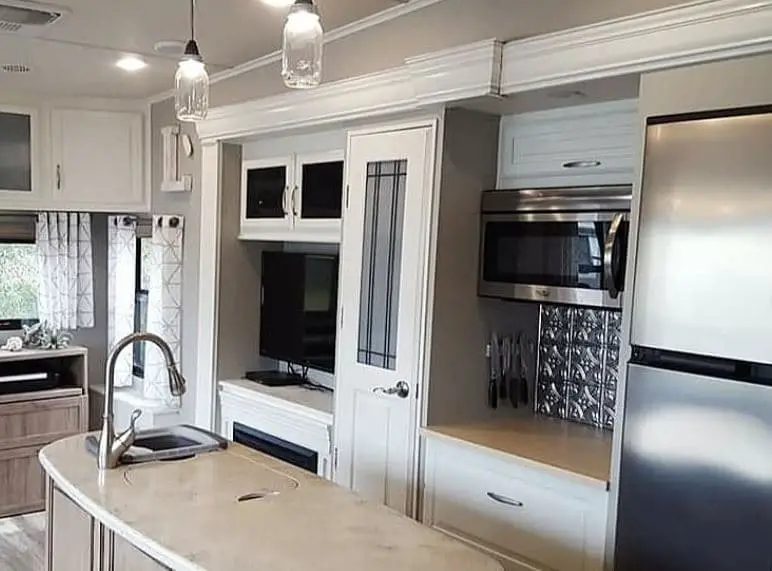
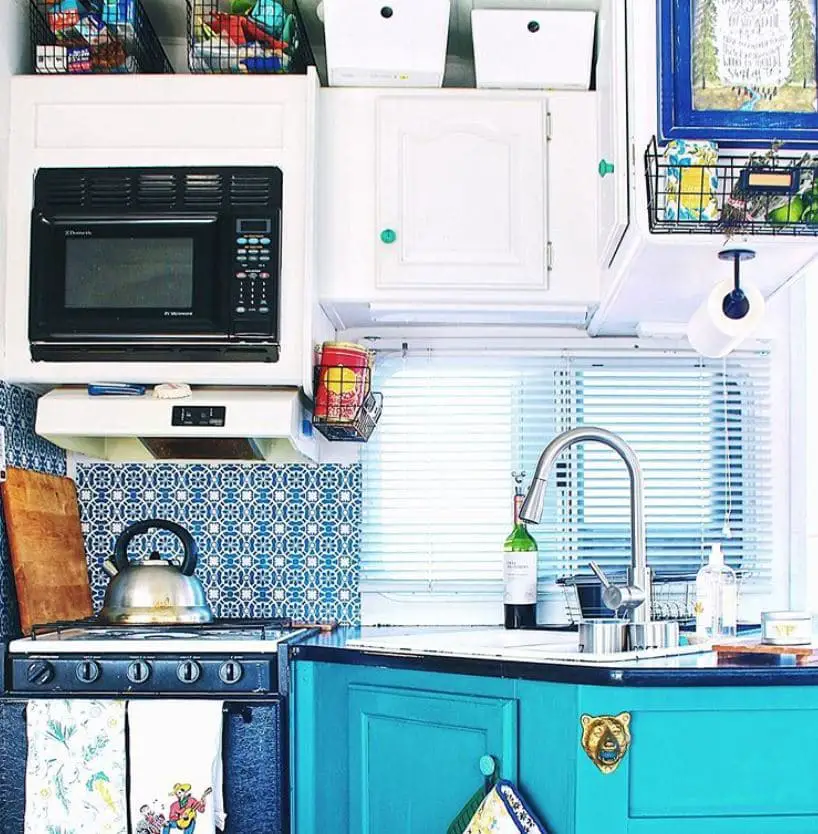
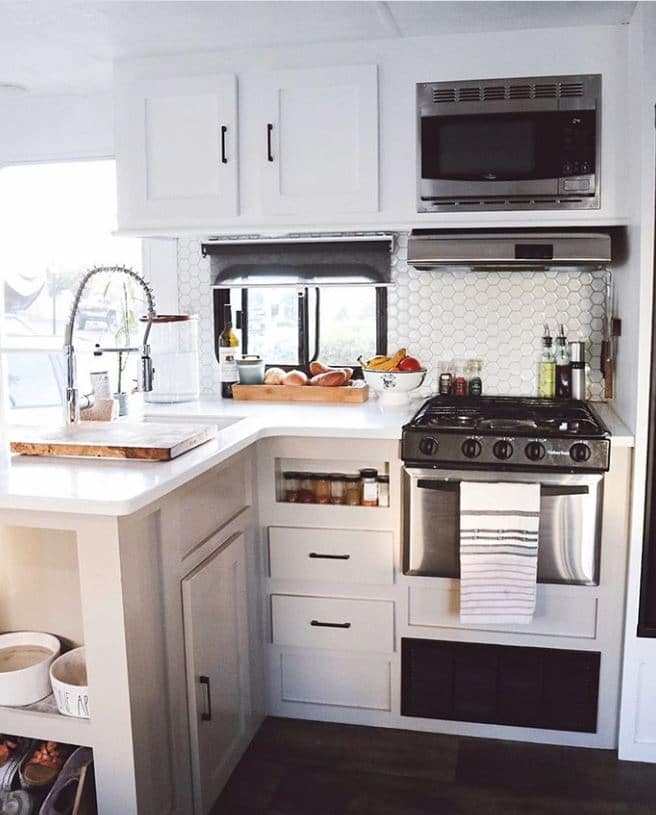
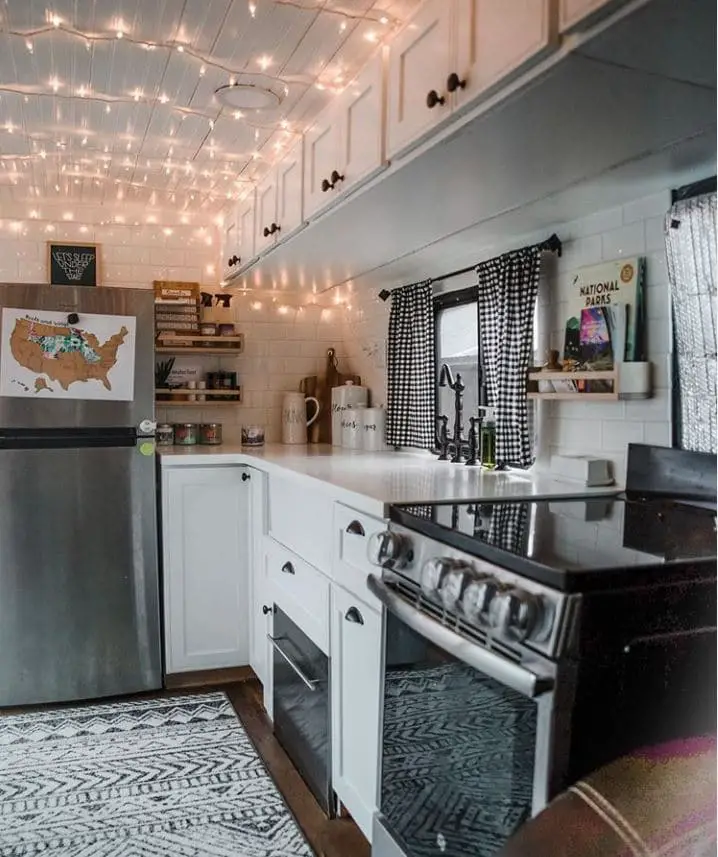
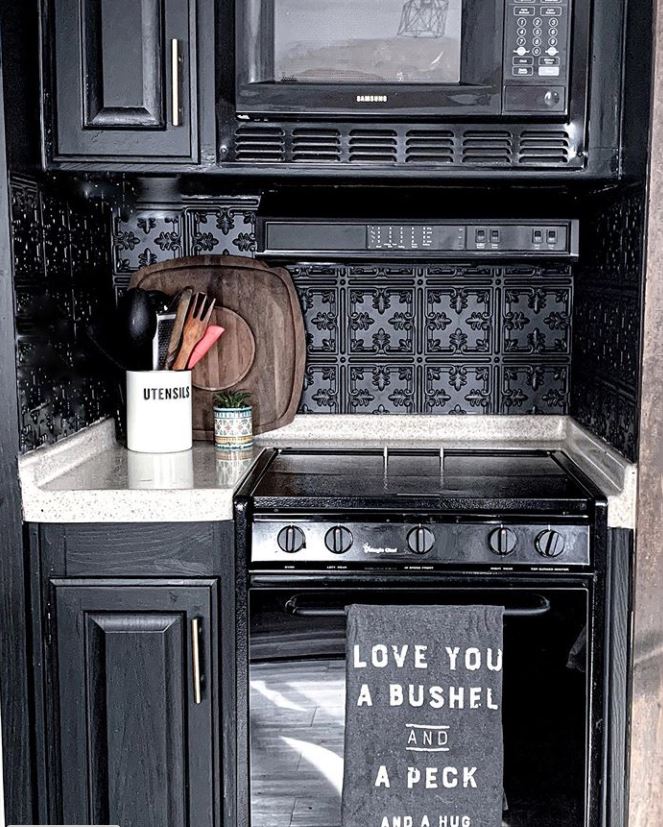
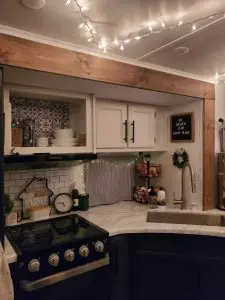
12. Change our Kitchen and Bathroom Backsplash
There are so many styles of backsplashes you can add to your RV kitchen and bathroom that will transform the area.
We first chose a peel and stick tile, but after two years, we changed our kitchen backsplash to a white shiplap.
This is an area where you can get super creative!
You can use a stencil and sharpie, a peel and stick tile, real tile (if you don’t travel much because of weight and cracking), wood pieces, or even a lightweight textured ceiling tile as a backsplash.
The possibilities are endless!
Final Thoughts
Update your RV to your own personal style and make it that home on wheels. These 12 DIY ways will transform your camper from drab to fab!
For more inspiration, check out our posts with images from other RVer’s that have remodeled their kitchens, bathrooms, and used wallpaper to transform their Campers.
- 42 Gorgeous RV Bedroom Remodels for Cozy Inspiration
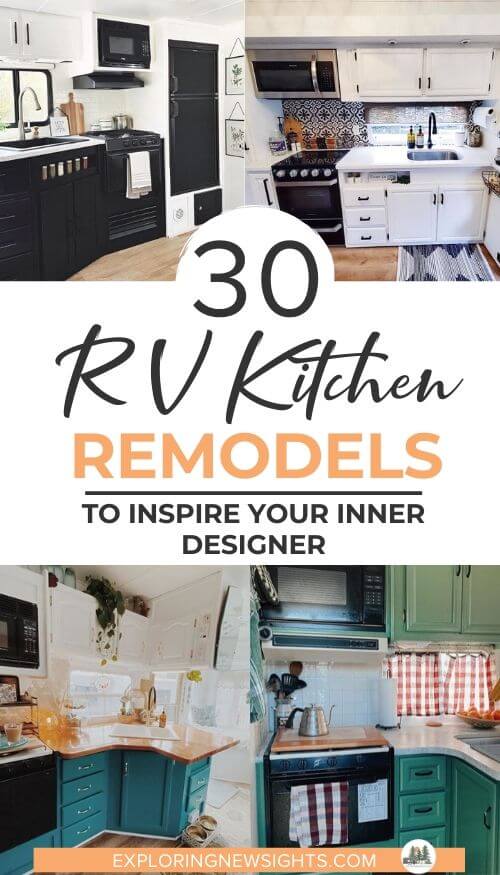
- 30 RV Kitchen Makeovers that will Inspire Your Inner Designer
- 7 Adorable RV Nursery Makeovers You Will LOVE
- 24 RV Bathroom Remodels for Inspiration | Before and After Pictures
As always, Thank you for stopping by! I hope you feel inspired! You can do it!!
LIke this post? Pin for later!
")