This post may contain affiliate links. Exploring new sights is a participant in the Amazon Services LLC Associates Program. As an Amazon Associate, we earn from qualifying purchases linking to Amazon.com and affiliated links.
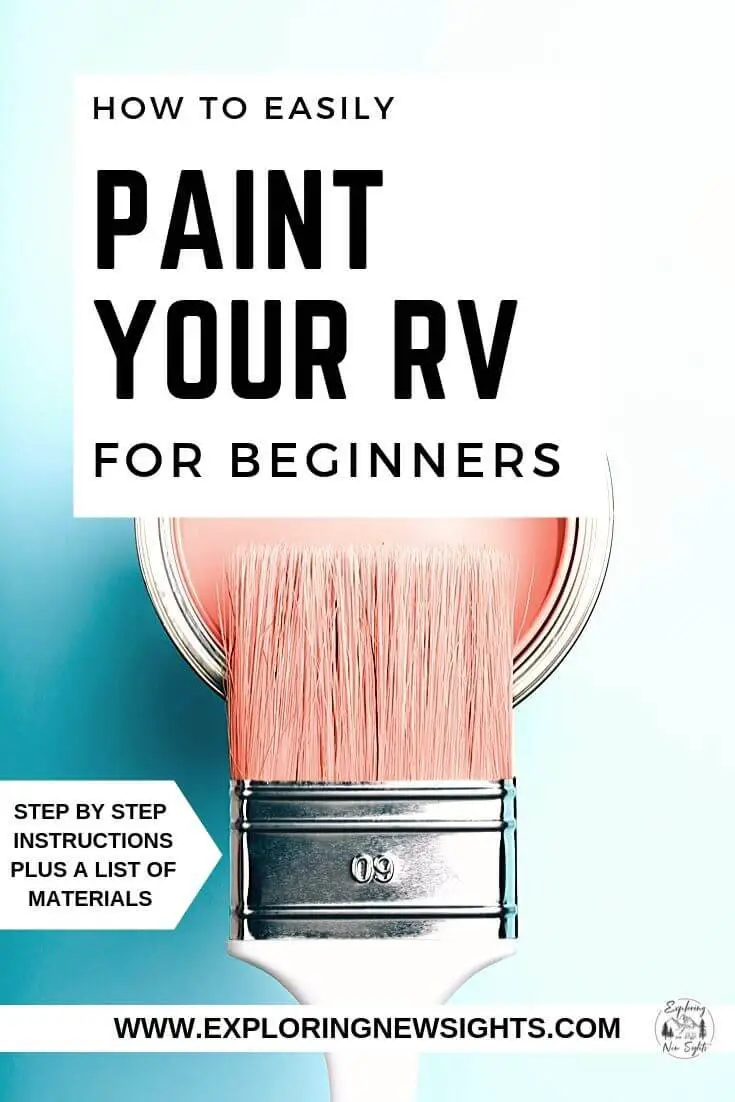
Are you looking to paint your RV?
Are you wanting to add that touch of freshness to brighten up the small space and make it your own?
Well, you are not alone! RV Remodeling and Renovations are all the rave these days with the tiny living movement.
I know for us, painting our walls was the number one thing we wanted to do when we began our Full-time living journey. Although we bought brand new, I was not a fan of the beige walls.
So, whether you’ve purchased a used RV with cash or financed a new one, it’s ok to paint! It’s yours! Now I do want to disclaim that if you are looking to sell at any point, it is best to use colors that are generally neutral.
For us, we went with a satin white because one rule with Interior Design is dark colors will always make a small space feel even smaller. Whereas bright colors allow more light and make any space feel larger than it is.
This is why you see a lot of RV’ers painting their walls and/or cabinets white and then accenting that space with other colors.
Just so you know, and to maybe put your mind at ease, painting your RV’s walls with the right material is EASY!! Also, don’t be afraid to make it your own!
Here is a step by step on how we painted our RV walls and what we used to get the job done.
Step 1: Plan!
Planning is so important! Make sure you pick the colors you enjoy the most and pick the areas in which you want to paint.
For example, are you going to paint just the walls or the cabinets or both?
How much space are you wanting to paint? Our RV is 32 feet long and had to make sure we purchased enough paint to cover all the walls.
These were the top questions I had to answer in order to plan out the painting remodel in our RV.
Step 2: Purchase!
Now that you have the idea and planned out the colors and areas in which you want to paint, now it is time to purchase all the materials.
I feel like this is the step that gets people stuck because RV walls are made out of Vinyl and not the normal sheetrock in homes.
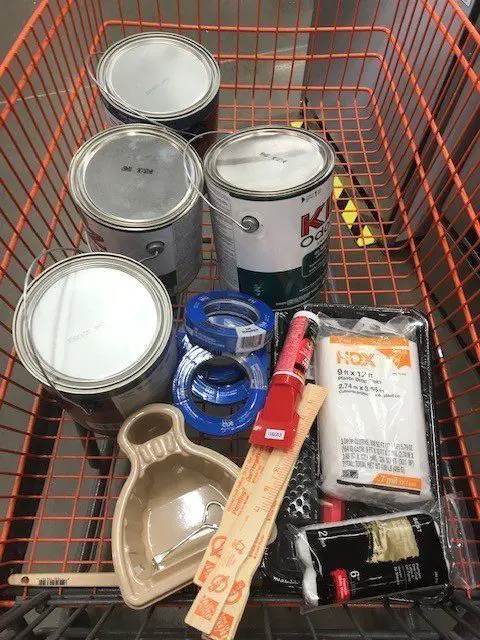
You want to make sure you use a paint and primer that is going to stick to the walls and cabinets. I have heard of many stories of people using paint and primer that ended up peeling off the walls/cabinets. Nobody wants that to happen because it just will cause even more work. Here is a list of what we purchased and used to paint our RV walls.
What we used:
- Painters Tape
- Foam Rollers and Trays
- Paint Brushes
- Corner painters
- Oil Based White Primer by Glidden (Many also use Kilz)
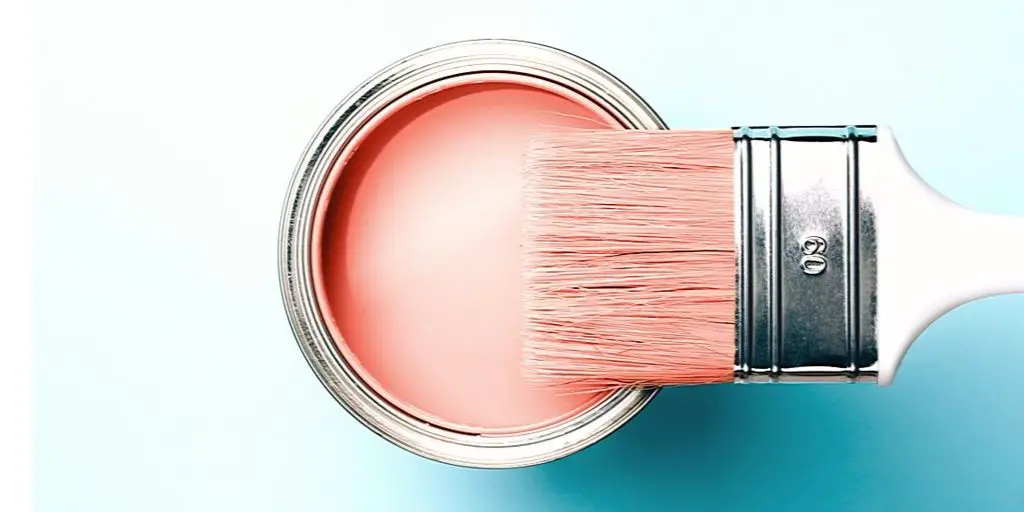
- Glidden Premium Interior Paint & Primer in Satin White
- Paint Stirrers
- Paint Can Opener
- Plastic or Cloth Drop cloths to protect any flooring or furniture.
- Gloves (If Desired)
Other Items you may need:
- Sand Paper (if you had to take down any wallpaper to smooth out the glue on the wall.)
- Square Screw Driver (Robertsons Screwdriver) to remove the Valances
- Goo Gone (Great for removing paint mishaps)
Other options for Painting:
- Spray Gun (many choose this option as a quicker way to paint instead of rollers and brushes. If you choose this option, I do highly recommend that the preparation stage is taken 100% serious and you cover every inch you do not want paint on.)
Step 3: Prepare
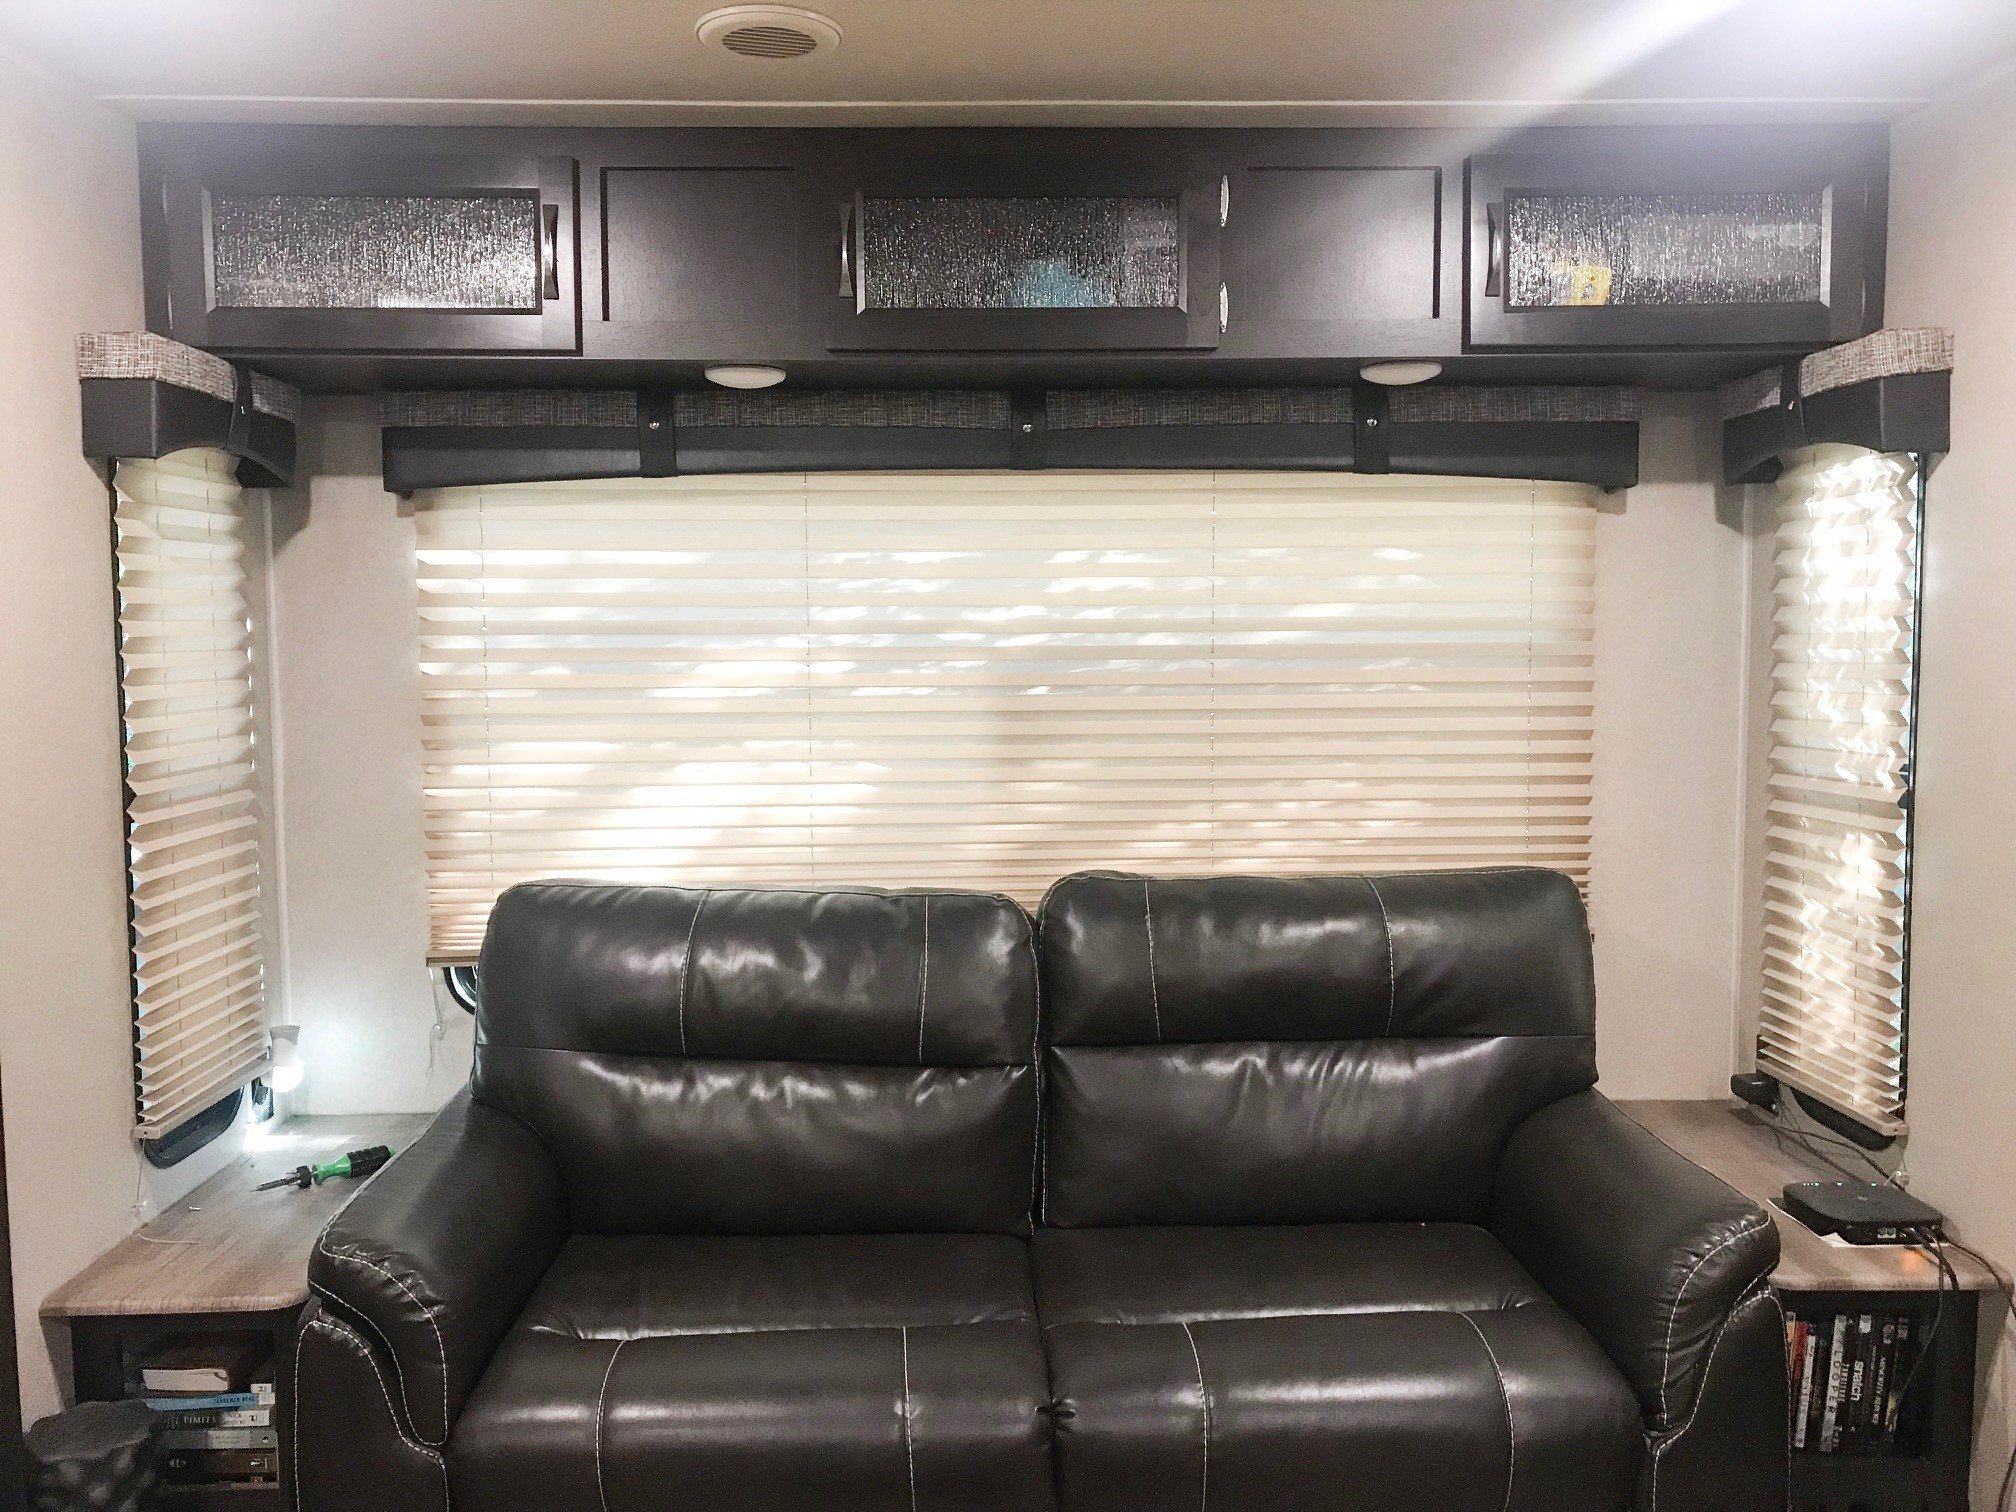
Now that you planned out your colors and where you want to paint and purchased your materials, now it’s time to prepare the space for painting. By this, I mean taping, sanding, and removing any valances and wallpaper that might be on the walls.
Many RV’s have a strip of wallpaper as an accent that has to be removed before painting. For us, we had no wallpaper, therefore, we only had to remove all the valances, tape everything off, and protect the items I didn’t want the paint to drop on.
Please keep in mind this part can become tedious and the anxiousness of wanting to get started on the painting is normal. However, this is a very important part to never skip because you want to make sure it looks amazing once complete! Also, having to go back and goo gone all the mishaps just takes up way too much time.
Step 4: Prime and Paint
Now that you have your supplies, and have prepared the space, go ahead and get started! Painting to me is fun, but for some, it can be frustrating. I enjoy turning on some good music and tackling sections by sections.
Start with the Primer always first. I recommend doing at least 2 coats of the oil-based primer to ensure the paint sticks.
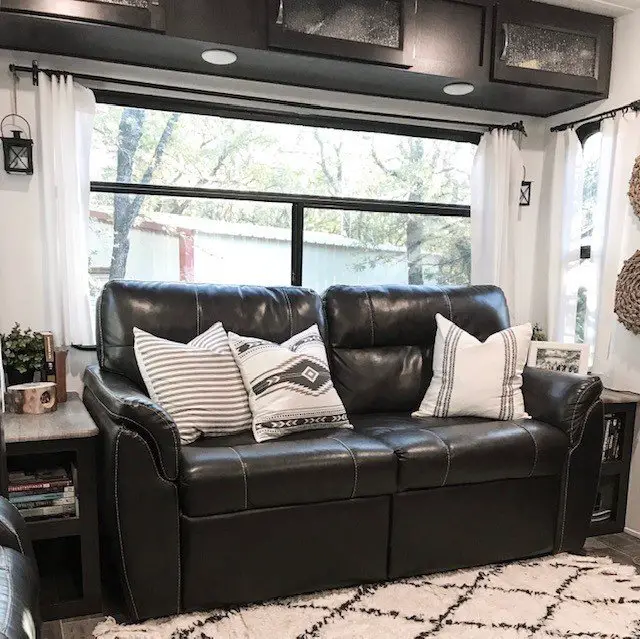
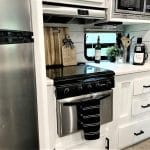
Here is a little Before and After we painted the walls white and replaced the valances with curtains.
I hope I’ve made it easy for you! I remember when I was about to start the project of painting our walls, I searched through dozens of blogs trying to find the answers to all my questions.
Questions such as; what paint to use? Do I use a water or oil base primer? Do I really need to sand all the walls before painting?
Please, don’t let this project be overwhelming. Enjoy the process and you will enjoy the finished project. Whether you are living in your RV fulltime or just making a beautiful weekend getaway camper, have fun! Painting is just the beginning to making the tiny space your own.
If you have any questions regarding painting your RV interior walls, please leave a comment! I would be glad to give any advice I can!
Thank you for stopping by, and don’t forget to check out some of our other posts.
Pin Me to save for later!


How do you get that accent or boarder wallpaper off?
Our RV is 2019 model, therefore it did not have a border wallpaper like many older versions. I have seen people try a lot of things including heat from a hairdryer, tsp, etc. I personally do not have experience stripping that wallpaper strip.
So you’re saying oil based primer and paint? I’ve read other articles that have said with proper prep work latex works great.
Hi Terry! Thanks for stopping by! We used oil-based. I haven’t used latex paint at all, therefore, I can’t give any insight on that. The oil-based primer has worked great on our RV walls for 2 plus years now! 🙂
What type of paint brush, nylon polyester blend, nylon synthetic blend, nylon, polyester, synthetic??? You’re telling me to use foam rollers so am I supposed to use foam paintbrushes?
Hi Robin! Great question! There is actually no particular style or type of brush or roller you need to use. Just a normal paint roller and brush. I do recommend getting a brush that isn’t going to shed so the bristles don’t come out on the wall or in the paint. You can use foam paintbrushes. It really depends on what look you would want. If you don’t want the paintbrush strokes in the wall, then I would go with foam. 🙂
Awesome post! Keep up the great work! 🙂