How To Easily Paint Your RV Interior Walls

How To Easily Paint Your RV Interior Walls

Are you looking to paint your RV?

Are you wanting to add that touch of freshness to brighten up the small space and make it your own?

Well, you are not alone! RV Remodeling and Renovations are all the rave these days with the tiny living movement.

I know for us, painting our walls was the number one thing we wanted to do when we began our Full-time living journey. Although we bought brand new, I was not a fan of the beige walls.

So, whether you’ve purchased a used RV with cash or financed a new one, it’s ok to paint! It’s yours! Now I do want to disclaim that if you are looking to sell at any point, it is best to use colors that are generally neutral.

For us, we went with a satin white because one rule with Interior Design is dark colors will always make a small space feel even smaller. Whereas bright colors allow more light and make any space feel larger than it is.

This is why you see a lot of RV’ers painting their walls and/or cabinets white and then accenting that space with other colors.

Just so you know, and to maybe put your mind at ease, painting your RV’s walls with the right material is EASY!! Also, don’t be afraid to make it your own!

Here is a step by step on how we painted our RV walls and what we used to get the job done.

Step 1: Plan!

Planning is so important! Make sure you pick the colors you enjoy the most and pick the areas in which you want to paint.

For example, are you going to paint just the walls or the cabinets or both?

How much space are you wanting to paint? Our RV is 32 feet long and had to make sure we purchased enough paint to cover all the walls.

These were the top questions I had to answer in order to plan out the painting remodel in our RV.

Step 2: Purchase!

Now that you have the idea and planned out the colors and areas in which you want to paint, now it is time to purchase all the materials.

I feel like this is the step that gets people stuck because RV walls are made out of Vinyl and not the normal sheetrock in homes.

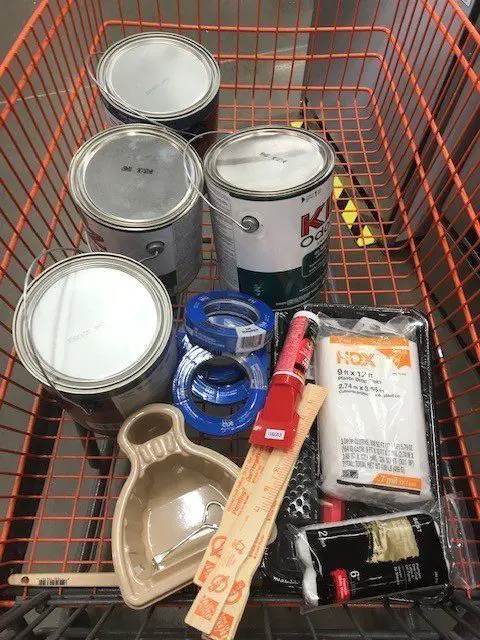
You want to make sure you use a paint and primer that is going to stick to the walls and cabinets. I have heard of many stories of people using paint and primer that ended up peeling off the walls/cabinets. Nobody wants that to happen because it just will cause even more work. Here is a list of what we purchased and used to paint our RV walls.

What we used: 

  • Painters Tape
  • Foam Rollers and Trays
  • Paint Brushes
  • Corner painters
  • Oil Based White Primer by Glidden (Many also use Kilz)
  • Glidden Premium Interior Paint & Primer in Satin White
  • Paint Stirrers
  • Paint Can Opener
  • Plastic or Cloth Drop cloths to protect any flooring or furniture.
  • Gloves (If Desired)

Other Items you may need:

Other options for Painting:

  • Spray Gun (many choose this option as a quicker way to paint instead of rollers and brushes. If you choose this option, I do highly recommend that the preparation stage is taken 100% serious and you cover every inch you do not want paint on.)


Step 3: Prepare

Now that you planned out your colors and where you want to paint and purchased your materials, now it’s time to prepare the space for painting. By this, I mean taping, sanding, and removing any valances and wallpaper that might be on the walls.

Many RV’s have a strip of wallpaper as an accent that has to be removed before painting. For us, we had no wallpaper, therefore, we only had to remove all the valances, tape everything off, and protect the items I didn’t want the paint to drop on.

Please keep in mind this part can become tedious and the anxiousness of wanting to get started on the painting is normal. However, this is a very important part to never skip because you want to make sure it looks amazing once complete! Also, having to go back and goo gone all the mishaps just takes up way too much time.
Step 4: Prime and Paint

Now that you have your supplies, and have prepared the space, go ahead and get started! Painting to me is fun, but for some, it can be frustrating. I enjoy turning on some good music and tackling sections by sections.

Start with the Primer always first. I recommend doing at least 2 coats of the oil-based primer to ensure the paint sticks.

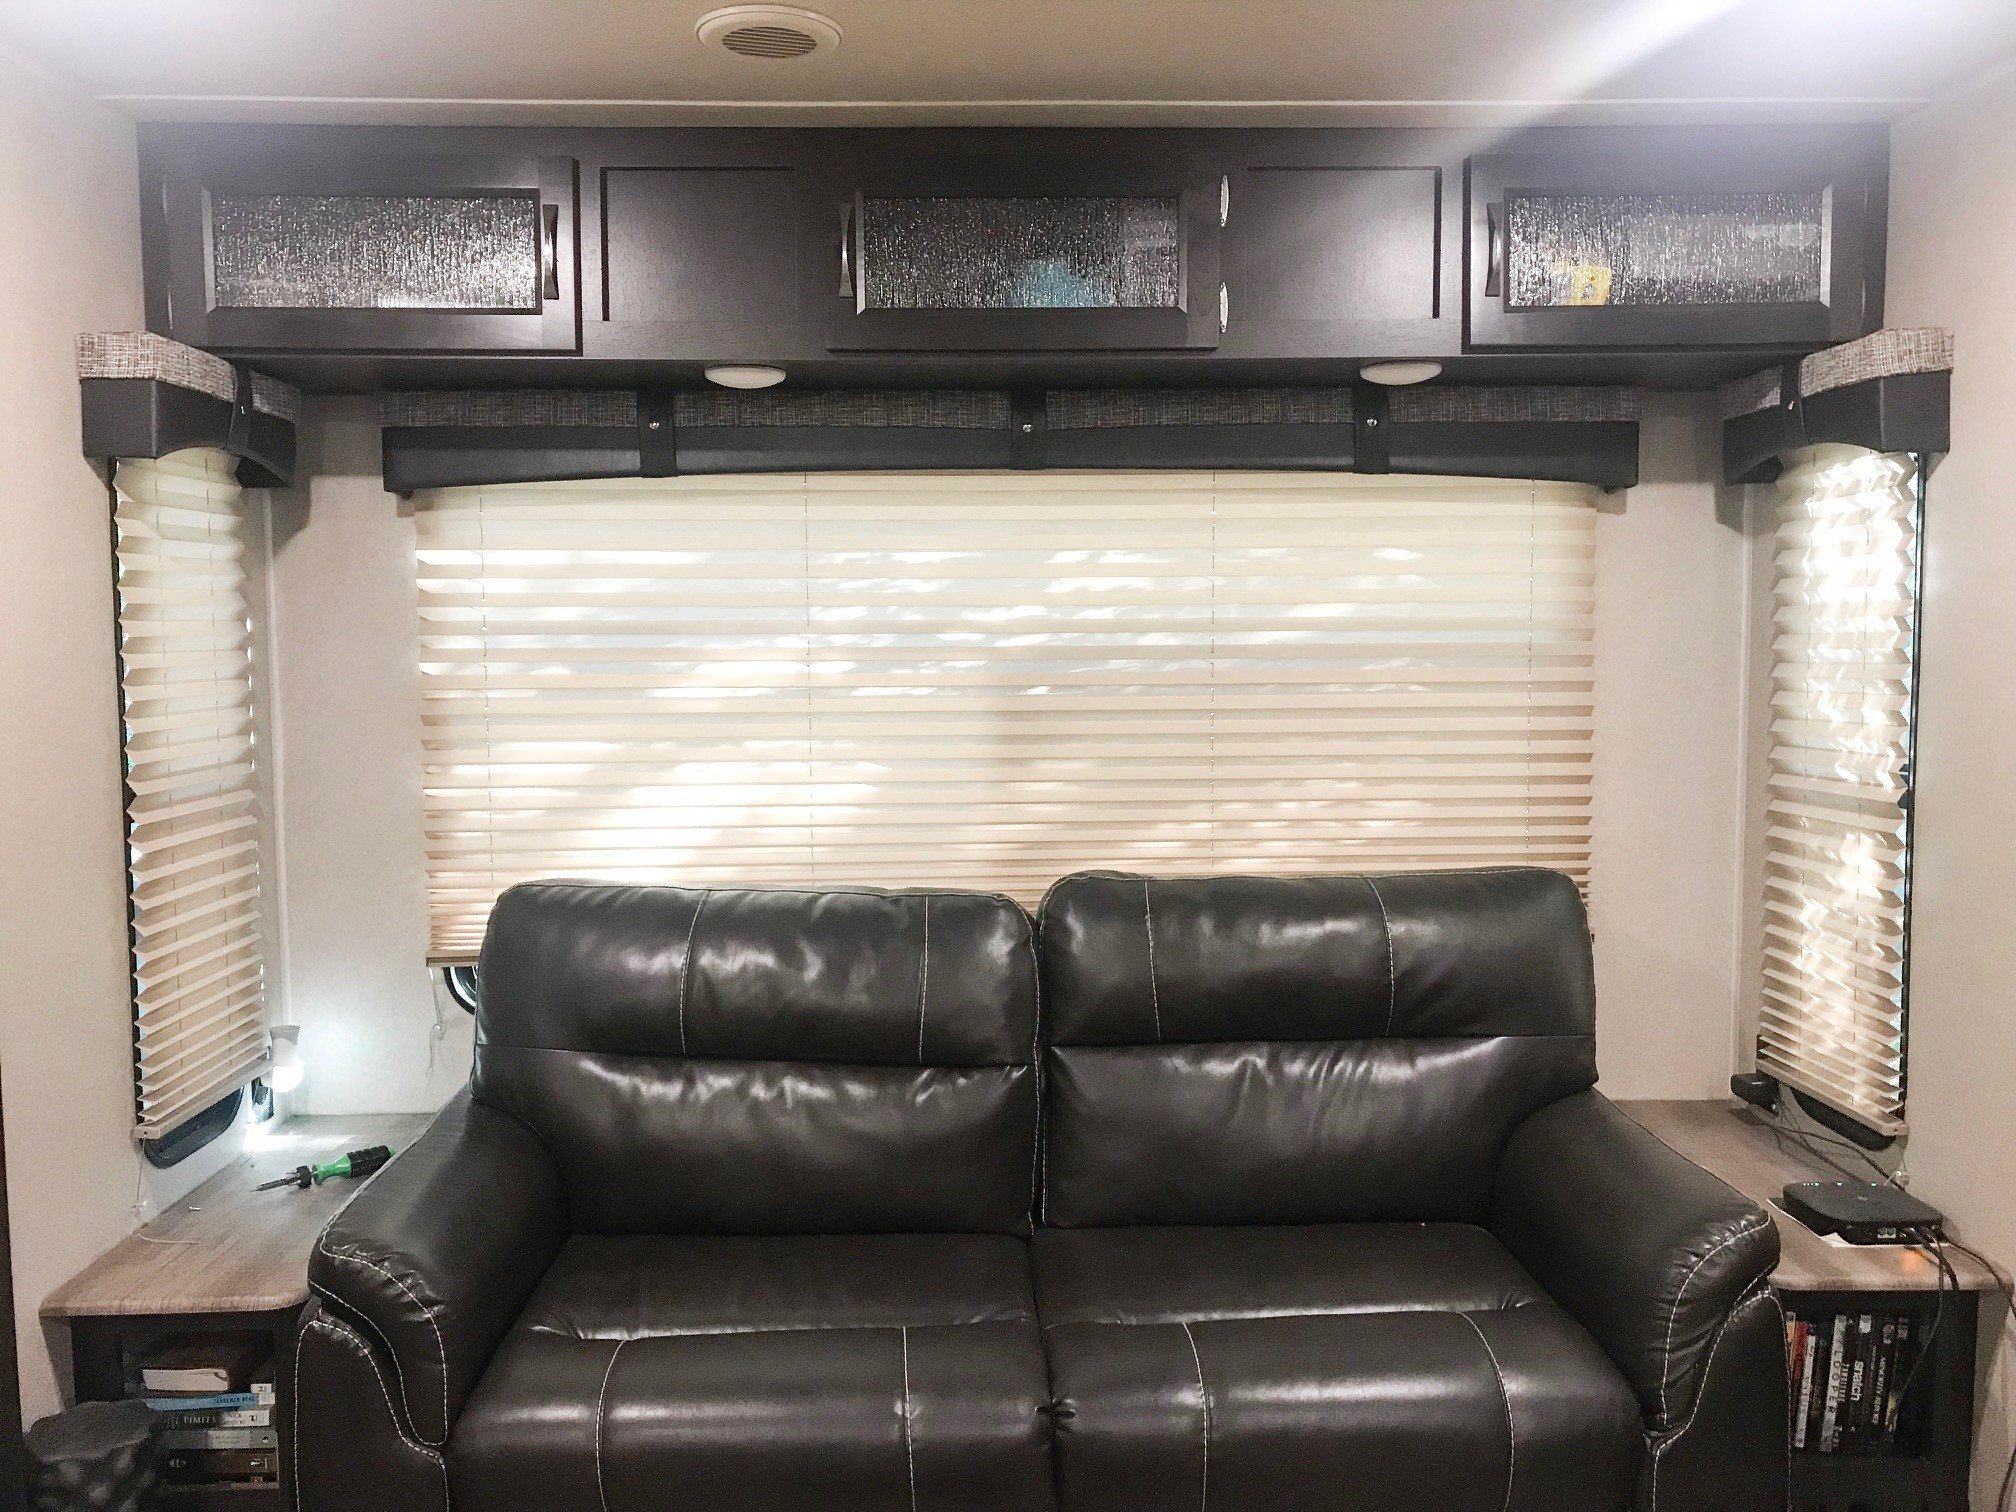
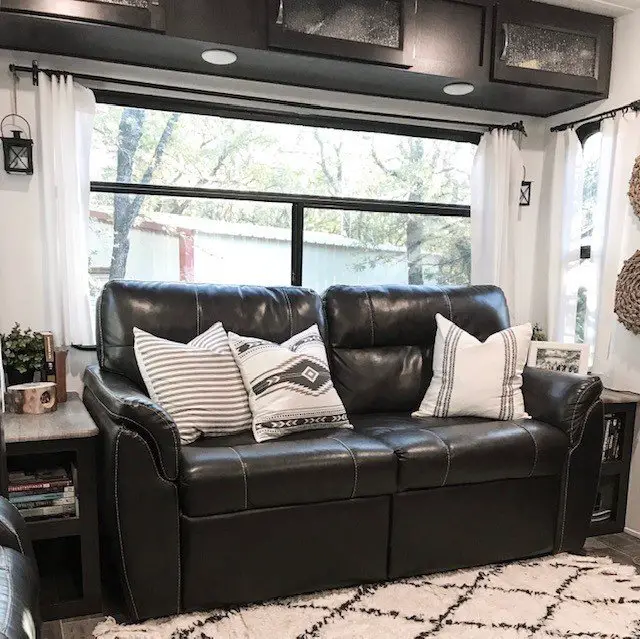
Here is a little Before and After we painted the walls white and replaced the valances with curtains.
 

I hope I’ve made it easy for you! I remember when I was about to start the project of painting our walls, I searched through dozens of blogs trying to find the answers to all my questions.

Questions such as; what paint to use? Do I use a water or oil base primer? Do I really need to sand all the walls before painting?

Please, don’t let this project be overwhelming. Enjoy the process and you will enjoy the finished project. Whether you are living in your RV fulltime or just making a beautiful weekend getaway camper, have fun! Painting is just the beginning to making the tiny space your own.

If you have any questions regarding painting your RV interior walls, please leave a comment! I would be glad to give any advice I can!

Thank you for stopping by, and don’t forget to check out some of our other posts.

Pin Me to save for later!
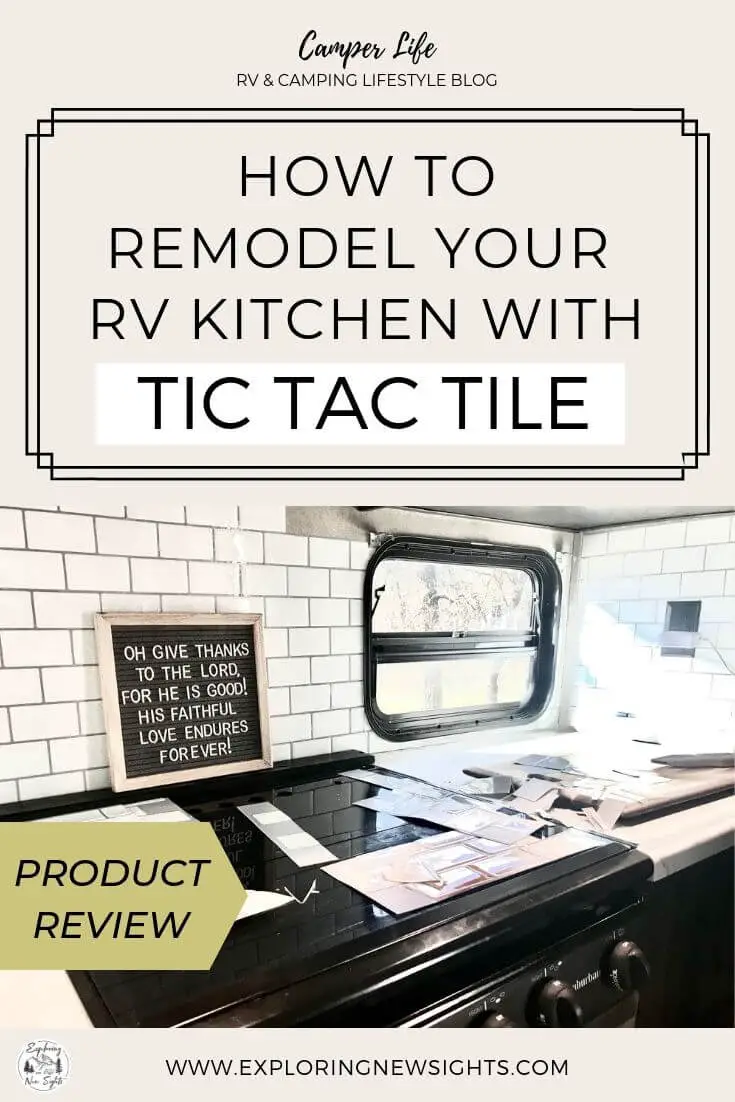
RV Remodel : How To Use TIC TAC TILE To Upgrade Your RV Kitchen

RV Remodel : How To Use TIC TAC TILE To Upgrade Your RV Kitchen

Are you looking to do an RV Remodel to your home on wheels?

Are you checking out all the Instagram and Pinterest boards with beautiful remodels and dreaming about creating your own amazing space in your RV?

Well, you’re in the right place!

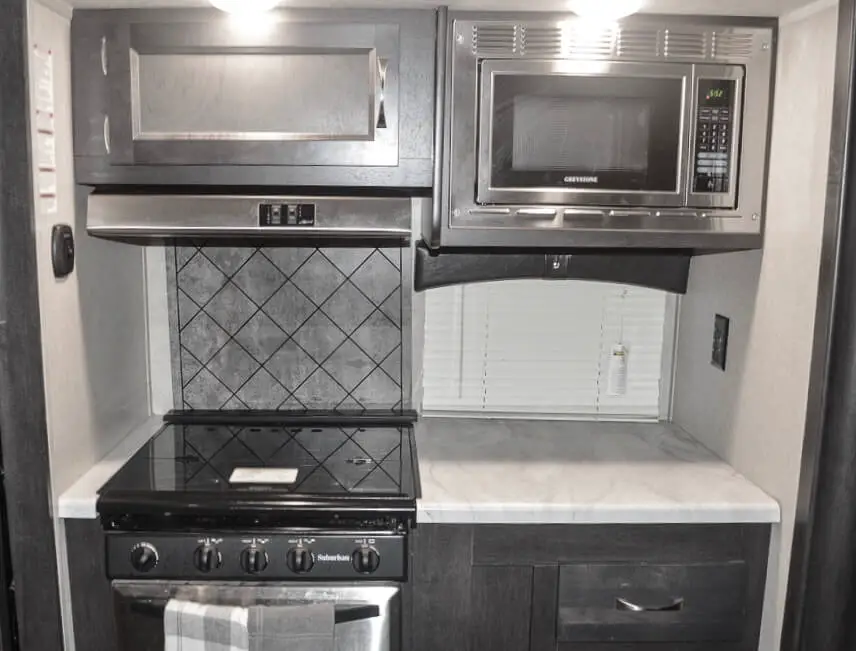
Before we even purchased our RV I knew I wanted to make my own modifications and do a little remodeling to make it fit our style. The main reason is that a lot of the RV’s are very “brown” and out of date.

If you’re like me you probably loved seeing all the amazing RVer’s that have transformed their kitchens on social media. Seeing these kitchens fueled my desire to transform ours and I hope it’s fueled your desire as well!

During my dreaming stage of an RV remodel, I noticed one modification many were completing in their kitchens was adding tile for a backsplash.

This is the first thing we did to add our own style into the space, and we have absolutley no regrets! It brings an incredible feeling of uniqueness and character to our kitchen.

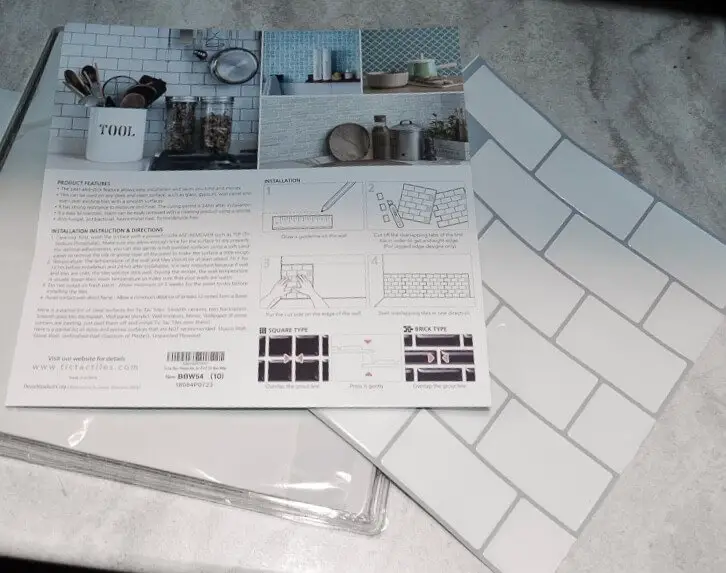
After I decided that tile was what I wanted to do first, I began my search for the perfect lightweight stick on option that didn’t require all the fancy grout and plaster. I needed something quick and easy, something that would make a nice design statement. I also didn’t want to spend too much money because I was on a budget.

I searched through Home Depot, Lowes, and online. Through my research, I found a company and a product called TIC TAC TILE. Of course, I am a review type of buyer. If the reviews are not good, then I continue looking for another product. I always make sure I look at the negative and positive reviews.

What I found was that the reviews were mostly positive. The bad reviews couldn’t outweigh the good ones in my opinion. Plus the price was reasonable, compared to other brands that I found.

I was overwhelmingly excited to start the remodel on our kitchen! Something I had been dreaming of before we even purchased the RV. These tiles seemed like the perfect place to start.

Therefore, I decided to go forward with the TIC TAC TILE and ordered them directly off Amazon. They had the best price and fast shipping with Amazon Prime.

How to apply?

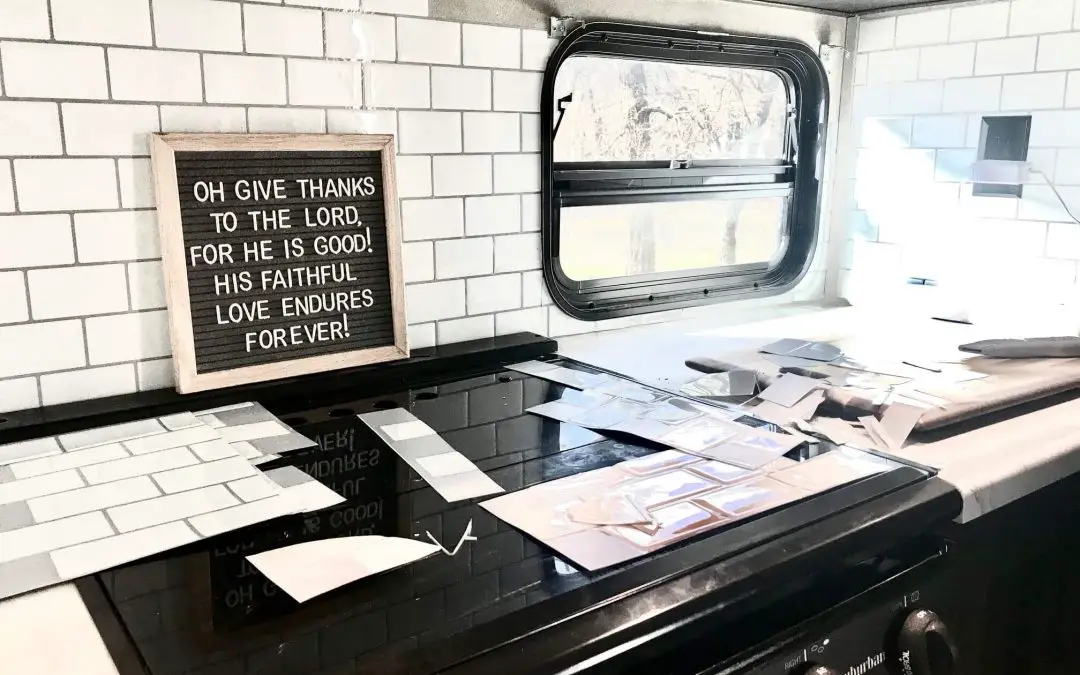
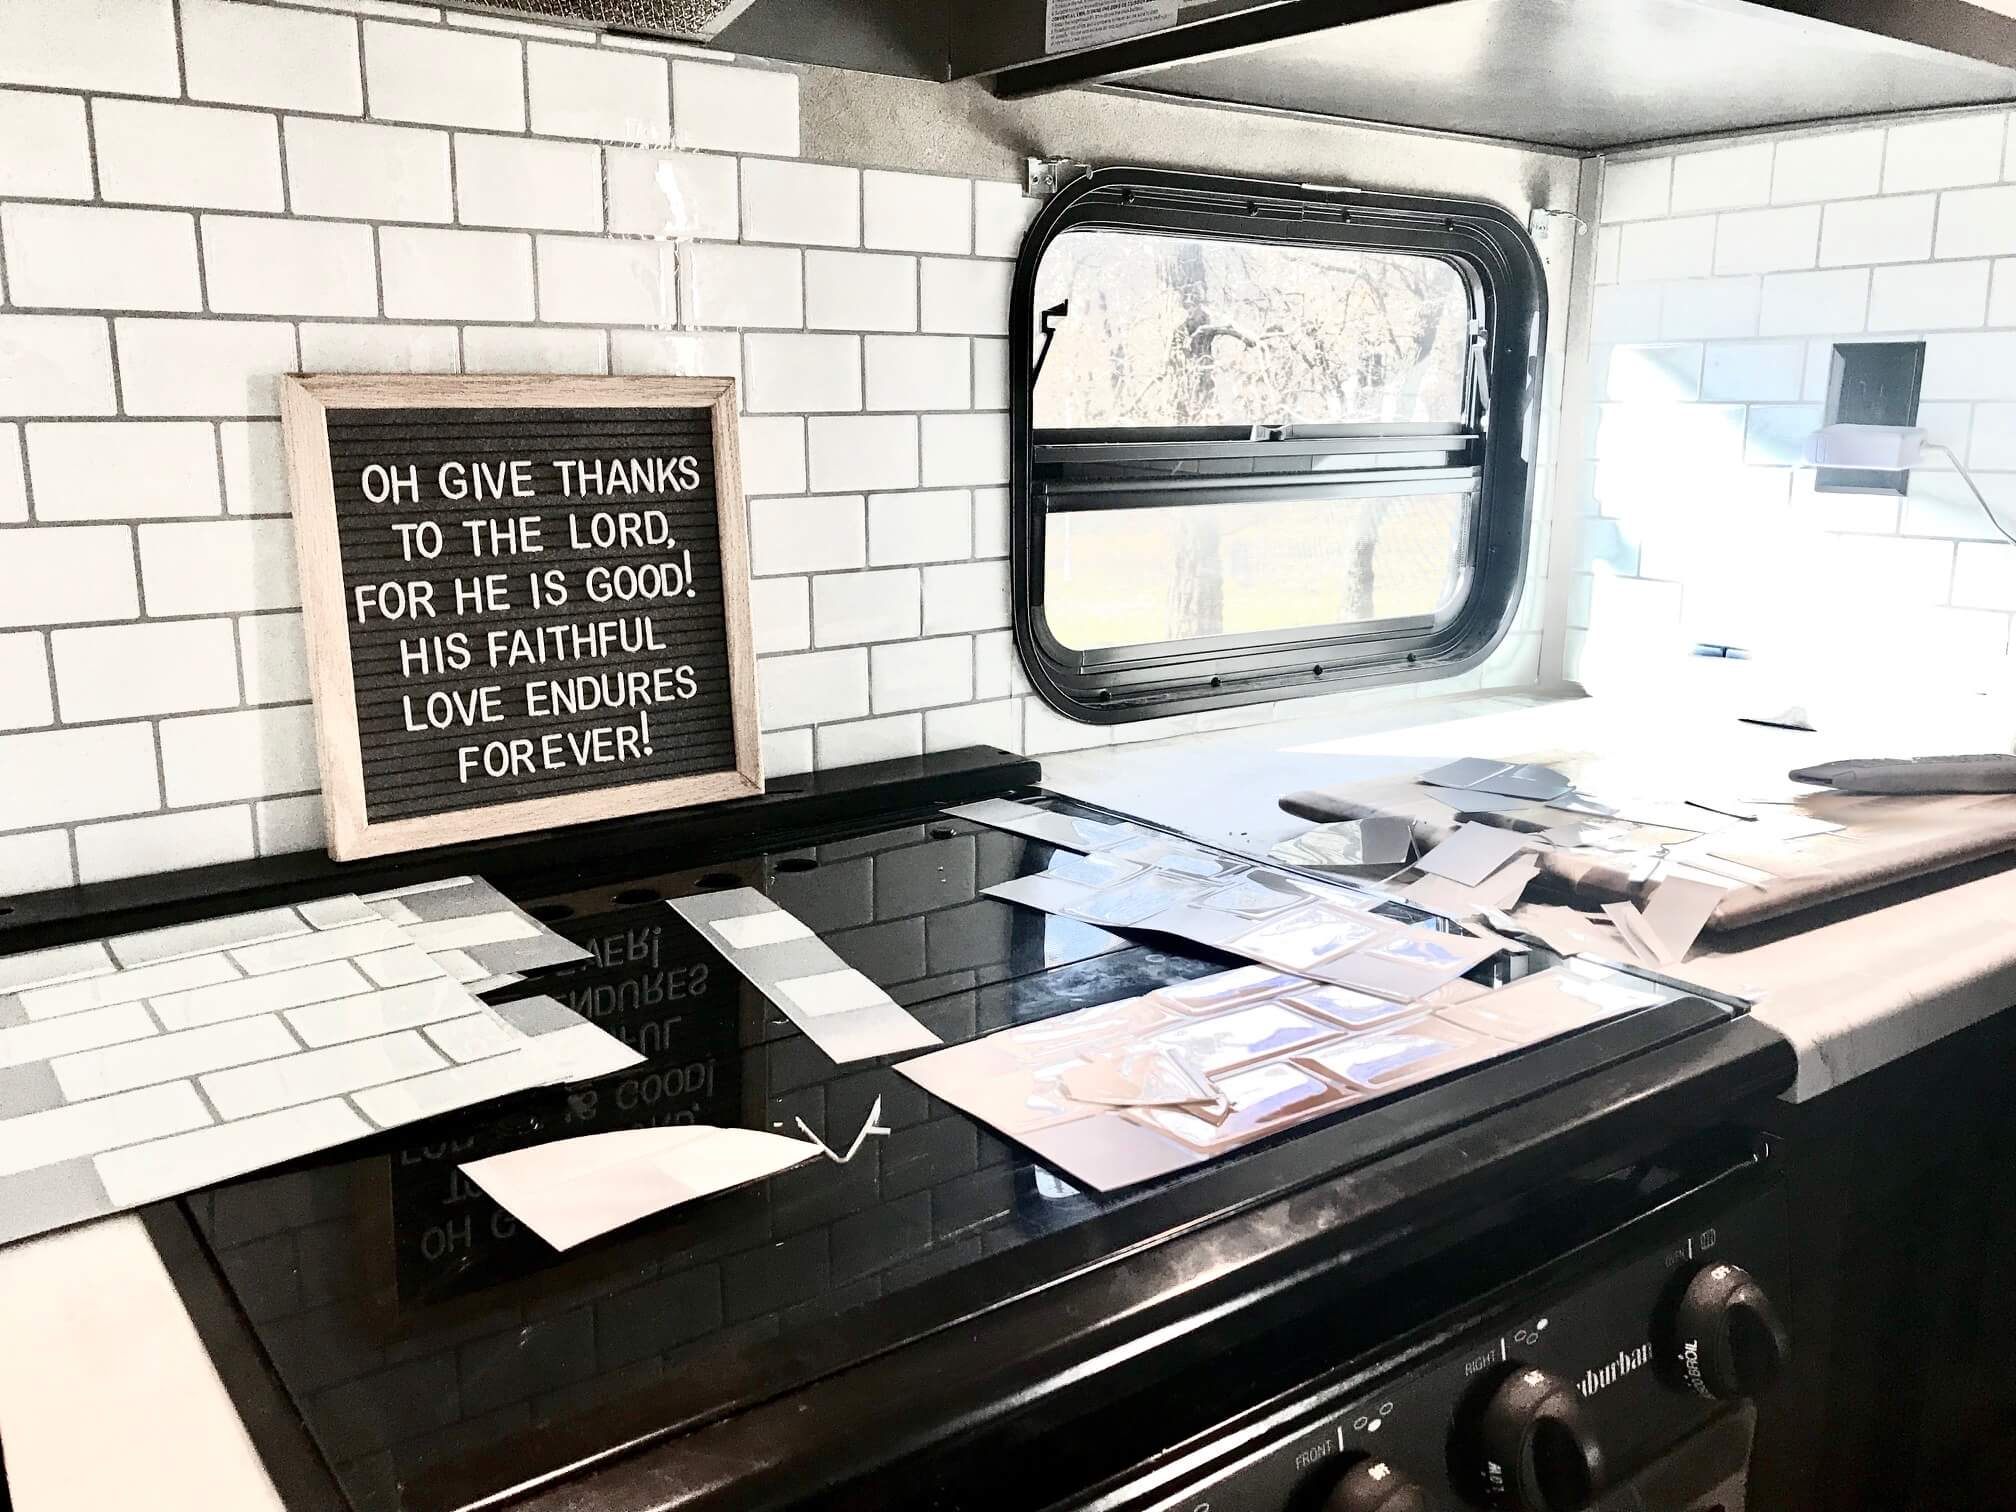
To start the RV remodel with TIC TAC TILE, let me be the first to say that the application is pretty easy. However, having patience and precision is key to making it look amazing. Here is a step by step on exactly what I did to apply my TIC TAC TILE.

  1. Clean —-> Cleaned the wall surface with a plain disinfectant wipe. You can also use white vinegar, TSP, or whatever kind of cleaning product that is multi-surface and has a degreaser.
  2. Dry —-> Make sure the wall is completely dry!! This is important. The sticky adhesive does not stick to any wet surfaces.
  3. Measure —-> Now when starting out you can get away with just adding an entire page of the tile, however, once you start to get around edges and windows, measuring is important.
  4. Cut —-> Once you’ve measured, now is time to trim the pieces to the desired/needed size. For cutting, I found after using scissors, that a box cutter and cutting board made the perfect tool. The box cutter is more precise and sharper when getting through the tile, adhesive, and the adhesive protectant.
  5. Stick —-> Now, remove the backing of the TIC TAC TILE that protects the adhesive. Then stick the tile on the wall to the desired position. It’s might take a few tries to get the hang of it and get it perfectly lined up.
  6. Repeat —-> Just go ahead and repeat steps 1 through 5 until the job is completed to your satisfaction.

Positives:

This product adds character to your RV with minimal prep. The product is heat and mold resistant, lightweight, and perfect for the kitchens and bathrooms in any recreational vehicle.

TIC TAC TILE is also very affordable and Eco-friendly! The material is very easy to clean after oil or splattered food from cooking gets on the tile.

Negatives:

Many have complained about the adhesive not sticking all the way and corners coming off the walls. However, there are steps to take to prevent this. Such as cleaning the area properly and adding your own additional adhesive to the edges.

I would also avoid applying the product while in extreme heat or humidity to allow the adhesive to stick properly. It is tedious work, so having patience while applying the product is important.

Where to buy?

As I mentioned, Amazon is the place I purchased our TIC TAC TILE. You can choose from a variety of colors and styles. We chose the classic white Subway tile look with the grey grout.

There are available as 12 x 12 sheets and you can either purchase 1 sheet, 5 sheets, or 10 sheets. I purchased the 3 of the 10 sheet packs to complete the kitchen and bathroom. I do have leftover tile, which I am okay with because I would rather have too much than not enough.

If you are thinking about changing things up a bit in your home on wheels with a little RV remodel then TIC TAC TILE is a great place to start!

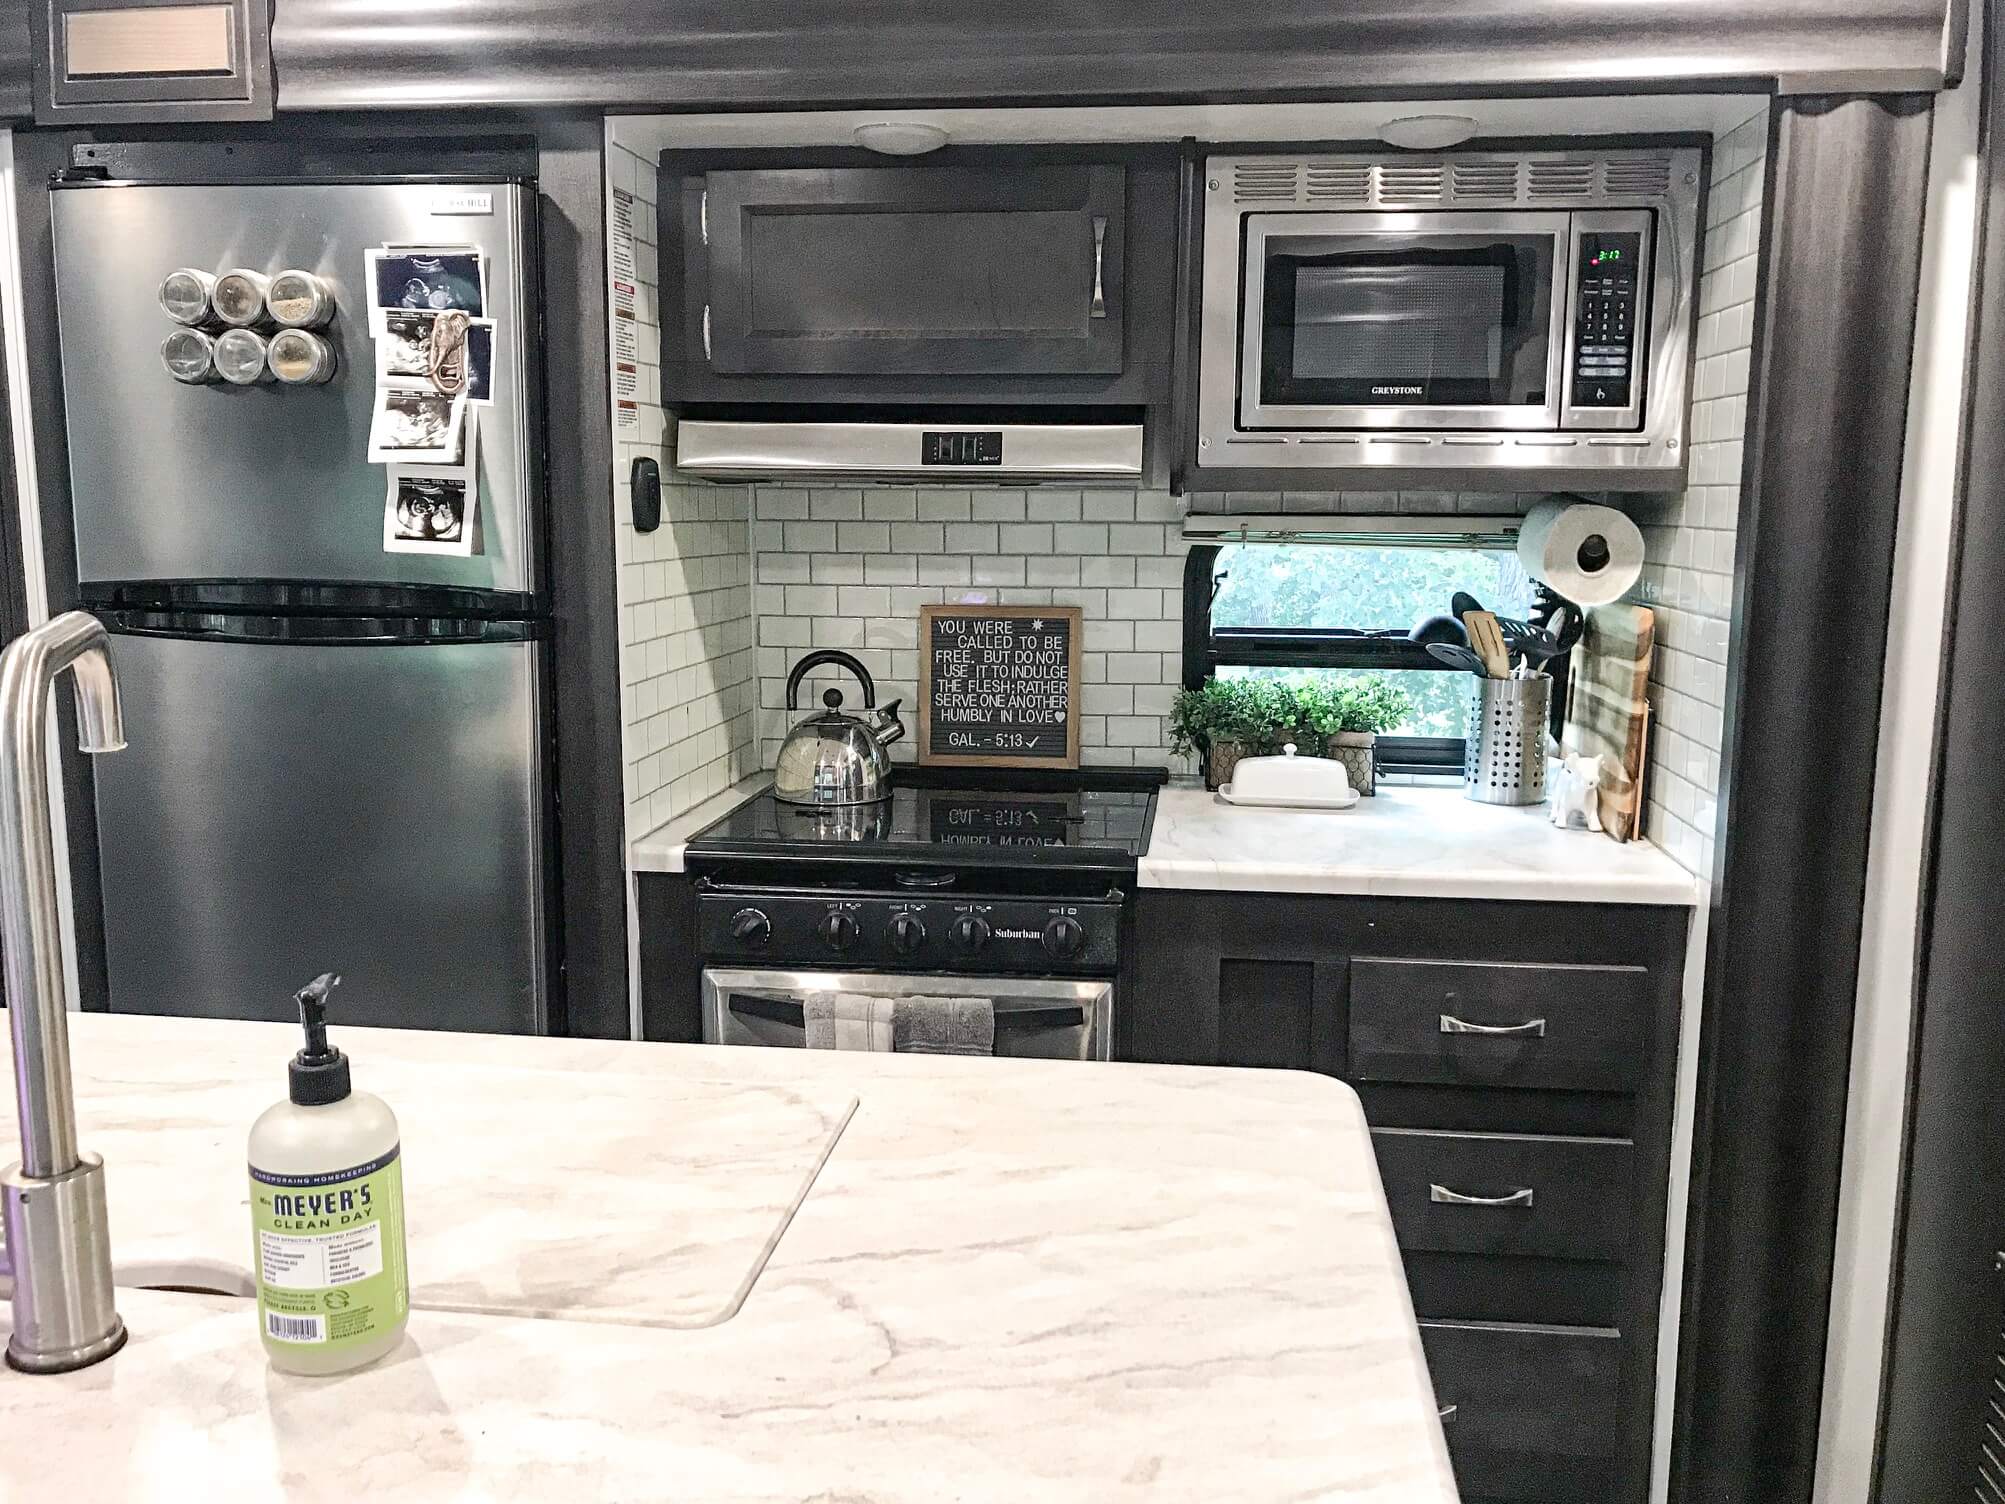
We absolutely love the look and feel in our Kitchen now! It adds our own touch and flair to the space. Plus, our RV is no longer the cookie-cutter décor with the brown boring interior. 

The TIC TAC TILE also made the kitchen area feel like its own little corner by separating it from the rest of the RV’s décor. It almost feels like you get a new kitchen by adding the simple tile.

So, if you’re looking for a budget friendly way to add some flair and personality to your home on wheels then I definitely recommend TIC TAC TILE!

Have you used TIC TAC TILE in your RV? I would love to know what you think about it! Leave a comment below and share with anyone looking to make some transformations to their home on wheels!

Thanks for stopping by!


Pin Me to save for later!

5 Amazing Benefits of Renting an RV Before you Buy

5 Amazing Benefits of Renting an RV Before you Buy

There’s something about RVing that brings a wanderlust and adventurous spirit out in almost everyone.

It has become very popular! So, we are examining why renting an RV can be very beneficial before you make the decision to buy. 

Whether you are in it for the weekends and holidays or want to live Full-time like us.

For many, it’s about exploring the nature reserves, hiking trails, and unplugging from most of modern technology.

Just imagine sitting by the campfire outside, roasting delicious marshmallows while relaxing and bonding with your family or friends. It’s a beautiful sight!

Renting an RV

However, purchasing an RV is a big investment and is considered to be a ‘luxury’ item.

Also, it can be overwhelming as you begin your search. One of the first places most look is RV Trader, where they begin learning just how many different types, floor-plans, and brands there are.

That is precisely why you should consider these 5 reasons to rent an RV before buying one!

1. It can save money and time

I have heard of so many stories of RV’ers who purchase their “perfect RV” only to trade it in a year later for something either larger or smaller.

Renting an RV first could save you from stress, emotionally and financially.

When you take a loss or have to go through the trade-in process, it can take a toll not only on your pocketbook but also on your state of mind.

No one wants to waste money by purchasing the wrong RV that doesn’t truly fit their needs.

When you rent, you will be able to test out all the different styles and types to see what fits, before signing the dotted line.

2. Test out different floor-plans and amenities

RVs come in all different styles and sizes to meet the RV’ers needs. There are Motor-homes classified as the Class A, Class C, and Class B. Then you have your tow-able RVs like the Travel Trailer, Fifth Wheel, Toy Haulers and Pop-Ups.

Along with the styles of RVs, you have numerous amounts of floor-plans. Some will have an extra bunkhouse for kids and guests, others will have washer/dryer prep, while others will have an outdoor kitchen and entertainment area.

Each floor-plan carries its own unique details that can either benefit your family or become an unused amenity.

You’ll also be able to consider the amount of space and slides you might need. We have 3 slides, two in the main living area and one in the bedroom. They make the space open and not feel cramped. 

By renting before buying, you will be able to really test out space and see if it will be enough room or possibly too much room for those who are really wanting to minimize.

3. Practice driving, towing, parking, and backing up

Unless you are a seasoned driver like my father, who has been pulling 10,000 lbs. plus trailers across the country for his work, pulling a trailer can be intimidating.

I (Nissa) still have not driven the truck while our 34ft Travel Trailer is towing behind. I am honestly scared because it’s our home.

Thank goodness my husband used to tour with a band and has driven an RV before. Otherwise, we would have had a lot of training ahead of us.

Renting an RV will help tremendously because it will give you the opportunity to practice towing, parking, and the dreaded backing up.

Practice makes perfect, as my coaches would always say, and the same goes for towing a trailer or driving a motor-home that is slightly larger than a normal truck or car.

4. Learn how RV’s work

Yes! Understanding how RV’s work is a learning curve. For us, the gentlemen we purchased from walked us through everything. However, there still was so much we had to research and learn about our RV.

Learning how the water system works, the heating and a/c systems, or how the slides mechanically come in and out are important.

Another big one is the grey and black tanks, and knowing where you can dump. As well as, the electrical amps, where to plug in, how you can convert amps to fit your RV and more.

These are just a few things that one will have to know when owning an RV.

RVing is fun but there is definitely a learning curve.

Renting an RV first will allow you to go through that learning curve to see if it’s something you really want to do.

Which leads me to my last point.

5. To ensure the RV life is right

Renting an RV can help you determine if living in an RV or purchasing one for weekend camping is right for you and your family.

Renting is truly the “try it before you buy it” concept.

Everyone loves to try things out before fully committing, especially when something is a large purchase.

Where you can Rent

You can check out the #1 RV Rental site called Outdoorsy. They have consistently rated 5 stars with roadside assistance, customer service, and up to $1million insurance coverage for approved bookings.

With Outdoorsy, you can search for the RV that interests you. Search by keywords, prices, vehicle type, amenities, kitchen necessities, entertainment desires, rules like Pet-friendly, and overall rating.

You can check out and rent your RV by using this link “Outdoorsy”. (If you do choose to rent through my link, I will receive a commission that is no cost to you.)

Don’t forget to check out these Top 10 Tips from fellow blogger MamacitaOnTheMove for when you’re ready to rent an RV for the weekend.

I really hope this helps you consider why renting an RV is a great way to figure out what RV you want, and whether the RV life is right for you.

It can help you save money, learn about RVing and so much more!

Did you rent before you purchased your RV? Comment below! We would love to hear how it has benefited your decision!

Sharing is Caring! Pin, Tweet, and share on Facebook! Thanks for stopping by and Happy RVing! 

Pin to save for later!

Living In An RV – Top 5 Things We Wish We Knew Before

Living In An RV – Top 5 Things We Wish We Knew Before

Living in an RV gives you the freedom of being able to take your home anywhere.

Knowing that you can change your own view from the beach one day to the mountains the next is exhilarating.

However, it is a completely different lifestyle than a stick and brick home or apartment.

Before jumping into living in an RV, there are some things that I wish I did more research on.

None would have changed my mind, but it is great information to know and consider. Information like RV parks, the plumbing situation, and additional preventative maintenance to seals and slideouts.

So let’s get into the 5 things we wish we knew before living full-time in an RV.

1. The Cost of RV Parks

Yes, while many think living in a tiny RV cuts down your expenses drastically from a house or rent payment, the reality it’s not much.

The lowest RV parks with the full hookups of water, 30/50amp (depending on what you need, ours is 50amps) and sewer are between $30-$50 a night. Do the math, $30 a night Times 30 days, that’s $900 a month. Not much less then a 1 bedroom apartment when you factor in the RV payment if you have a loan.

Now, there are options of “boondocking” and many RV parks can run discounts if you pay monthly and in advance.

There are also some great options to buy yearly packages that allow you to visit multiple parks in a certain region for a good price. Thousand Oaks Trails has some great options for yearly park packages.

2. The RV Age Limit

Now, we wanted to buy new due to personal reasons, however, it definitely is something we wish we knew. It would have helped when we were thinking of buying used and renovating.

Check out our post on Should you Buy a New or Used RV? Analyzing the Pros and Cons! 

If you are looking to purchase used, please know many RV parks do not accept anything older than 10 years old.

Now, I have heard that some RV parks will make exceptions depending on the renovations and upkeep on RVs. That’s something you definitely want to look into though.


3. Grey and Black Tanks

I wish we would have known more about the grey and black tank situation.

Living in an RV is a totally different way of living. We learned about the sensors, dumping, and treatments basically on our own and googles help. It seems easy, for example, once the sensors indicate they are full, release them.

However, no one said the smell would fumigate the whole RV and after every dump, you have to put in treatments to help with the smell and break stuff down.

After a month of living Full-time, we found “Happy Camper” tank treatment. Seriously, this stuff is like GOLD to RV’ers. If you haven’t tried the “Happy Camper” tank treatment, it’s it 100% worth it and you will never buy another tank treatment again. You can get some on Amazon here.

Also, we didn’t realize the sensors would get dirty and pretty much never go back to notifying they were completely empty.

4. RV Suburban Hot Water Heaters

Never in my life did I even consider flushing/cleaning out a hot water heater.

We quickly realized when our hot water started to smell like rotten eggs. Ewwww gross! However, it’s common and happens when the water is high in natural minerals.

Now, there are two types of hot water heaters that are used in RVs, Suburban, and Atwood.

Ours happens to be a suburban that requires a metal rod to absorb the bad bacteria when water gets hot. Once the anode rod is deteriorated it needs to be changed. If not changed then the tank can corrode from bacteria.

We flush our hot water tank about once a month because we run off well water and the minerals accumulate in the bottom of the hot water tank. We only replace the anode rod once it’s completely deteriorated.

Update: Replace your Magnesium Anode Rod with an Aluminum Anode rod to get rid of the Sulfur Rotten Egg smell in your RV hot water tank.

5. Window and Roof Seals

Now, we bought our RV brand new, straight off the lot 2019. We had the idea, “it’s brand new, we shouldn’t have to worry about anything for a while”…. wrong!

We learned quickly when I woke up to go to work, it was raining not only outside but also through one of the slide windows. Water was just pouring in that we barely could keep up with the towels.

It was not fun, but with a shop vac, fans, and more towels it ended up being okay.

We bought an all-weather sealant to seal it up on the outside because there was no way we could get it to a shop. When you live fulltime in an RV, something’s as simple as sealing a window is easier just done on your own.

Now, we check our windows and roof after rain and at least every 60-90 days.

Final Thoughts

There are many other things we wish we knew but these are definitely the top 5. Now, I know some of these things seem like things we should have known. However, we didn’t because it was something so new to us and that’s okay.

We learned as we went, after all, we just changed our complete lifestyle. We both grew up in sturdy homes, where you didn’t worry about where to dump your dirty water or having to clean out your water heater.

I hope this article brings light to anyone considering purchasing their first Rv, whether it’s living fulltime or just something for the weekends. It’s an amazing journey!

Tell us about what you wish you knew before buying an RV or living in one. Comment below! Sharing is Caring! Help others get an Idea of what it’s like to live in an RV. Tweet, Pin, Share!!


PIN TO SAVE FOR LATER!!

Sign up today for our monthly newsletter!

You have Successfully Subscribed!

Pin It on Pinterest