This post may contain affiliate links. Exploring new sights is a participant in the Amazon Services LLC Associates Program. As an Amazon Associate, we earn from qualifying purchases linking to Amazon.com and affiliated links.
Are you looking to do an RV Remodel to your home on wheels?
Are you checking out all the Instagram and Pinterest boards with beautiful remodels and dreaming about creating your own amazing space in your RV?
Well, you’re in the right place!
Before we even purchased our RV I knew I wanted to make my own modifications and do a little remodeling to make it fit our style. The main reason is that a lot of the RV’s are very “brown” and out of date.
If you’re like me you probably loved seeing all the amazing RVer’s that have transformed their kitchens on social media. Seeing these kitchens fueled my desire to transform ours and I hope it’s fueled your desire as well!
During my dreaming stage of an RV remodel, I noticed one modification many were completing in their kitchens was adding tile for a backsplash.
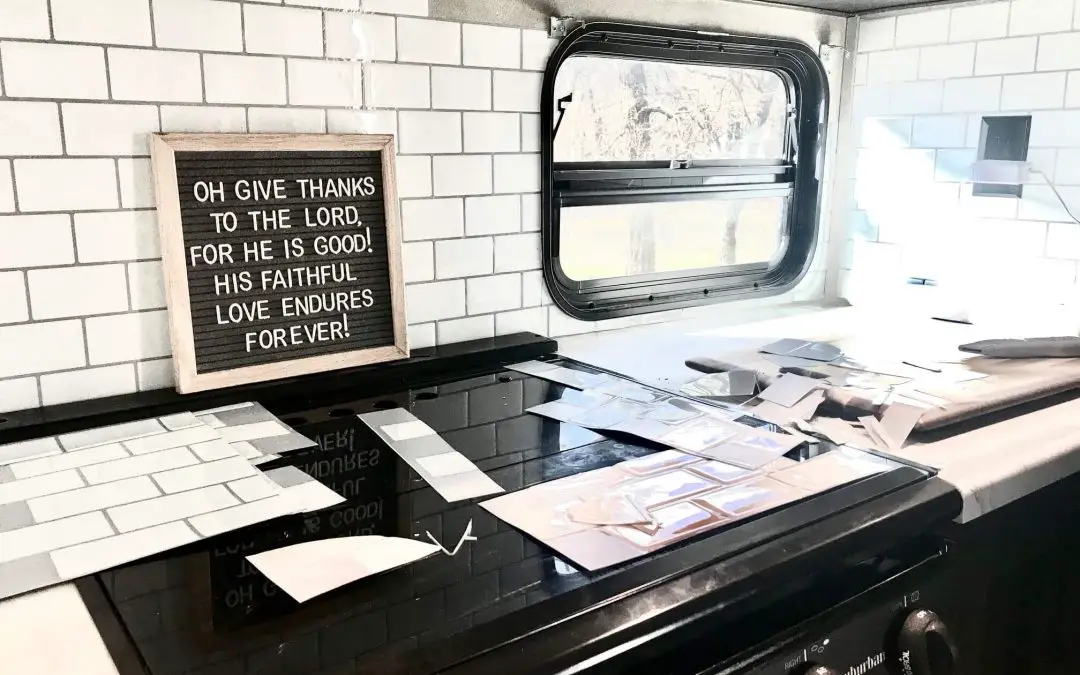
This is the first thing we did to add our own style into the space, and we have absolutley no regrets! It brings an incredible feeling of uniqueness and character to our kitchen.
After I decided that tile was what I wanted to do first, I began my search for the perfect lightweight stick on option that didn’t require all the fancy grout and plaster. I needed something quick and easy, something that would make a nice design statement. I also didn’t want to spend too much money because I was on a budget.
I searched through Home Depot, Lowes, and online. Through my research, I found a company and a product called TIC TAC TILE. Of course, I am a review type of buyer. If the reviews are not good, then I continue looking for another product. I always make sure I look at the negative and positive reviews.
What I found was that the reviews were mostly positive. The bad reviews couldn’t outweigh the good ones in my opinion. Plus the price was reasonable, compared to other brands that I found.
I was overwhelmingly excited to start the remodel on our kitchen! Something I had been dreaming of before we even purchased the RV. These tiles seemed like the perfect place to start.
Therefore, I decided to go forward with the TIC TAC TILE and ordered them directly off Amazon. They had the best price and fast shipping with Amazon Prime.
How to apply?
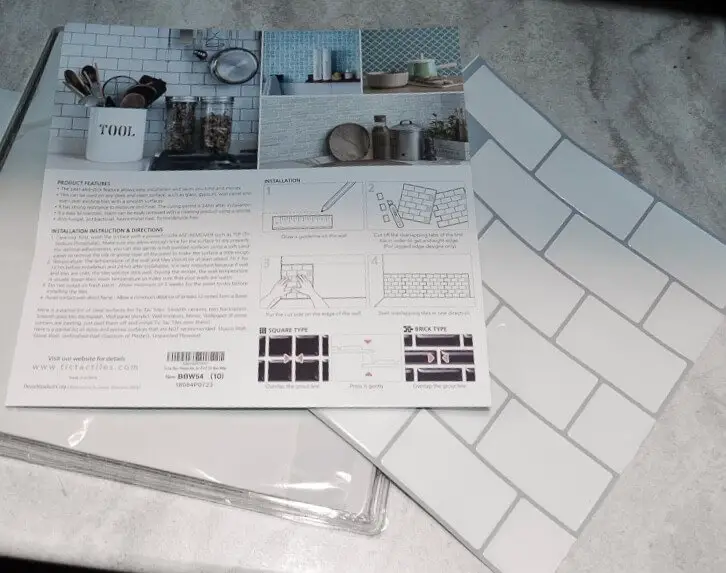
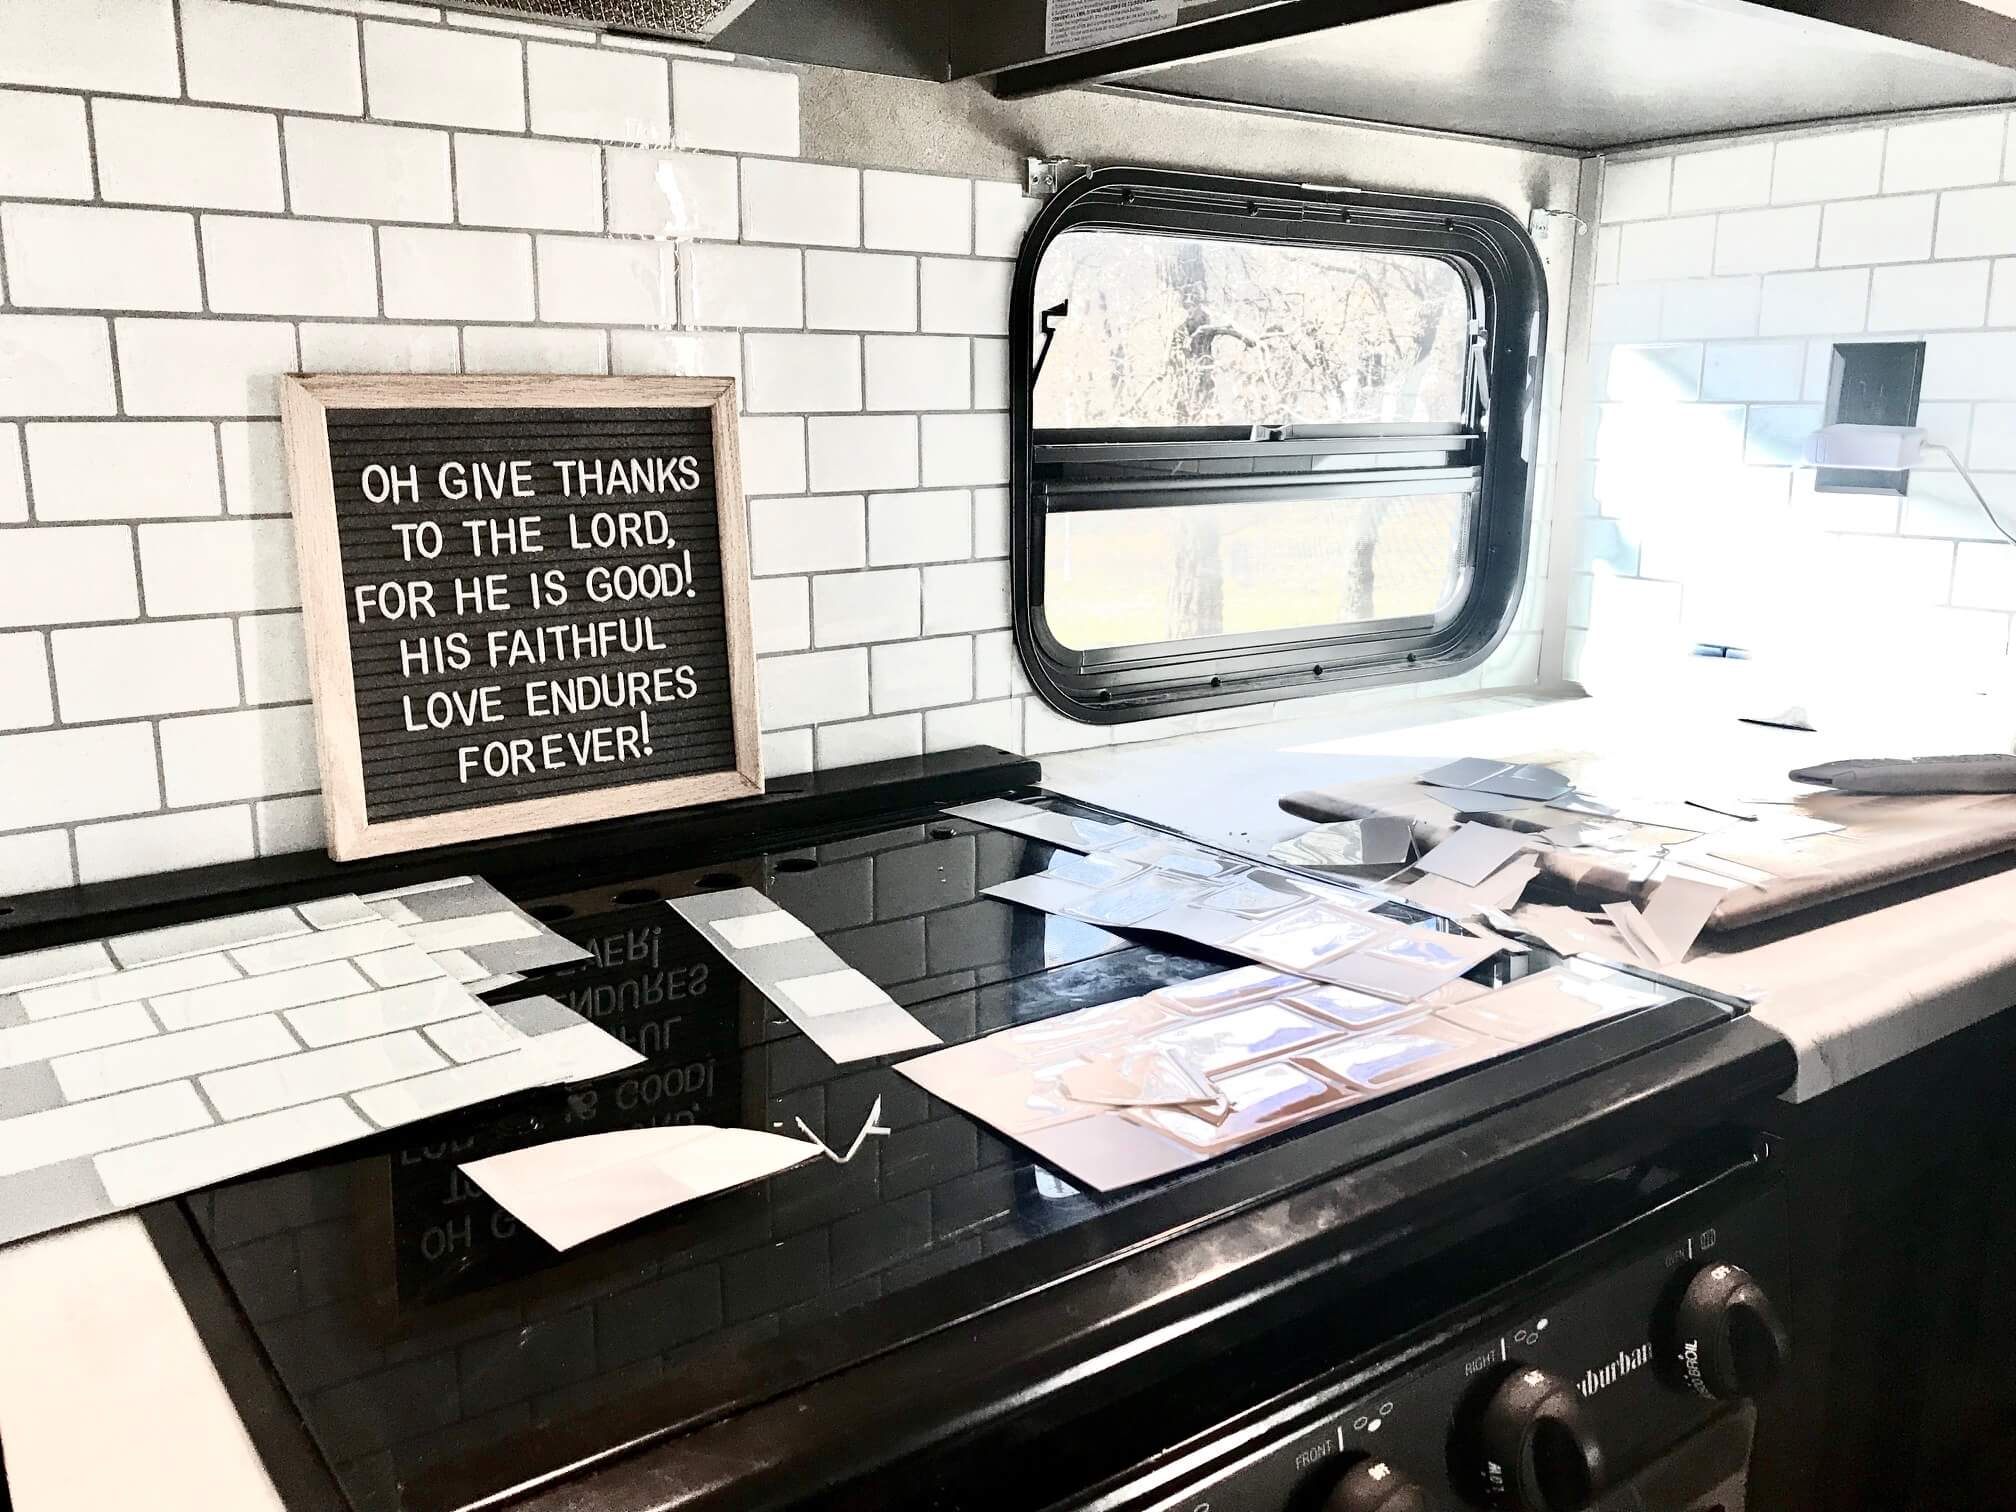
To start the RV remodel with TIC TAC TILE, let me be the first to say that the application is pretty easy. However, having patience and precision is key to making it look amazing. Here is a step by step on exactly what I did to apply my TIC TAC TILE.
- Clean —-> Cleaned the wall surface with a plain disinfectant wipe. You can also use white vinegar, TSP, or whatever kind of cleaning product that is multi-surface and has a degreaser.
- Dry —-> Make sure the wall is completely dry!! This is important. The sticky adhesive does not stick to any wet surfaces.
- Measure —-> Now when starting out you can get away with just adding an entire page of the tile, however, once you start to get around edges and windows, measuring is important.
- Cut —-> Once you’ve measured, now is time to trim the pieces to the desired/needed size. For cutting, I found after using scissors, that a box cutter and cutting board made the perfect tool. The box cutter is more precise and sharper when getting through the tile, adhesive, and the adhesive protectant.
- Stick —-> Now, remove the backing of the TIC TAC TILE that protects the adhesive. Then stick the tile on the wall to the desired position. It’s might take a few tries to get the hang of it and get it perfectly lined up.
- Repeat —-> Just go ahead and repeat steps 1 through 5 until the job is completed to your satisfaction.
Positives:
This product adds character to your RV with minimal prep. The product is heat and mold resistant, lightweight, and perfect for the kitchens and bathrooms in any recreational vehicle.
TIC TAC TILE is also very affordable and Eco-friendly! The material is very easy to clean after oil or splattered food from cooking gets on the tile.
Negatives:
Many have complained about the adhesive not sticking all the way and corners coming off the walls. However, there are steps to take to prevent this. Such as cleaning the area properly and adding your own additional adhesive to the edges.
I would also avoid applying the product while in extreme heat or humidity to allow the adhesive to stick properly. It is tedious work, so having patience while applying the product is important.
Where to buy?
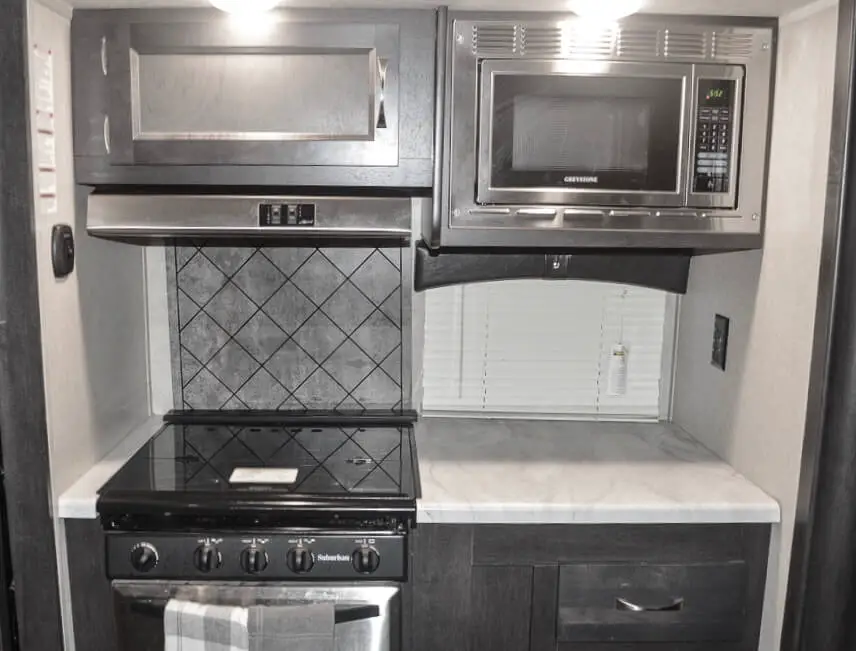
As I mentioned, Amazon is the place I purchased our TIC TAC TILE. You can choose from a variety of colors and styles. We chose the classic white Subway tile look with the grey grout.
There are available as 12 x 12 sheets and you can either purchase 1 sheet, 5 sheets, or 10 sheets. I purchased the 3 of the 10 sheet packs to complete the kitchen and bathroom. I do have leftover tile, which I am okay with because I would rather have too much than not enough.
If you are thinking about changing things up a bit in your home on wheels with a little RV remodel then TIC TAC TILE is a great place to start!
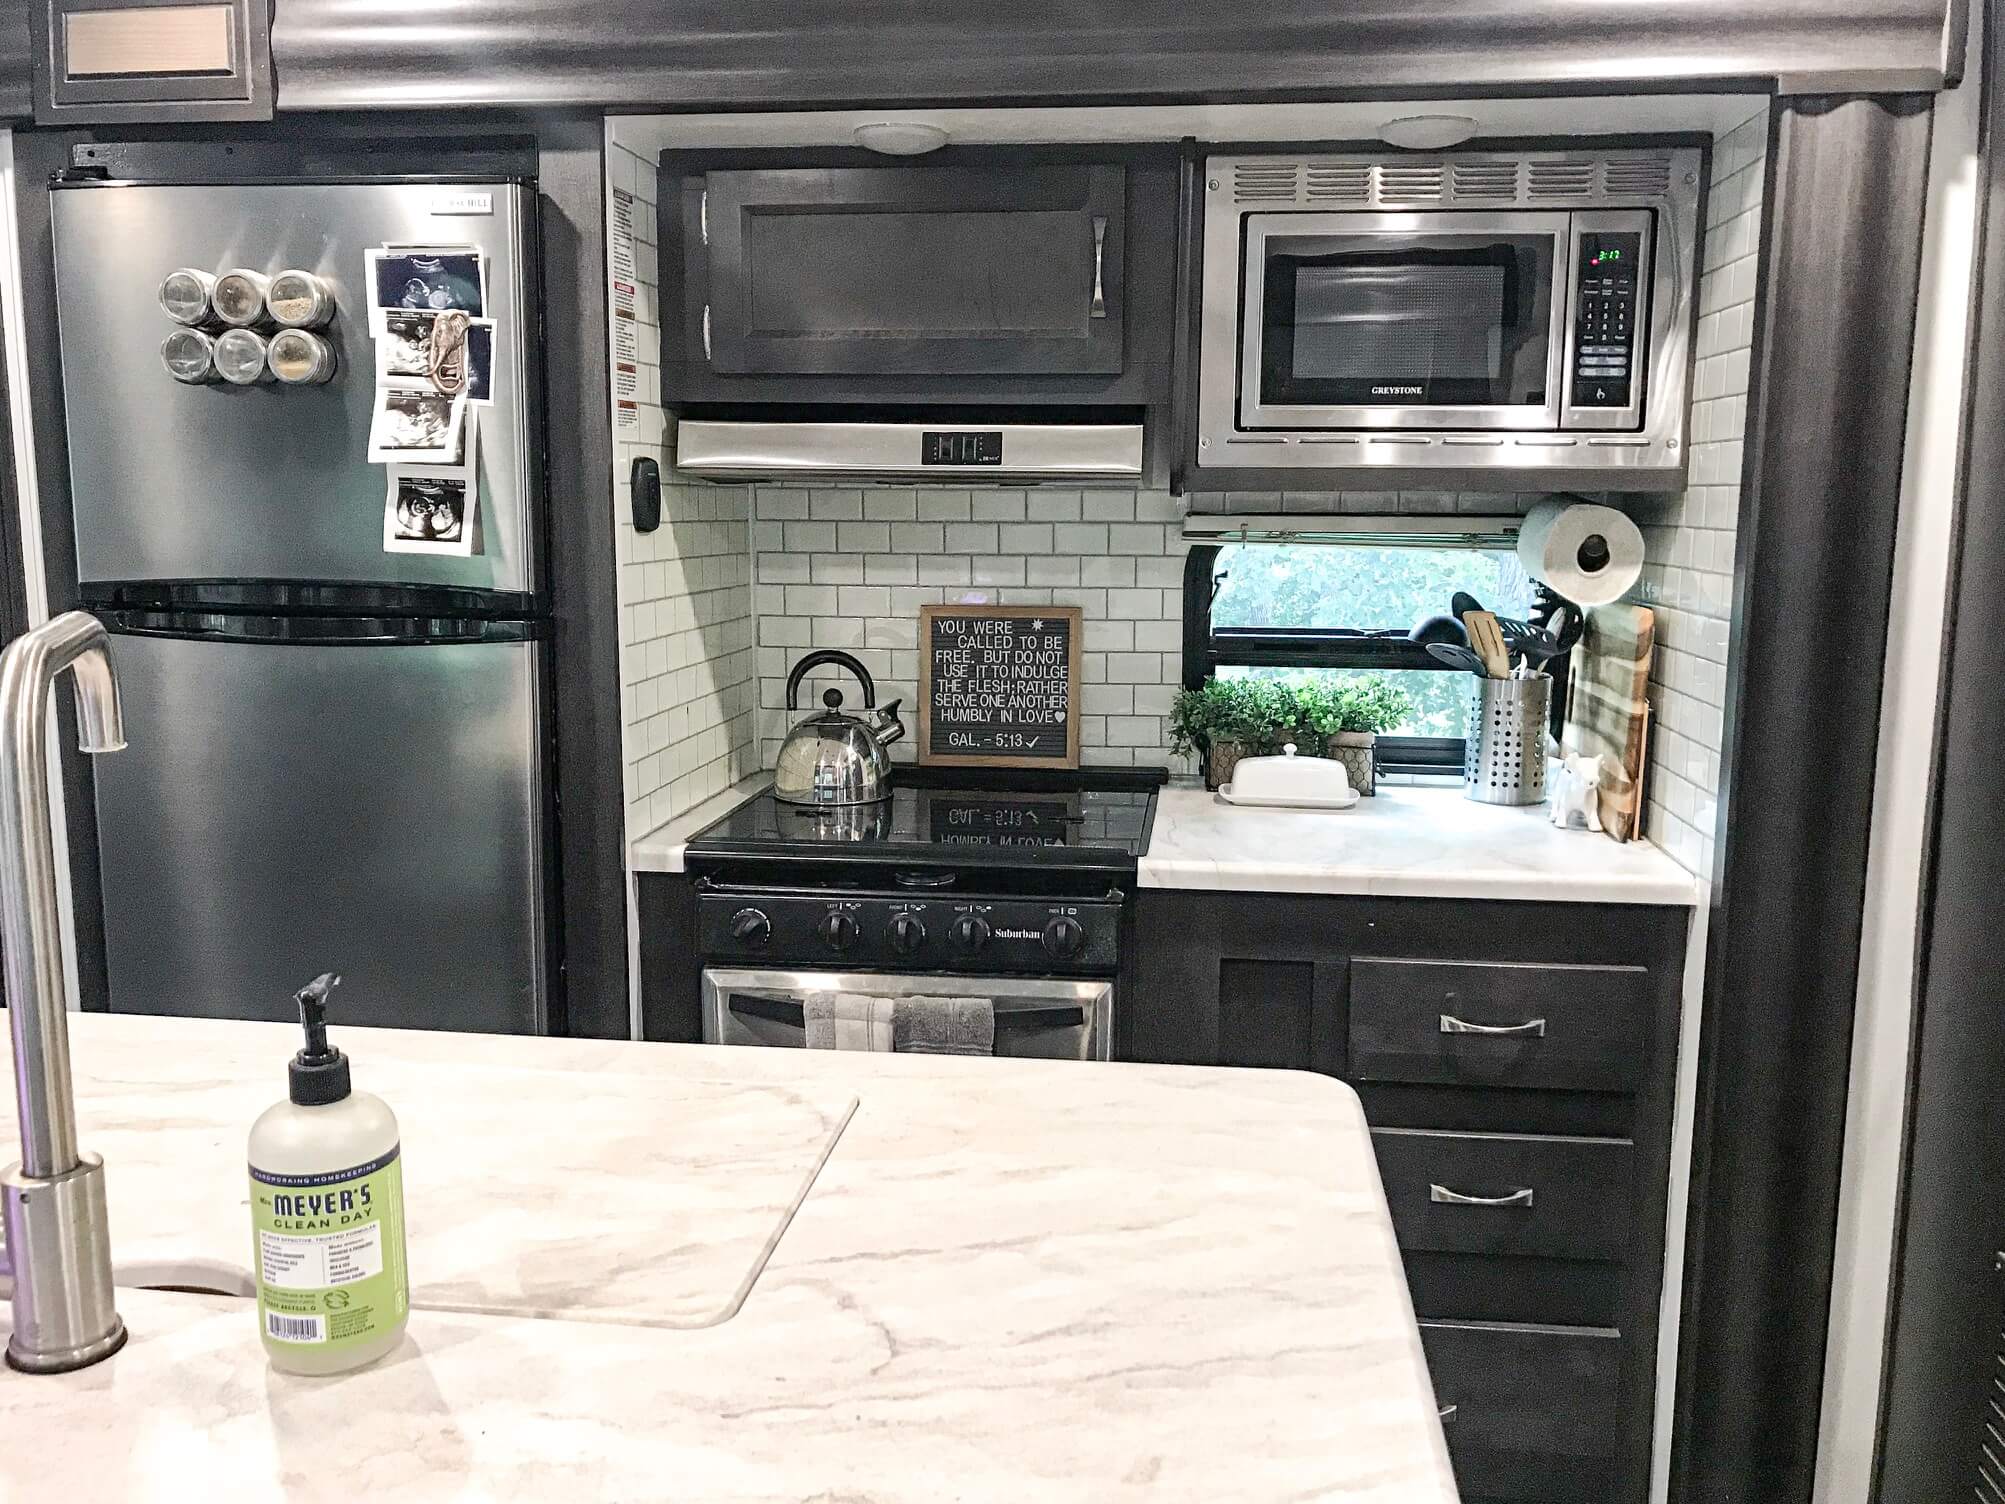
We absolutely love the look and feel in our Kitchen now! It adds our own touch and flair to the space. Plus, our RV is no longer the cookie-cutter décor with the brown boring interior.
The TIC TAC TILE also made the kitchen area feel like its own little corner by separating it from the rest of the RV’s décor. It almost feels like you get a new kitchen by adding the simple tile.
So, if you’re looking for a budget friendly way to add some flair and personality to your home on wheels then I definitely recommend TIC TAC TILE!
Have you used TIC TAC TILE in your RV? I would love to know what you think about it! Leave a comment below and share with anyone looking to make some transformations to their home on wheels!
Thanks for stopping by!
Pin Me to save for later!