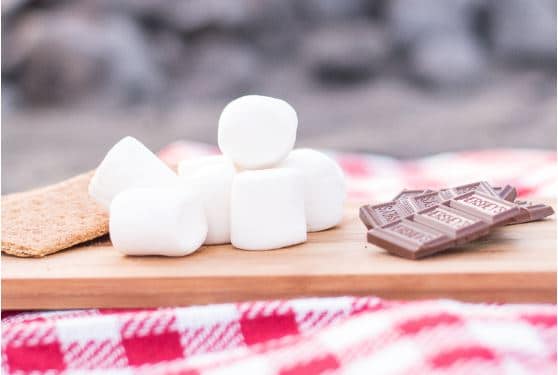
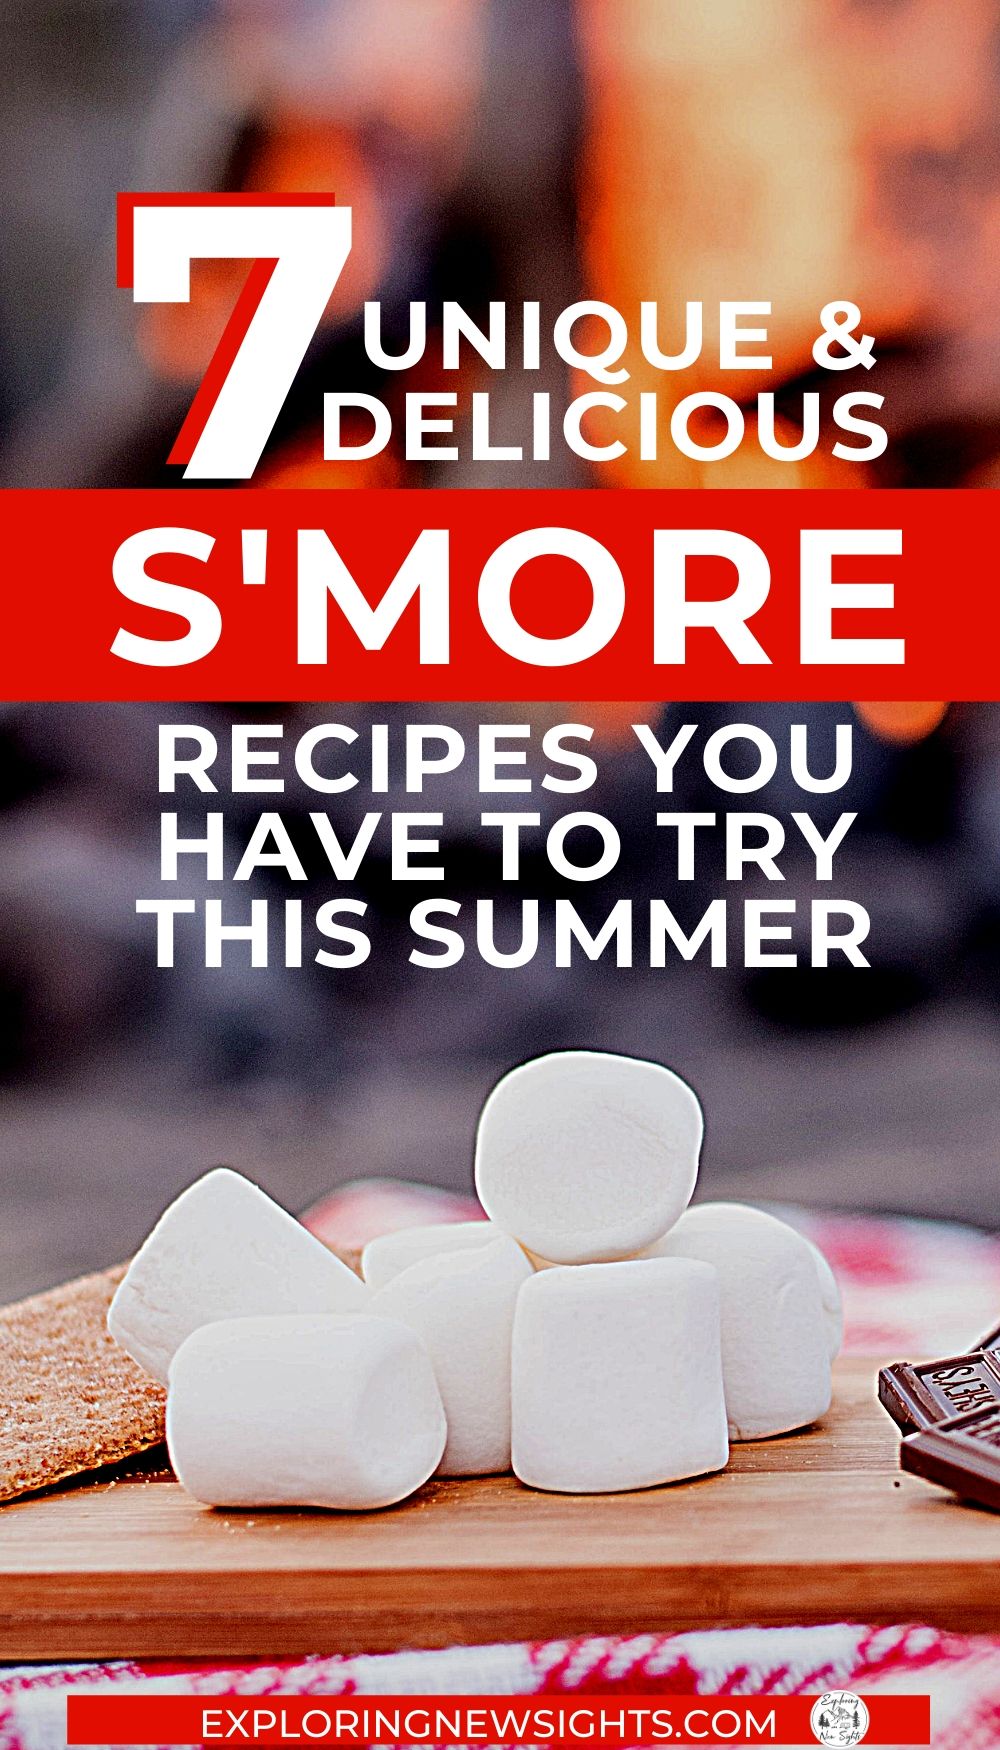
7 Unique and Delicious Campfire S’mores You’ll Want to Try This Summer
Campfire S’mores are my absolute favorite treat to take on every camping trip.
It is also a kid’s favorite because it gets them involved and they get to create something Yummy!!
Also, by allowing kids to help out and roasting their own Marshmallows teaches them the importance of fire safety and builds their confidence. So roasting and eating these yummy treats is a win, win!
We all know the typical S’more recipes which is always delicious, so I wanted to offer some other unique recipes I found on the web. These bloggers and recipe sites have taken the traditional S’more and added some unique and yummy twists.
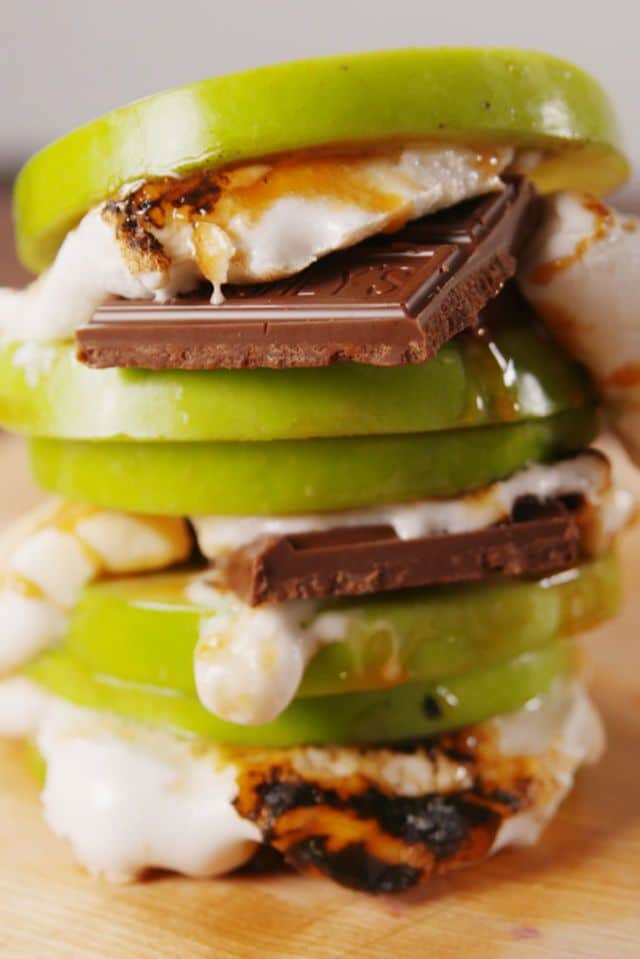
Caramel Apple S’more
This first delicious treat is one that reminds me of another yummy treat and that is a Caramel Candy Apple. These remind me of going into a candy treats shop in Saint Augustine, Florida that had these caramel covered apples coated with marshmallows and chocolate bits.
It was absolutely delicious and I have no doubt that this S’ more recipe is just as yummy.
The Caramel Apply S’more is 4 simple ingredients that you can easily take along with you on your camping trip.
You can check out the Recipe here @Delish.com
Dark Chocolate Campfire S’more with Fresh Berries
Summertime is the best time to get those Fresh and Delicious berries like Strawberries, Raspberries, and Blueberries.
If you love DARK chocolate and Fresh Summer Berries, then this next S’ more is just for you! It’s an absolute perfect fresh twist for a summer camping trip S’ more combination.
Laura with Joy Food Sunshine has the perfect recipe here at @JoyFoodSunshine.com

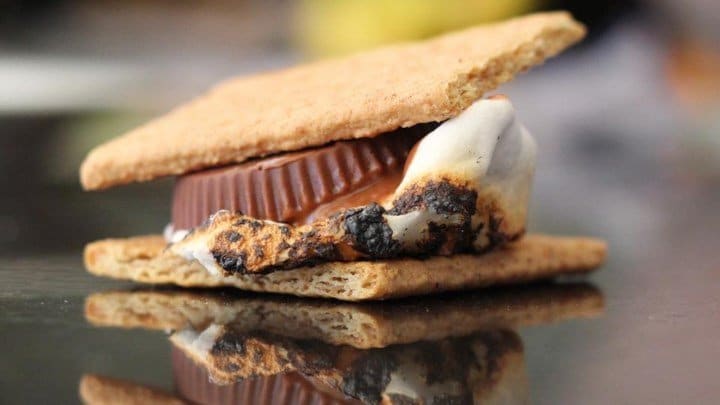
The Peanutty Campfire S’more
The perfect twist to a S’more or those who love peanut butter cups. I love Reeses Peanut Butter cups and adding in a roasted marshmallow and graham crackers sound AMA-zing!!
Super easy ingredients that you can take on any camping trip with the family or enjoy in your backyard at home.
You can find the recipe here @Allrecipes.com

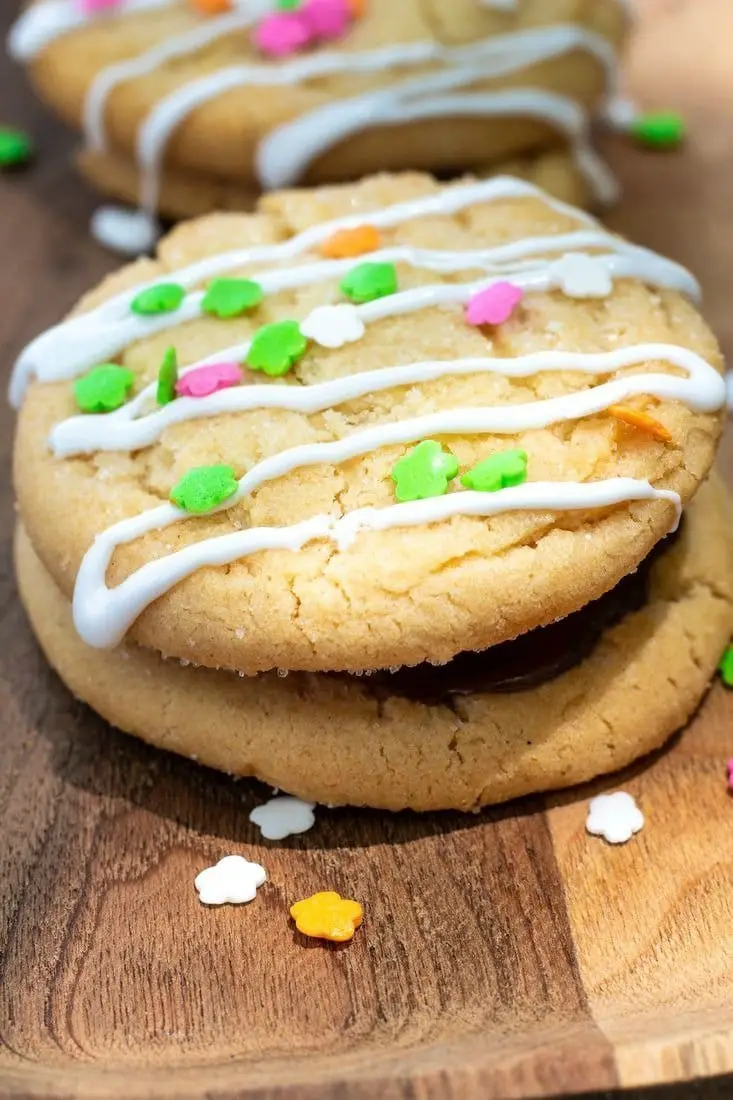
Campfire Sugar Cookie S’more
I love this recipe because it’s a yummy and unique twist to the normal graham crackers and plain Marshmallows.
Kim from her blog ThisOleMom created a delicious S’ more recipe with sugar cookies, chocolate, and strawberry marshmallows.
Check out the recipe on her blog here @thisolemom.com
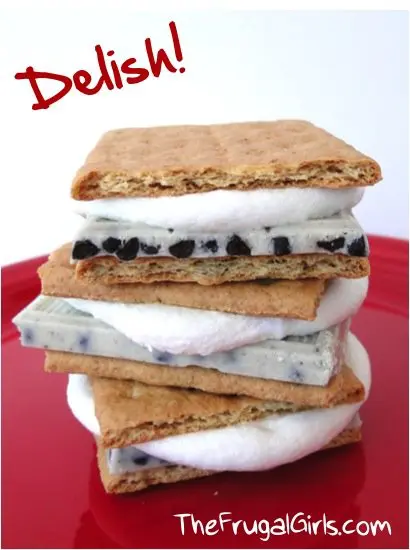
Cookies and Cream S’more
Hershey’s Cookies and Cream chocolate is one of my favorite candy bars. It has the perfect crunch of a cookie with white chocolate.
It’s is a perfect substitute for the regular Milk Chocolate Hershey’s bar that is normally used for S’mores.
Heidi from The Frugal Girls has a great recipe here on her blog @thefrugalgirls.com
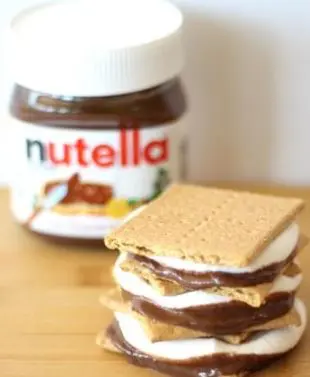
Nutella Campfire S’more
Another fantastic S’more by The Frugal Girls.
I don’t know about you, but I LOVE NUTELLA!! The thought of adding it to a perfectly roasted marshmallow and cinnamon graham cracker makes me excited for summer.
You can check out the Recipe here @thefrugalgirls.com
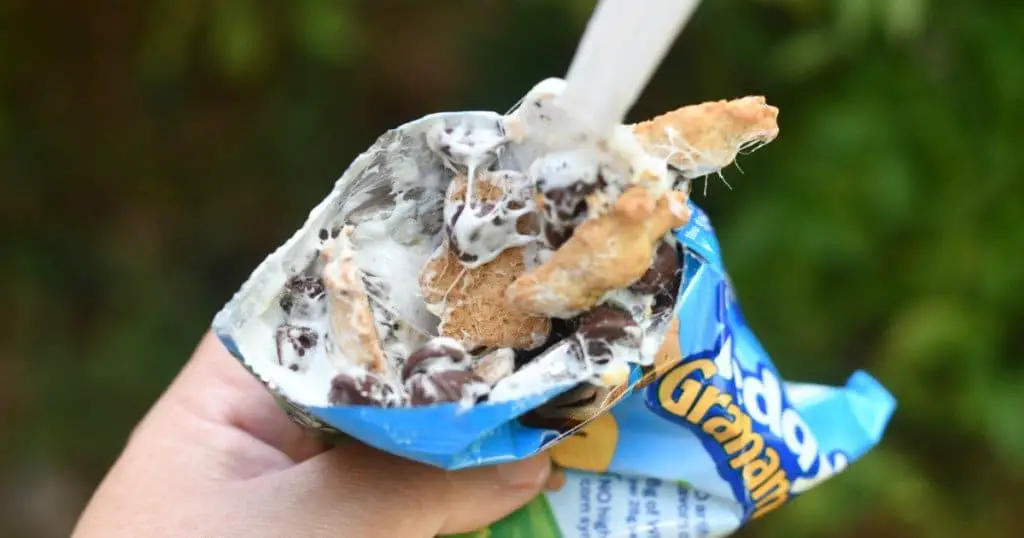
Campfire S’mores in a Bag
This option is a wonderful alternative to the traditional Campfire S’more Sandwich that you take on a camping trip.
I love the idea of being able to add the ingredients into a bag of Graham Cracker Teddy Bears or Chocolate Cookies. It is a great option for smaller kids.
You can check out the recipe here @hip2save.com

I hope you have found some inspiration for yummy campfire treats. Tell me below which Campfire S’more do you plan on trying this summer?
Pin for later! 🙂