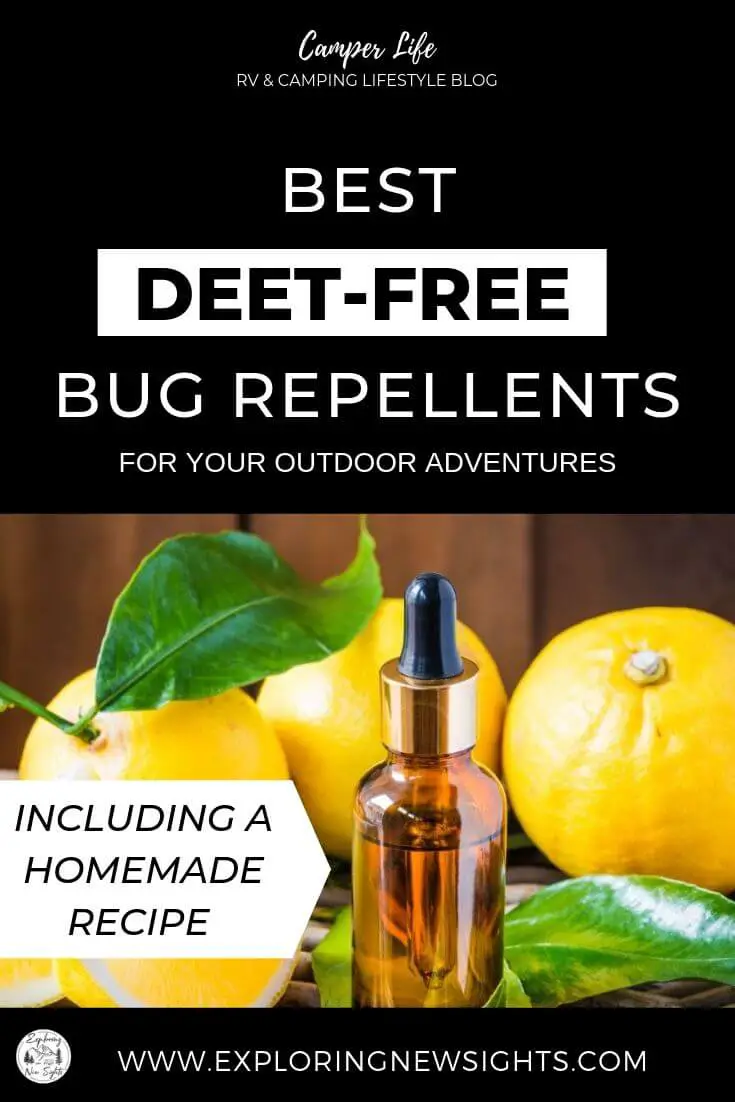
Best DEET-Free Bug Repellent for Outdoor Adventures
Looking for a Bug Repellent that is also DEET-Free? You’ve come to the right place!
Have you ever been so excited to spend a nice day outside with your family or wanted to enjoy sitting by the campfire roasting s’ mores, but ended up getting bit by bugs every second? It’s not fun!
Outdoor adventures should be fun and enjoyable, however, they can be instantly ruined by bugs. It’s only right to want the best bug repellent on the market to protect your family and friends.
Whether those bugs are buzzing mosquitos and flies or the pesky fleas and ticks. These little things are a nuisance to everybody, and some can carry nasty diseases.
So, If you’re going on a great outdoor camping adventure, backpacking, enjoying a backyard party, or going to the ball game, having bug protection is going to help make sure you have a great time.
Over the years, there have been many different studies and products on the market that say they repel bugs. But, are they safe? Are they effective?
First, let’s discuss this main ingredient that has been used to deter bugs for decades called DEET! This chemical is a popular one, however, although it is proven to deter bugs, it also has some health concerns.

DEET is a pesticide that is a member of the toluene chemical family. This solvent can be absorbed into the skin, passed through the bloodstream and organs. Studies by Medical Sciences Bulletin and Duke University have shown that DEET can even have a negative effect on the Central nervous system. They say the best way to use DEET is to spray on your clothes, not your skin.
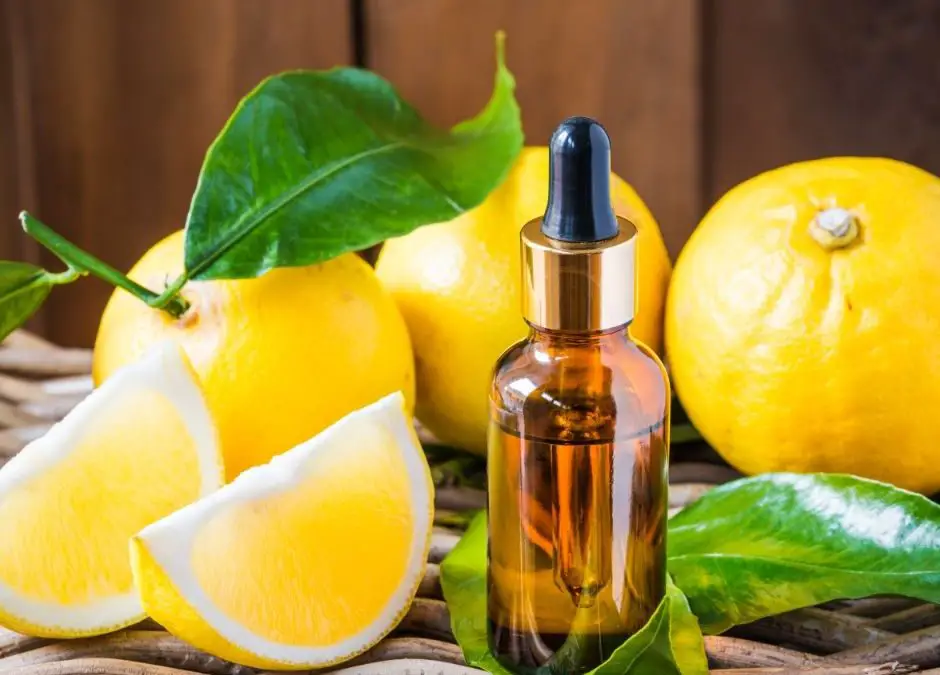
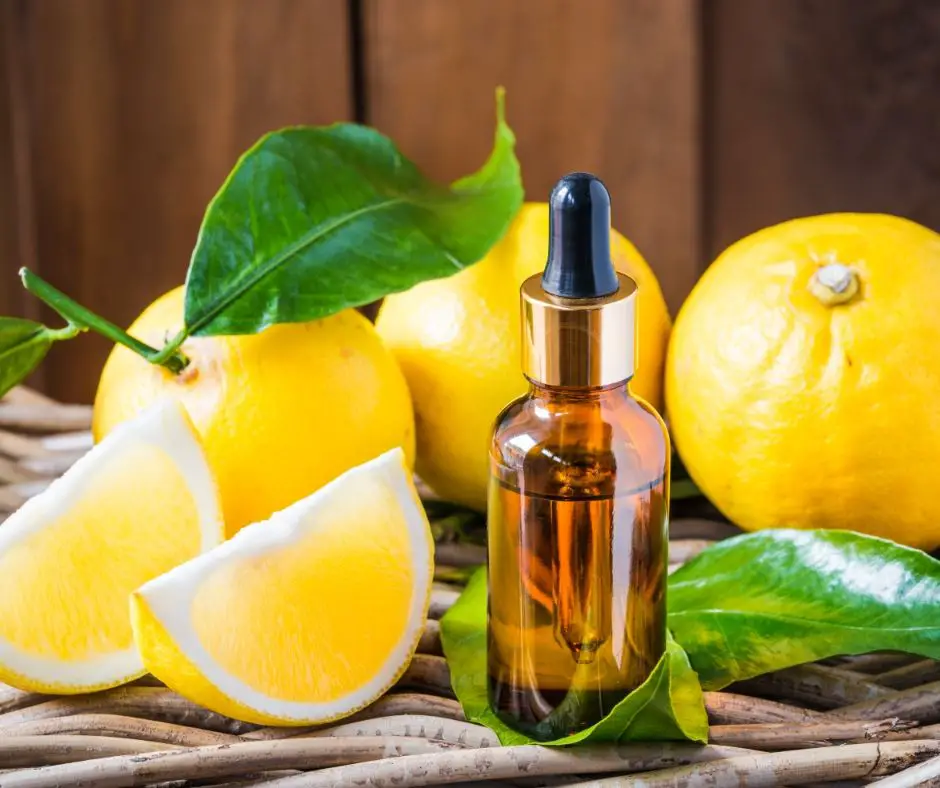
Now that you have a small overview of DEET and the reason why so many have developed products that are DEET-Free, we’ve put together a list of the top 8 DEET-Free products that deter those pesky bugs. Many of these are natural options utilize ingredients like Lemon oil and Eucalyptus oil. Below you will also find a recipe to make your very own Natural Bug Repellent.
Let’s get started! I placed them In order by ranking according to their star reviews.
7. Coleman Botanicals Insect Repellent
Naturally based, DEET- Free option that uses plant extracts that deter bugs. Stated to last up to 6 hours with 30% Oil of Lemon and Eucalyptus. This product can be used on your gear of any kind as well as your clothes and skin. It has a refreshing scent of lemon/eucalyptus and is non-greasy. Proven to deter mosquitoes that contain deadly viruses such as Zika and West Nile. The Coleman Botanical Insect Repellent comes in a spray or an aerosol option and is great for the whole family.
Where to buy: Amazon
Review: 4 out of 5 Stars
6. California Baby Bug Repellent Spray
The California Baby spray is the best bug repellant for children. It is a great alternative to the toxicity of DEET. It is formulated with Citronella, lemongrass and Cedar pure essential oils. These oils have been proven to deter mosquitoes, fleas, ticks, and other biting flies. Beside deterring those pesky bugs, the ingredients are great for soothing already existing bites. California’s Baby Bug Repellent is allergy tested, gluten-free, soy-free, oat-free, and dairy-free. You can use this product day or night and can be used generously for the scent to repel the bugs.
Where to Buy: Amazon
Reviews: 4.1 out of 5 stars
5. Repel Lemon Eucalyptus Natural Insect Repellent (Deet-Free)
If you can’t tell by the name itself, this repellent uses Lemon Eucalyptus oil as the main ingredient to deter bugs. Repel has formulated this repellent to last up to 6 hours and is safe for the whole family to use. It has a great refreshing scent and is none greasy to sticky.
Where to Buy: Amazon
Reviews: 4.1 out of 5 stars out of 5,183 reviews
4. Murphy’s Naturals Lemon Eucalyptus Oil Insect Repellent
Murphy’s Natural Repellent is made with simple ingredients including 30% Lemon Eucalyptus oil and 70% Ethanol and Deionized water. This product is effective for up to 6 hours and smells great which is why it has made our best bug repellent list. It won’t leave any type of oily resident and won’t harm your gear or clothing. A great option for outdoor adventures.
Where to buy: Amazon
Reviews: 4.2 out of 5 stars
3. Bug Soother Spray – Natural Mosquito, Gnat, and Insect Deterrent & Repellent with Essential Oils
Bug Soother is a super effective all-natural bug repellent that repels gnats, no-see-ums, sand fleas, black flies and most mosquitos. It is blended with vanilla with fresh citrus scents that the bugs hate. It is non-greasy and leaves no oily residue. This product has also been used on animals to help deter flies and other insects from biting your precious pets. 100% DEET-free and made with skin-loving ingredients including castor oil and vitamin E.
Where to purchase: Amazon
Reviews: 4.3 out of 5 stars
2. BUGGINS Natural Insect Repellent 0% DEET
This is a great Plant-Based option with active ingredients such as geraniol, peppermint, lemongrass, and clove. It is a great option for anyone wanting to stay natural ingredients and away from all chemical ingredients like DEET. This option lasts for about 2 hours before needing to re-apply. It is the best bug repellent to deter black flies, deer flite, stable flies, biting gnats, and mosquitos.
Where you can purchase: Amazon
Review: 4.5 stars out of 5
1. Mosquito Repellent Bracelets and Stickers
These are one of my favorite options, especially when you have children. This prevents having to coat the little ones with any kind of spray. The bracelets and stickers are the best bug repellent for all ages. Plus, they are colorful and kids love them. You can wear the coiled bracelets that are coated with natural repellent oils such as Citronella and Lemongrass on your ankles and wrists. They each have up to 320 hours of protection and are waterproof.
The Stickers are an extra added bonus to add you’re your shirts, pants, or any gear you want to keep safe from bugs.
Where to buy: Amazon
Reviews: 5 stars
Homemade Essential Oil Bug Repellent
Now that we have discussed 7 of the best bug repellents you can purchase that are DEET-free for the whole family, here is a nice homemade DEET free, all Natural, recipe that you can make at home.
If you have access to the amazing essential oils from great companies like Young Living or Doterra, then making your own bug repellent maybe your greatest option. The best oils that repel bugs naturally are Citronella, Lavender, Geranium, lemon/eucalyptus, and rosemary oil.
By mixing these oils with some white vinegar, witch hazel, and some rubbing alcohol this will create the best homemade natural bug repellent. Here is a simple recipe you can try yourself.
Also, It is best when you mix these ingredients into a glass spray bottle and then use as desired. Glass is better because it prevents the plastic from deteriorating into the oil mixture.
- 30 drop of Citronella
- 30 drops of Geranium
- 20 drops of Lavender
- 20 drops of Lemon/eucalyptus
- 10 drops of rosemary
- 1 TBSP of Rubbing Alcohol
- 1/2 cup of Witch Hazel
- 1/2 cup of Vinegar (or water)
Whichever option you choose, any one of these is great!
After all, staying safe and away from chemicals that can potentially harm you and your children is just as important as deterring the bugs that can potentially carry diseases.
Have a friend or family member who spends a lot of time outside or enjoys their outdoor adventures, please share the awesome DEET-free bug repellents with them!
Thanks for stopping by! If you’ve tried any one of these options, I would love to hear your experience! Comment below!
Pin Me to save for later!